commercebuild Success Portal commercebuild Success Portal

  • Home
  • Submit a Ticket
  • Updates
  • Login
  • Contact Us
Home / Tutorials / How to Add a Banner to Your Site

How to Add a Banner to Your Site

568 views Less than a minute 0

To add a custom banner to the header of your site – for the purposes of advertising a sale, for example, or to provide a notice to your customers – can be done quickly and easily through the webstore’s Custom Tags.

Log into your store and navigate to “Settings → Modules → Custom Tags”. You will want to create a new tag with the following settings:

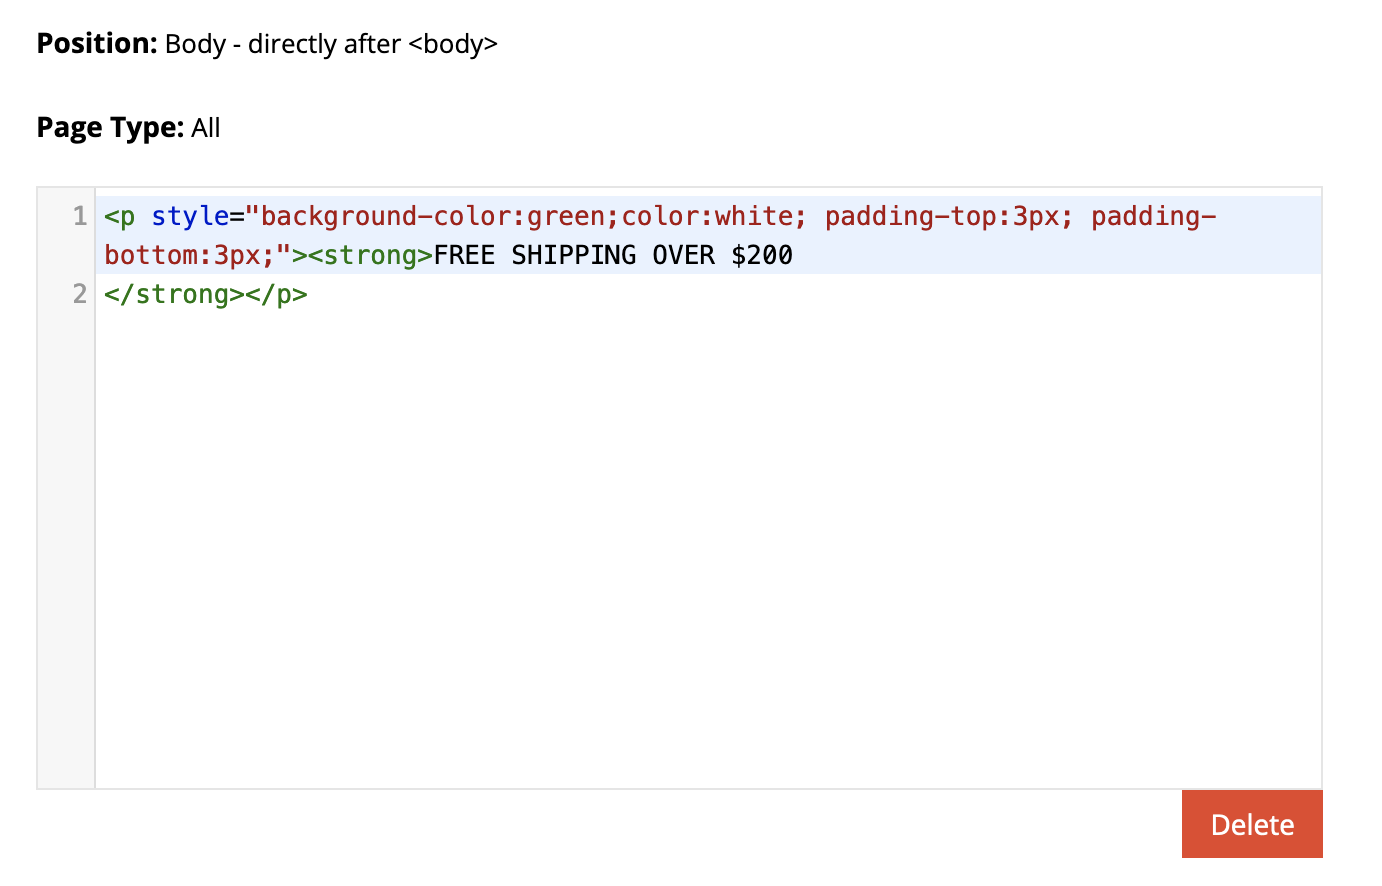
  • Position: Body – directly after <body>
  • Page Type: All

You can then add and modify this code:

<p style="background-color:green;color:white; padding-top:3px; padding-bottom:3px;"><strong>FREE SHIPPING OVER $200
</strong></p>

Which will create a banner similar to:

webstore Tutorials

About Jess

View all posts by Jess →

Related Articles

  • How to Enable reCAPTCHA on Custom Forms
  • Adding a custom message to the shipping step at checkout
  • How to configure Stripe as a payment method
  • SQL Server Change Tracking Query for Sage 300 and X3

Popular Articles

  • Enable Firewall Rules and a JavaScript Browser Challenge 2247 16
  • Enable Cloudflare Rate Limiting 2134 0
  • How to Add a JavaScript Snippet 1994 8
  • IP Allowlist 1945 0
  • Signing up for Cloudflare and Configuring Your Domain 1812 4

New Articles

  • Error when adding a new user: Email is already in use 684 0
  • How to Check commercebuild Payments Version 928 0
  • How to Enable reCAPTCHA on Custom Forms 830 0
  • Manually posting an order 979 0
  • Adding a custom message to the shipping step at checkout 798 0
© commercebuild 2022. All rights reserved.