Once you have an understanding of what B2B user groups are, you’ll be able to begin creating them. You can create as many as you’d like but you are required to have at least one ready for users to be assigned to.
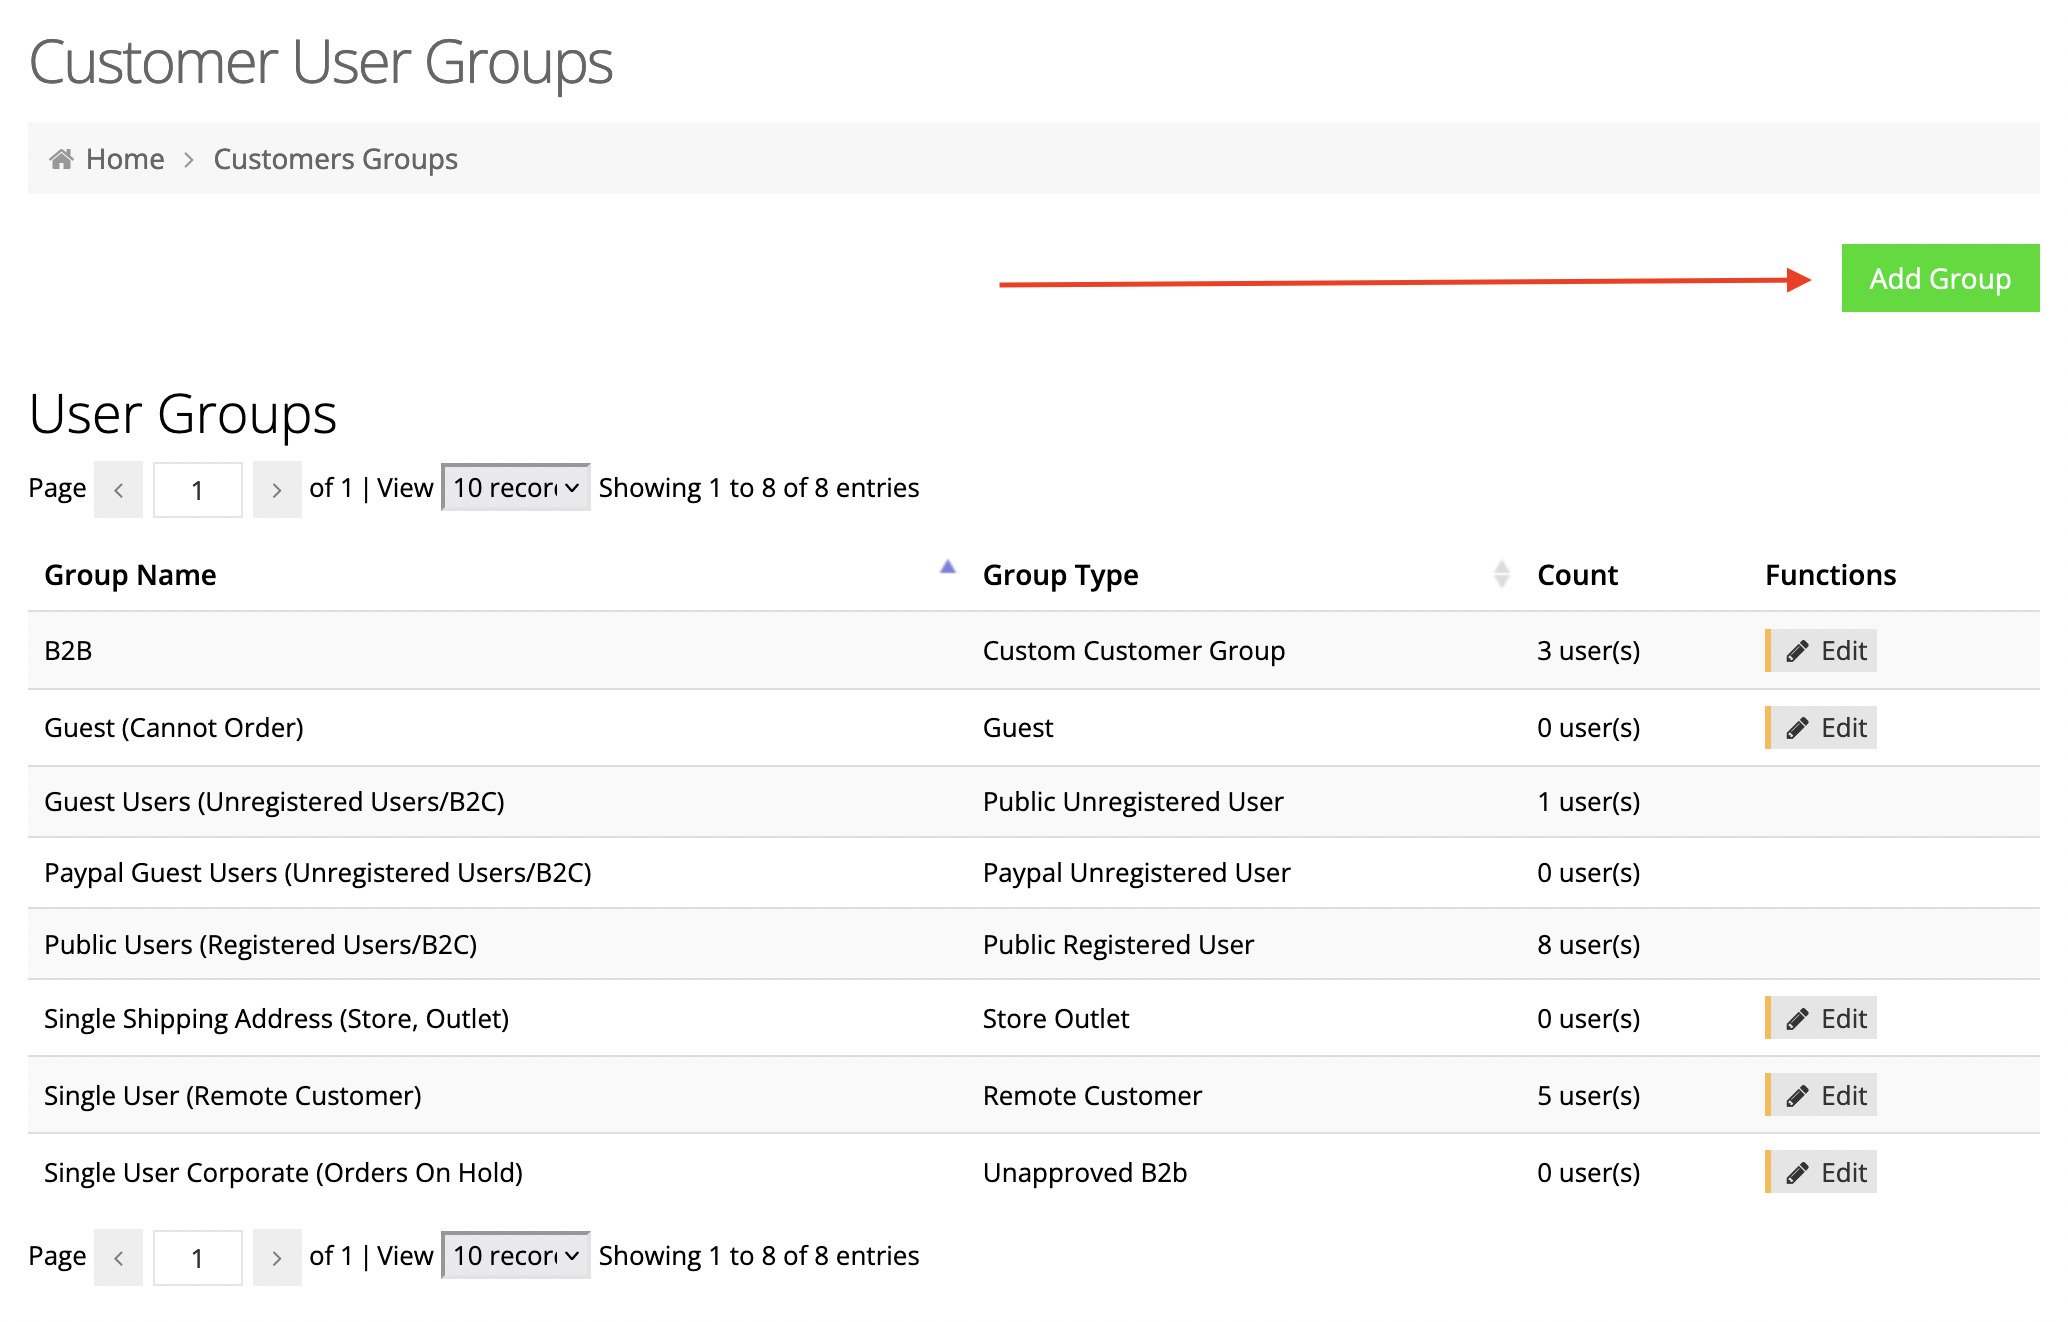
First, navigate to Customers > Customer Groups in the eCommerce Console.
Default groups
There are a handful of default user groups that cannot be deleted but can be edited. They are all the same even though the Group Type are labelled differently. They are merely meant as a starting point to get you thinking of how groups can be used; Remote Customers, Stores, Guests who can’t order. You do not have to use any of these and can create your own “custom” groups.
Create a user group
The same settings will be available for all user groups for you to decide what will be turned off or on. It’s best to gain a general idea of the settings and decide what kind of groups you’re going to need to create. That way you’ll have a plan and be able to name your groups appropriately.
1) Click Add Group
2) Type in a Group Name
This is for organizational and internal identification purposes only. Your customers will not see the name of the user group they’re assigned to.

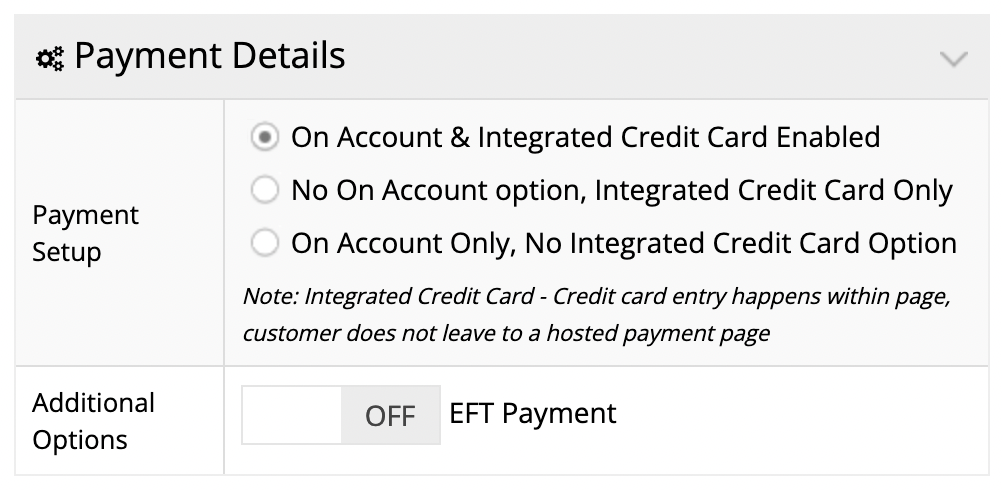
3) Select a Payments Accepted option
These options determine how these users will be able to pay in your webstore.
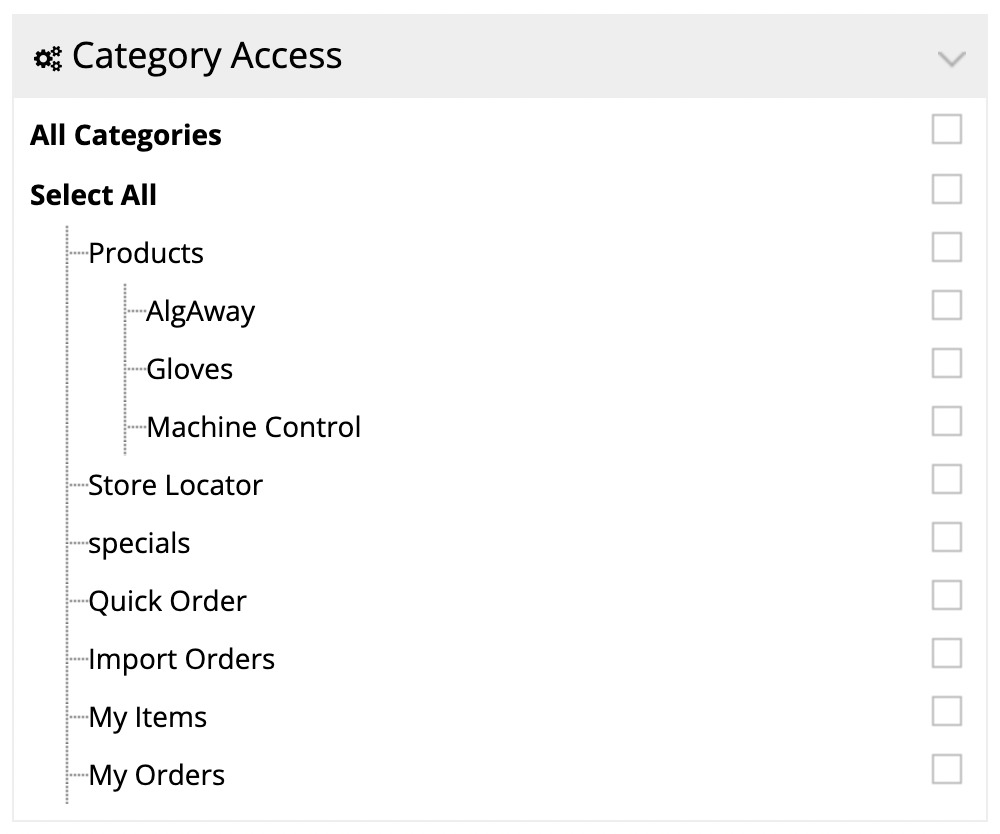
4) Check boxes of accessible categories
Check the All Categories box to allow access to all categories or only select which ones should be visible to these users. Boxes that are unchecked means that category won’t be visible to the users assigned to that group.
5) Open Sales Tools and Display Options menus
If these menus are closed, click on the arrows to open them. This is applicable to all menus on this screen.
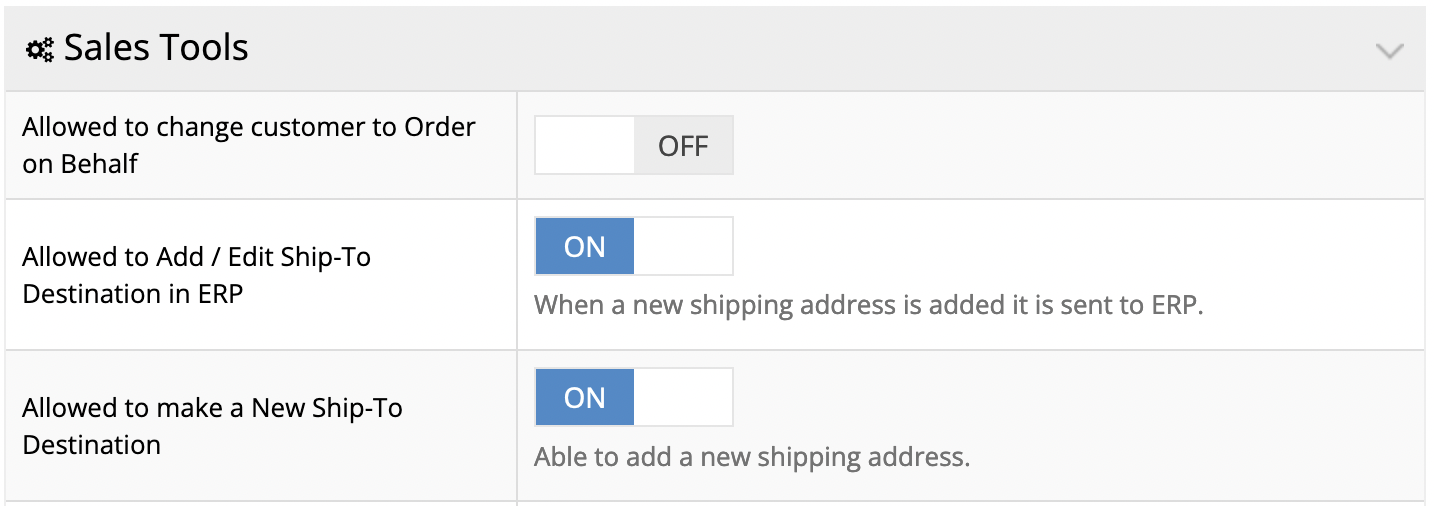
6) Turn ON/OFF Sales Tools settings
Next to each setting is a toggle for which will enable to disable the setting for this group. Below is a list of what each toggle controls:
- Allowed to change customer to Order on Behalf: You are able to link multiple AR Customer accounts to a single webstore user account. If this is set to ON, that user will be allowed to switch between the linked AR Customers and order on behalf of those accounts. Otherwise, the user will only be able to order on behalf of their defaulted linked AR Customer.
- Allowed to Add / Edit Ship-To Destination in ERP: Allows your user to add ship-to addresses to their account in your ERP system. It also allows them to edit ship-to addresses that already exist in your ERP system.
- Allowed to make a New Ship-To Destination: Similar to the previous setting, this allows the user to create new ship-to addresses. However, these addresses will not be added to their account in your ERP system but solely exist in your webstore.
- Allowed to make an Order: Grants access for users to place orders in your webstore. This is typically set to ON unless you don’t want the user to order and only want them to be able to view the store and their account.
- Allowed to use Quick Order: Allows the user to use a feature called Quick Order.
- Allowed to pay Open Invoice: Enables the ability for users to pay open invoices within your webstore under their account page.
- Allowed to see Transaction History: Allows users to view all of their transaction history including invoices and receipts.
- Allowed to see all ERP Customer Order History: Allows users to view all of their previous orders inside of your ERP order history including orders placed offline for their AR Customer account.
- Allowed to ship to Billing Address: Allows users to ship to their AR account’s billing address in the ERP.
- Allowed to ship to Existing Ship-To: Allows users to ship to an existing AR account ship-to address from the ERP.
- Allowed to edit Existing Ship-To Addresses: Allows users to edit the existing ship-to addresses in the ERP.
- Force Customer Default Address as Shipping Address: This will force the default address in the ERP to be used as the ship-to address for these users in your webstore.
- Check for Customer Payment Terms COD: Despite what Payment Option you have set, enabling this will check for cash on delivery payment terms in your ERP system for these users.
- Orders Automatically on Hold: Enabling this will place all orders for these users on hold.
- Allowed to see all ERP Customer Quote History: Allows users to view the quote history of their linked AR Customer account in your ERP system.
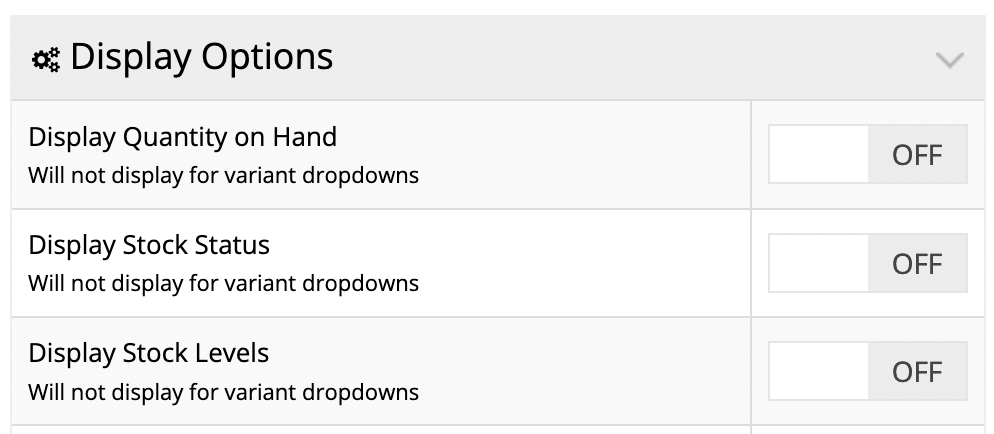
7) Turn ON/OFF Display Options settings
Next to each setting is a toggle for which will enable to disable the setting for this group. Below is a list of what each toggle controls:
- Display Quantity on Hand: Will display the actual quantity on hand for all warehouses associated with the user account.
- Display Stock Status: Enabling this will display a general status of stock; In Stock, Limited Availability, Out of Stock. You’ll be able to determine the wording of this as well.
- Display Stock Levels: If enabled, a button will appear on product pages where users will be able to check the stock levels at the warehouses associated with their user account.
- Display Stock Levels Detail: In combination with the above if both are set to ON, users will be able to look in further detail at the stock levels per warehouse.
- Hide Price: If enabled, will hide the price on all product related modules and pages except for the cart and checkout pages.
- Display Product Tax on Prices: Enabling this will display the tax on top of the price wherever the price is shown. For it to fully work though, you will need to enable this toggle as well; System > Features > Display Price Including Tax.
- Permitted to write product reviews: Allows these users to write reviews if you have reviews enabled.
