What is a Store Locator
It shows the location of different stores in your area within an interactive map.
Set up
1) Before you can start using the Store Locator module you need to set up the Google API.
Go to Admin > System > Site Settings > Scroll to the bottom and find Google API Settings
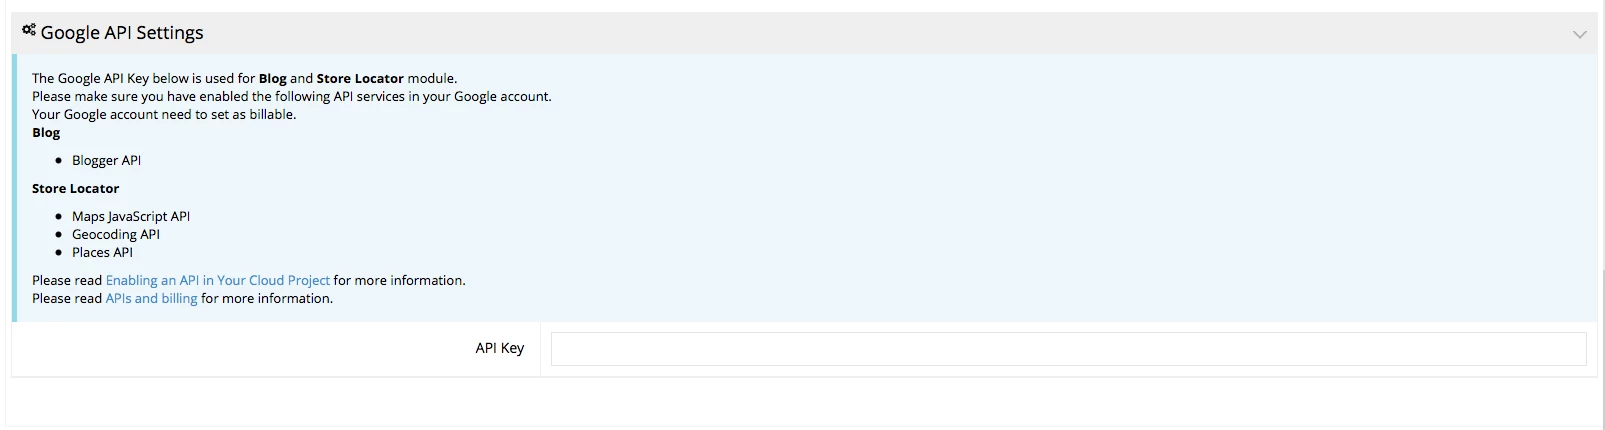
Click on “Enabling an API in your Cloud project” for steps on how to set up an account. Also, read “APIs and billing” for more information.
Once you have the key, paste it into the API Key section at the bottom and then scroll to top and click on the Apply button to save changes.
2) Choose an area in Content Management System where you would like the Store Locator to show.
3) Add a row and click on edit content. Then Select the Store Locator module. Click apply when the warning message box shows.
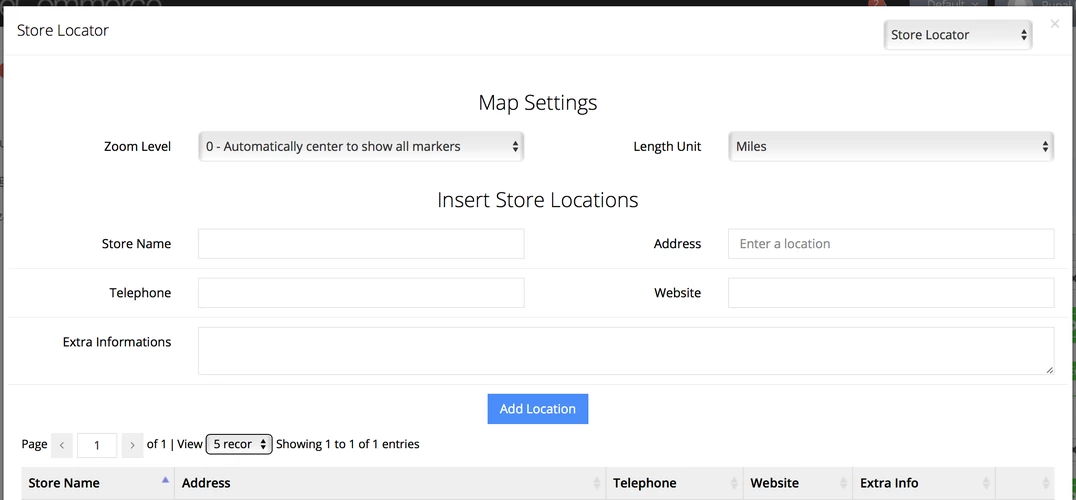
4) Add-in store information.
- Zoom Level: Level of zoom which will show the stores in proximity to each other.
- Length Unit: Unit (m/km) which the map will show in.
- Store Name: Name of the store.
- Address: Start typing in an address and the field will auto-populate with results.
- Telephone: Telephone number of store.
- Website: Enter a website if the store has one.
- Extra Information: Add in if the Store has any extra information that needs to be displayed. (NOTE: this only shows when users click on the pin in the map display)
Once these sections are filled out click on the “Add Location” button.
Continue through step 4 and fill out information for all the stores. Once complete, press Apply.
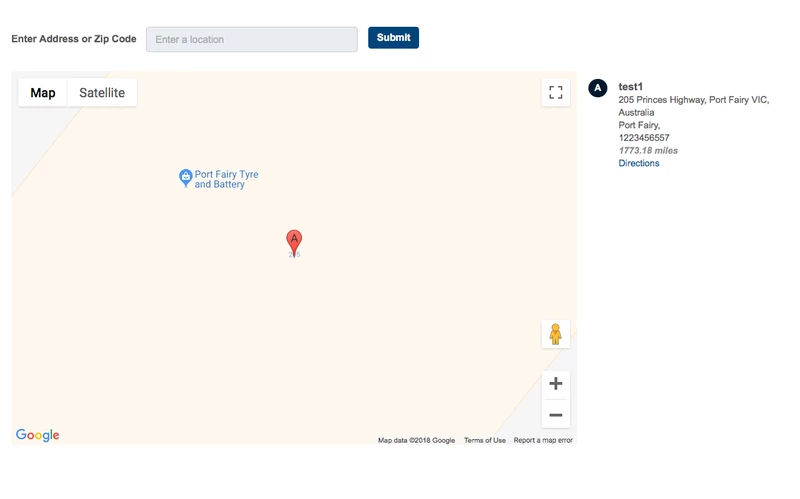
Front End
The front end will look like this:
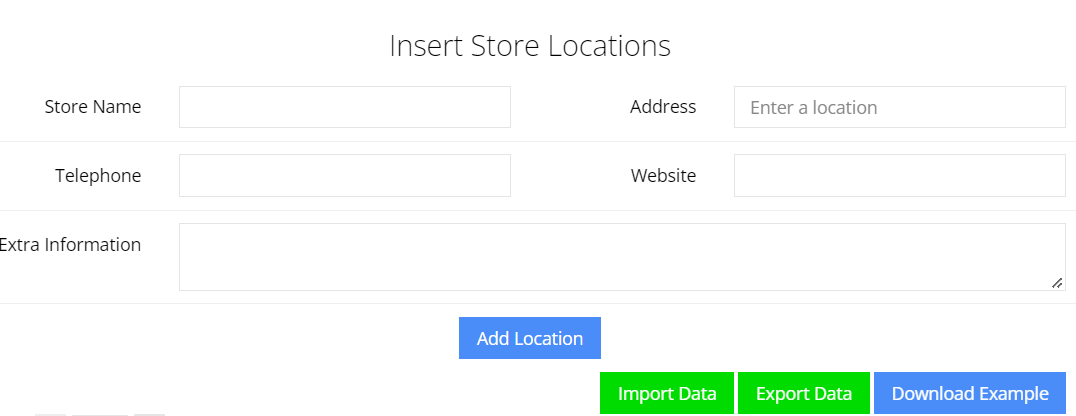
5) Use a spreadsheet
We now have the option to upload store location
Here’s what the sheet looks like with data:

Note, when manually adding a location, there is only one field for an address. Our integration is only looking at the address field, including if you’re uploading data. For this reason, do not fill out the city, state, postcode, or country. The entire address needs to live in the Address column as in the example above
Second note: the website requires the https:// preceding the website address.
Third note: do not fill out the latitude and longitude.