Promotions are a great way to incentivize your customers to make purchases on your web store. In this tutorial, we’ll help you activate promotions and ensure the promotions are properly mapped in your ERP.
Activate Promotions
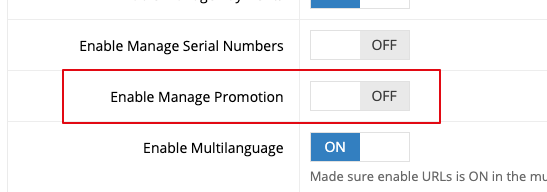
The first step to using promotions is to go System > Features and activate “Enable Manage Promotion”.
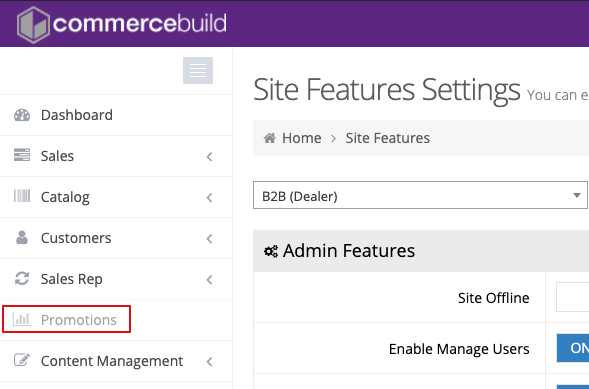
This will activate the Promotions tab in the left-hand sidebar:

Dollar Amount Promotions & Mapping to your ERP
Before you can start using dollar amount discounts, you are required to setup either a Miscellaneous item or a Non-Stock item in your ERP to store the discount amount. Navigate to Promotions > Setting in the web store admin.
This is necessary because the discount will be taken off the order as a whole and therefore needs to be a line item or an invoicing element within the order. For example:
Item 1: $40.00
Item 2: $60.00
Promo: -$5.00
Order Total: $95.00
Setup item or element to house discount amount
1) Select your item or element to house the dollar amount on the order

Note that both “Miscellaneous Items” and “Non Stock Items” are created in your ERP.
2) Using the radio buttons, choose which type of item or element you’d like to use

Note that the field name “Your item here” is imported from the ERP.

3) Click Apply
Now your dollar amount promotions will be correctly mapped.
Creating Promotions
Now you should be ready to start creating promotions and allowing your customers to use them. To learn more, see our tutorial on how to create promotions.

