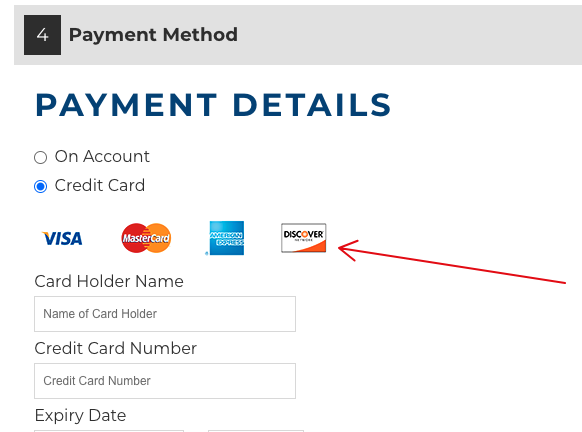
Many of our payment methods offer you the ability to add credit card logos to the payment method checkout step.
To see if the payment method activated on your site allows you to add credit card logos:
- Navigate to System > Payment Settings, and select Edit next to your enabled payment method.
- Select Edit for the account name to which you’d like to add your logos
- Locate the CC Thumbnail section. If it’s there, upload your logos as a single image, and you’re done! If you do not see a CC Thumbnail section, continue reading.
No CC Thumbnail? Use CSS
If your payment method does not allow you to upload the logos, you can add your credit card logos with some CSS:
#payment-form .cc::before {
    content: url(https://support-theme-update.commercebuild.com/wp-content/uploads/2020/12/ccs.png);
}
Create and Upload Logos Image
You will need to create your credit card logos image. We recommending not making it wider than 300 pixels. Once you have it, upload your credit card image to your store, and replace the URL above with the URL provided.
Add CSS to Custom CSS
You are now ready to add the CSS to your Custom CSS. To do this, go to System > Modules > Custom CSS and paste the CSS code above to the bottom of the code editor, like so:

To confirm the change has been made, navigate to your checkout and view the credit cards in the Payment Method section.


