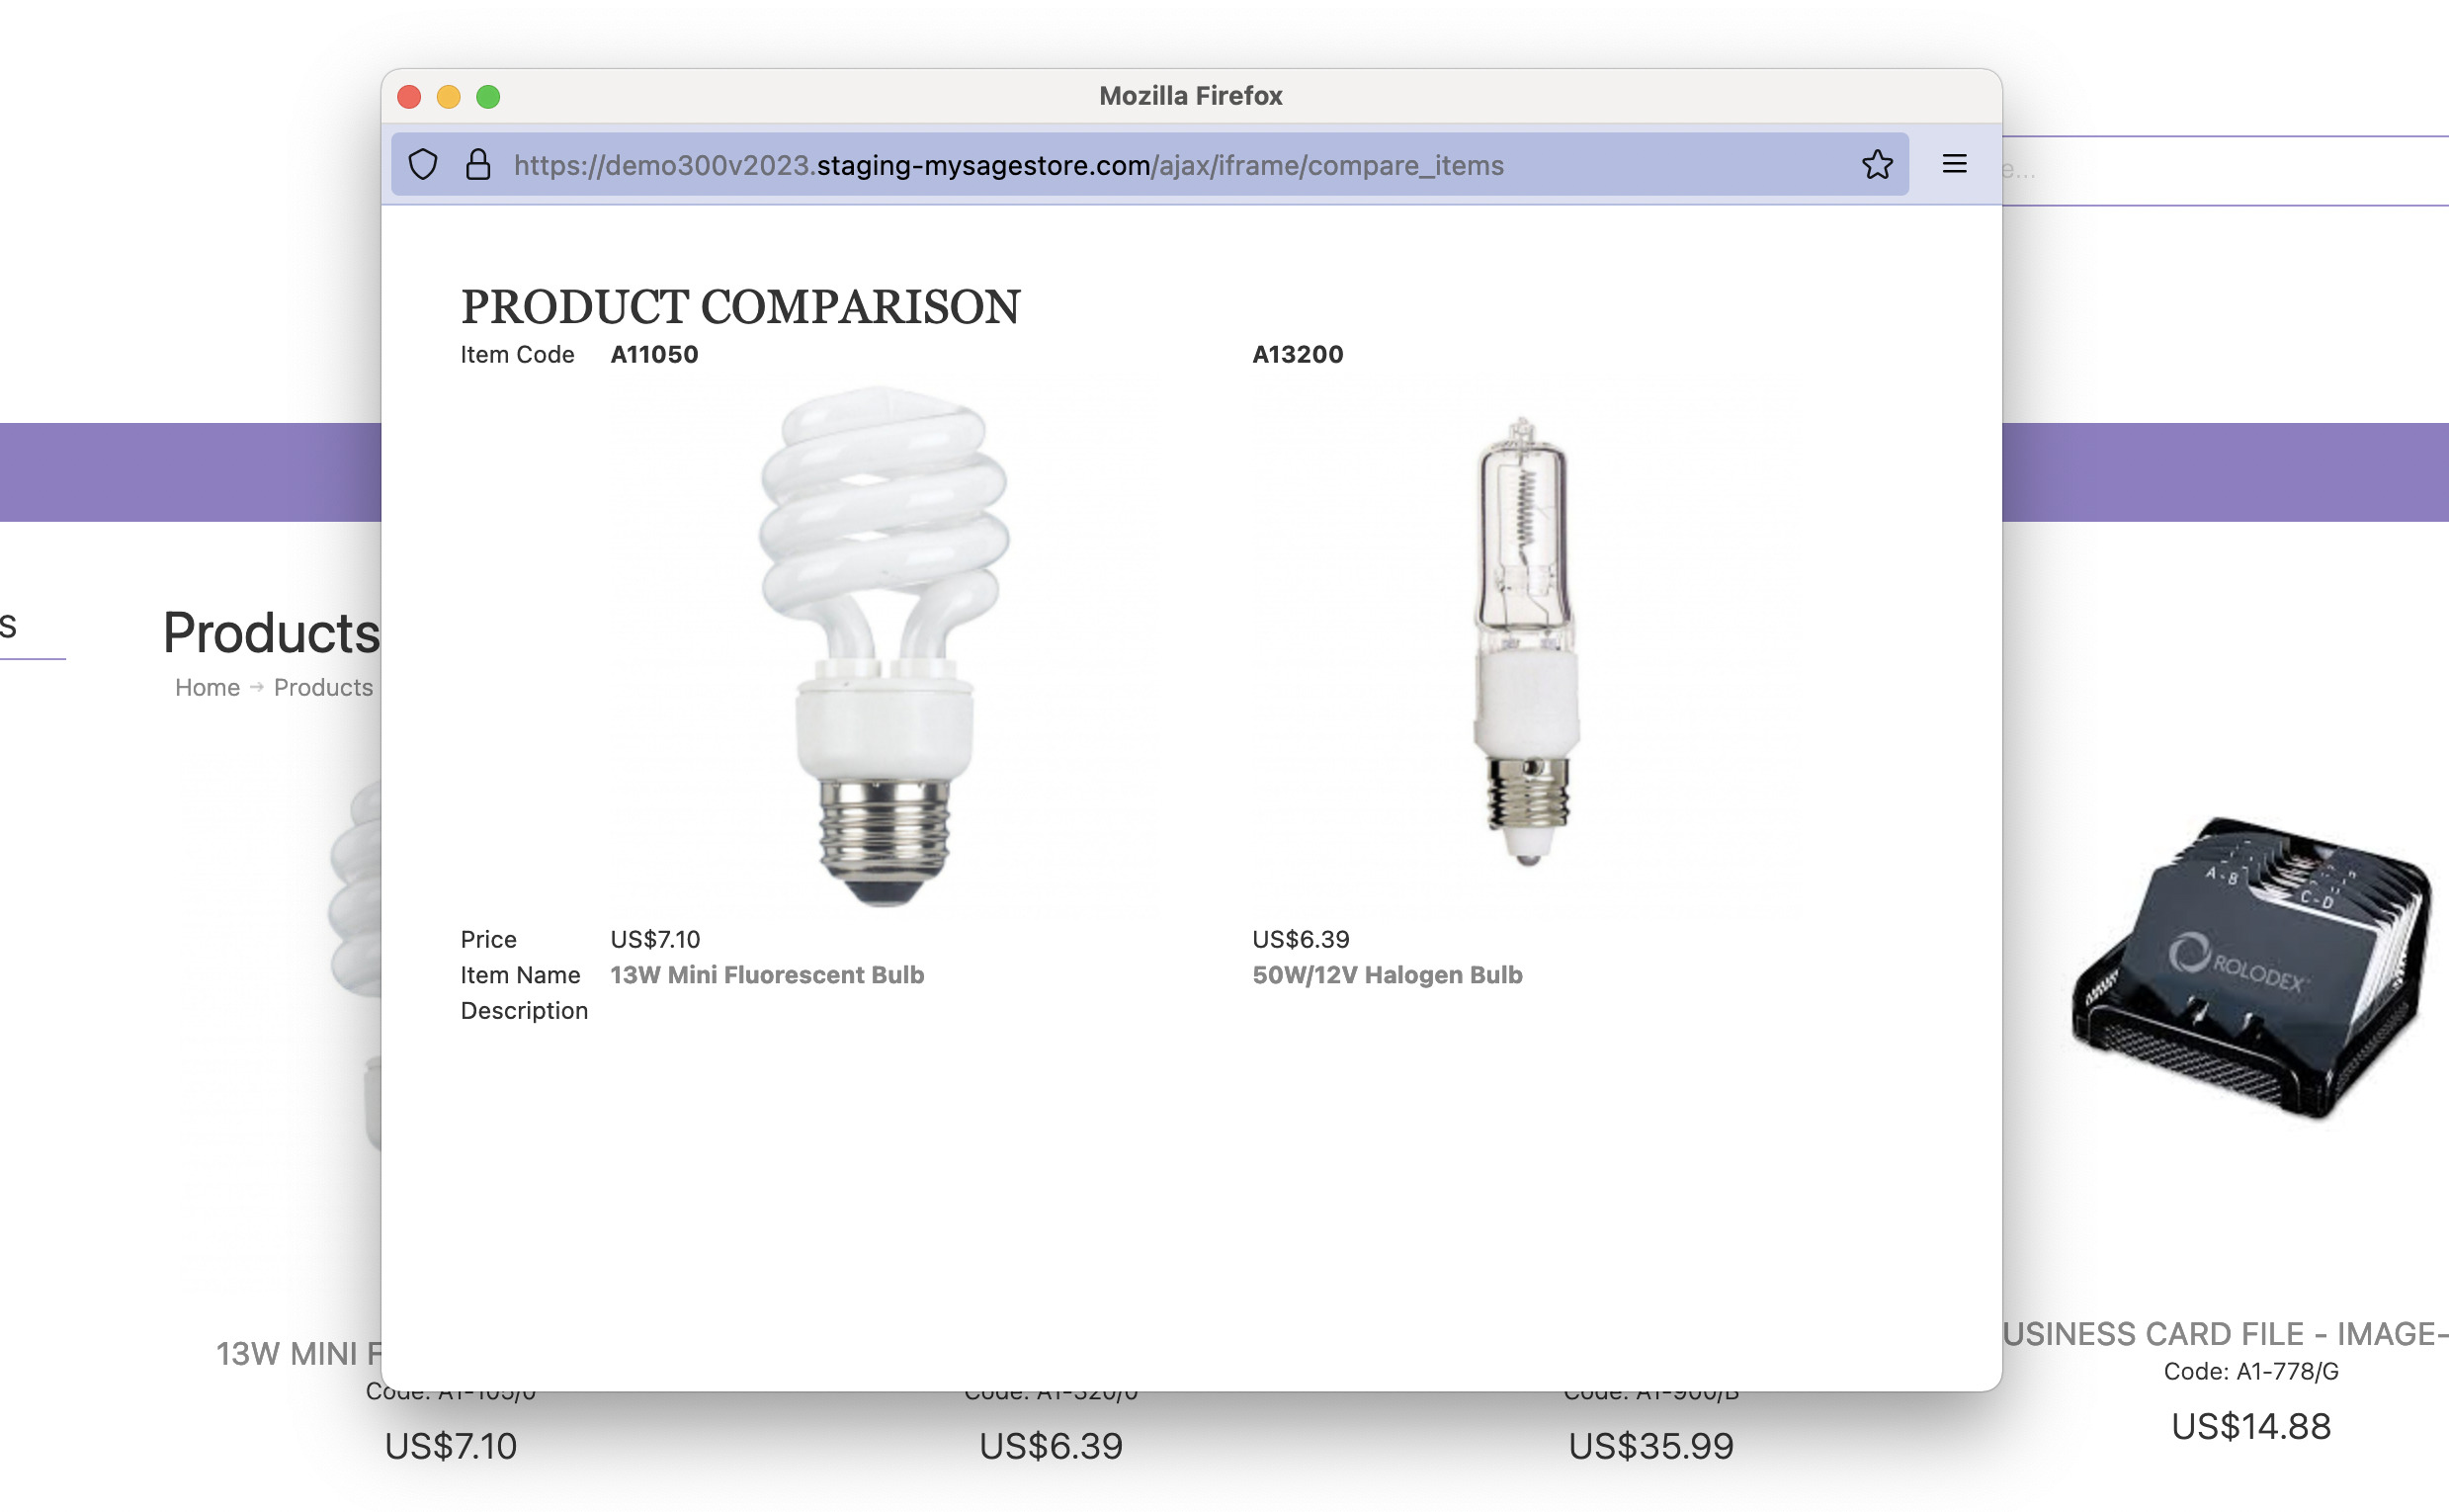
Your web store has the option to enable product comparison, allowing users to compare multiple products side-by-side. In this guide we will review how to enable that feature. Please note that this feature requires that the store already has the content grid built out.
Enable in the store features
The option can be enabled for B2B users under /admin/msite/features and for B2C users under /admin/msite/features/public.

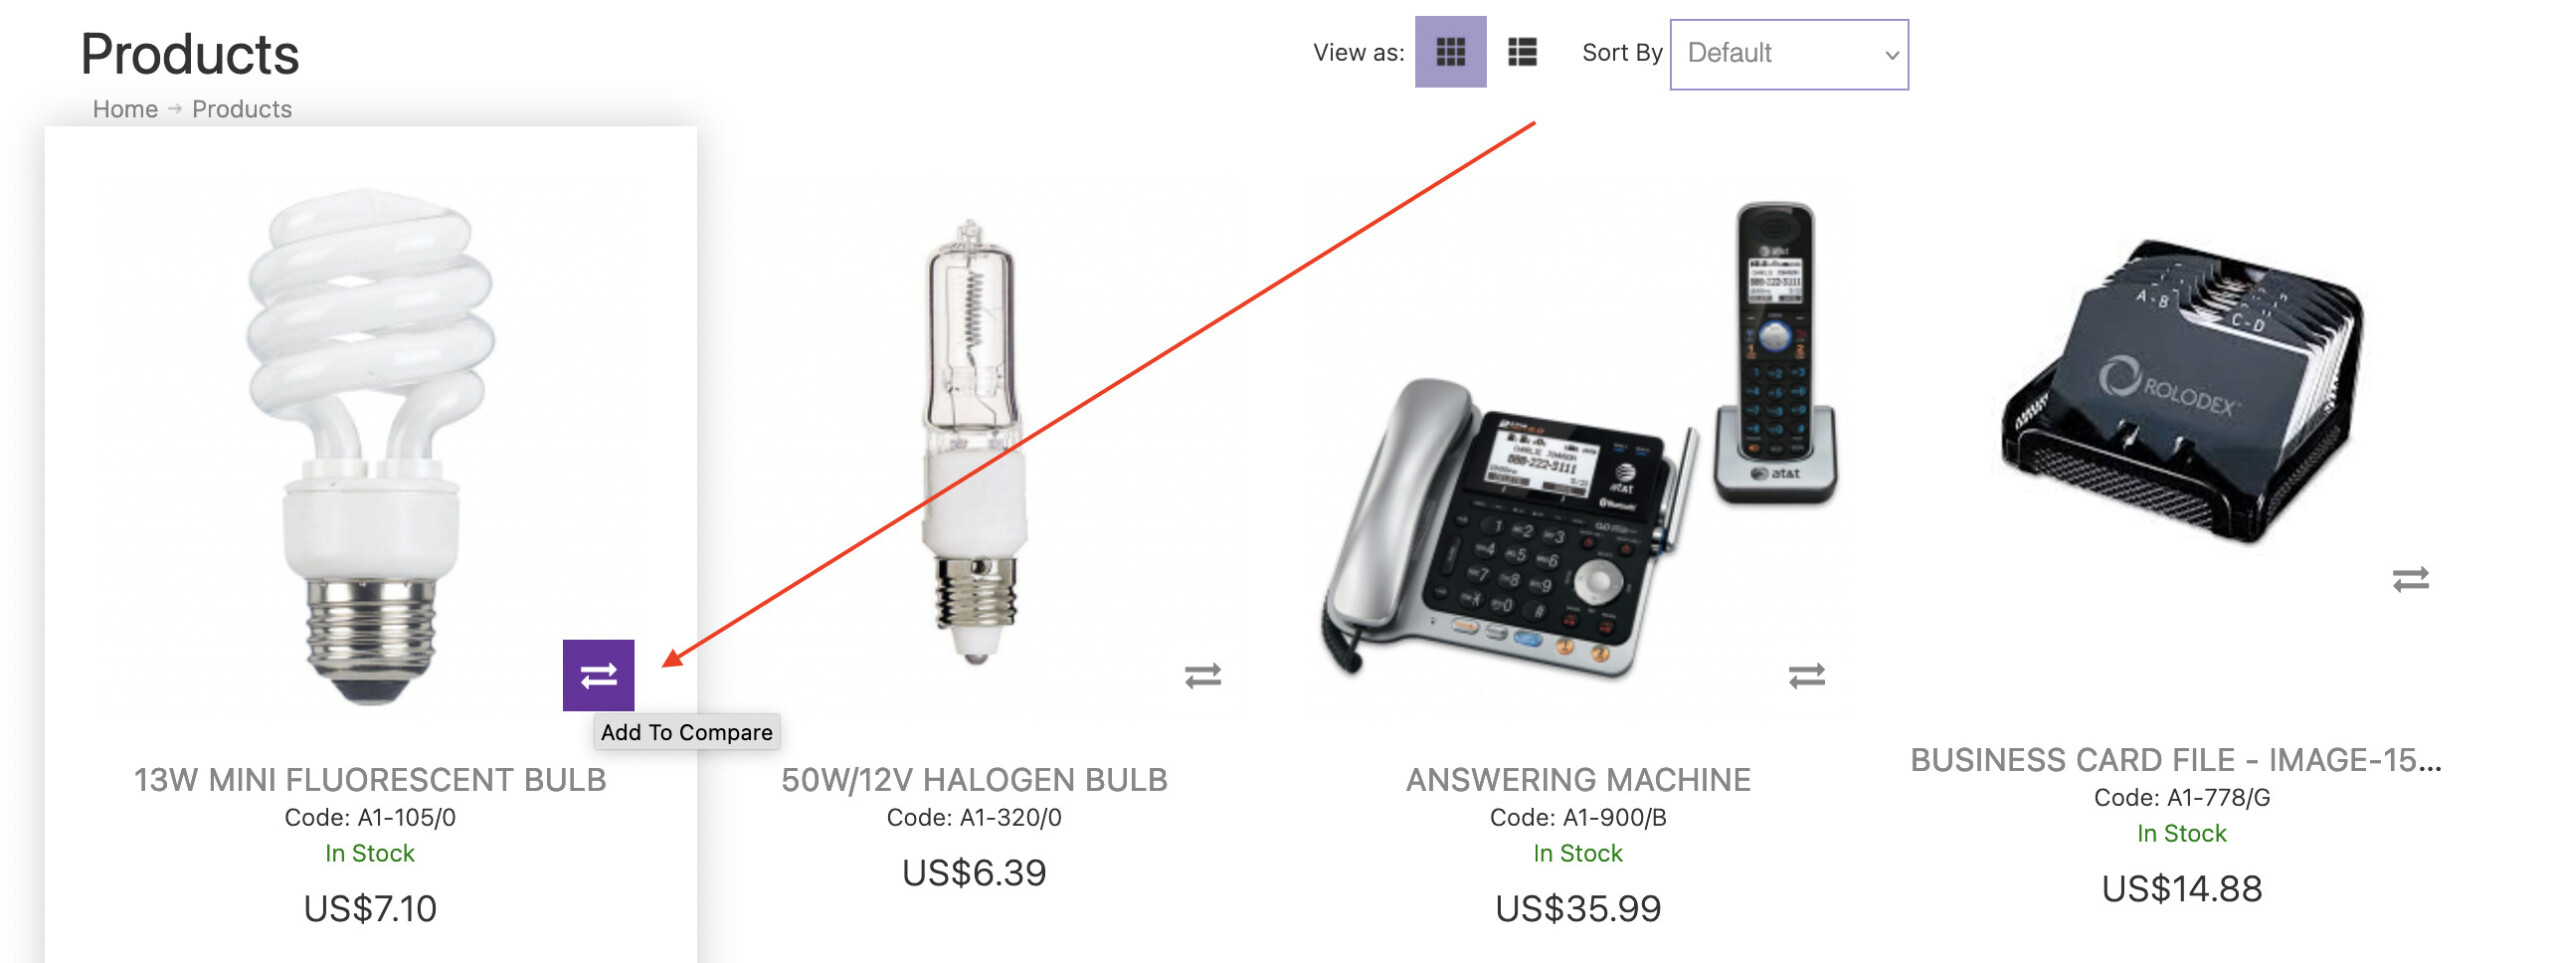
Once the option is enabled it should automatically appear on the category grid.
Enable in the product grid
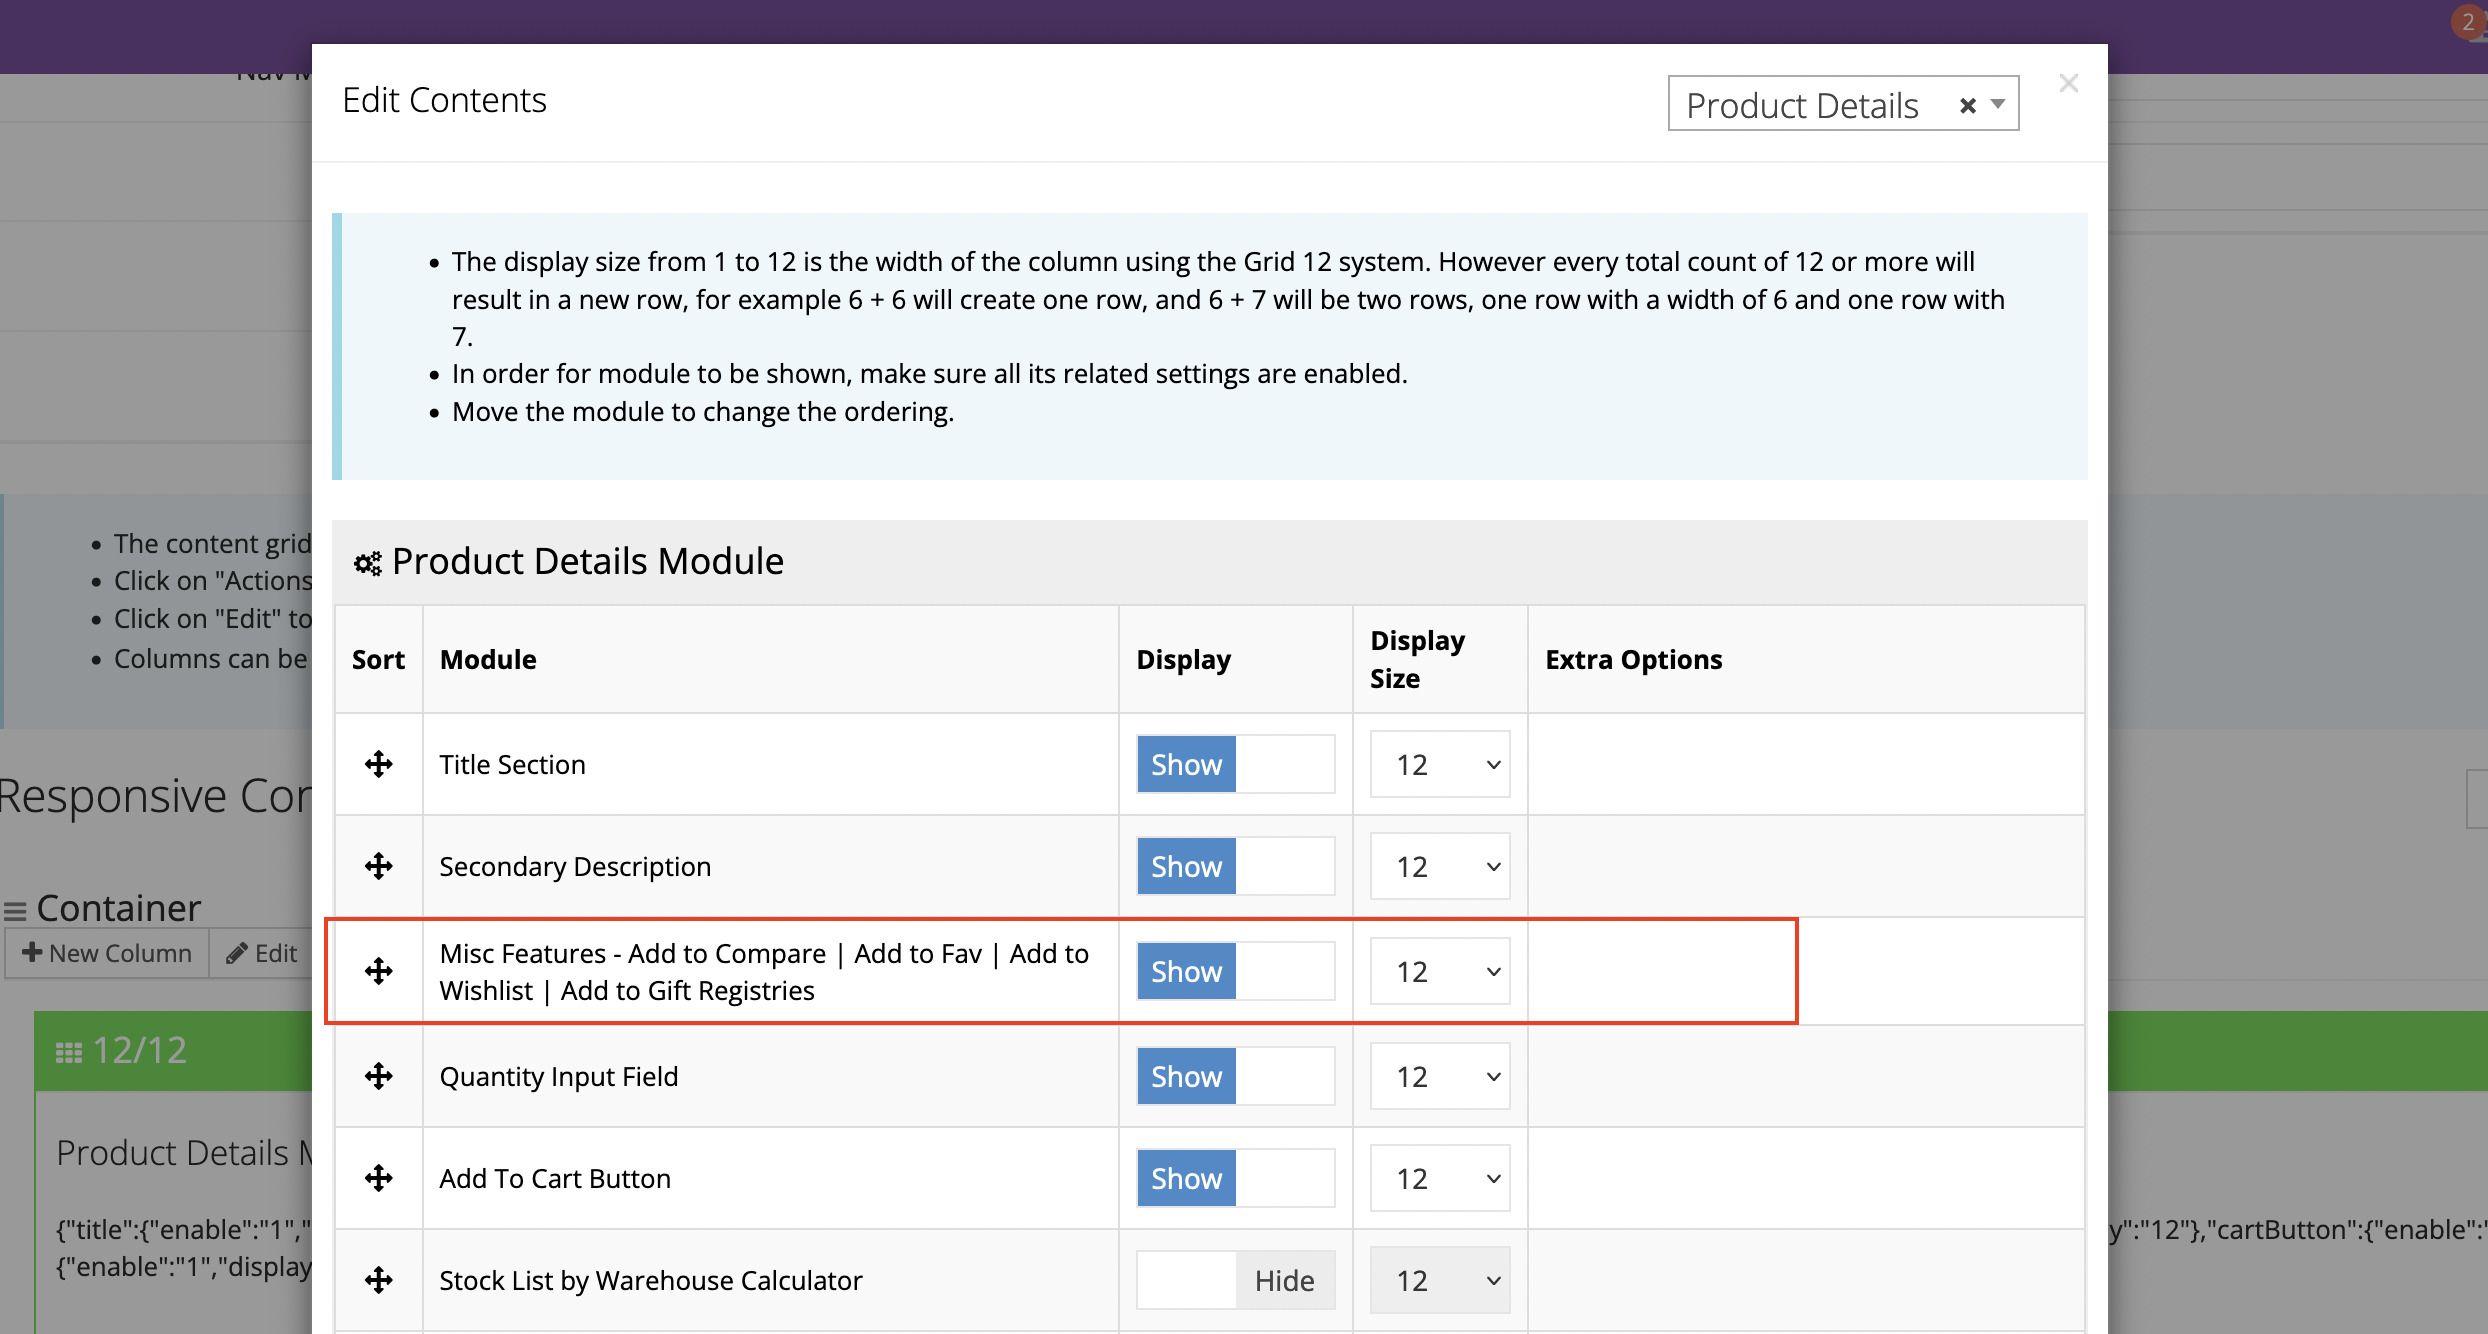
Navigate to Content Management → Default Pages and edit the Product template. Please note there are different templates – one for B2B users and one for B2C users.
Edit the settings for the Product Details module and enable the option Misc Features – Add to Compare | Add to Fav | Add to Wishlist | Add to Gift Registries
Enable in the store header
Navigate to Content Management → Default Pages and edit the Header template. Please note there are different templates – one for B2B users and one for B2C users.
Edit the settings for the Heading Multi Module and enable the option Compare Widget.
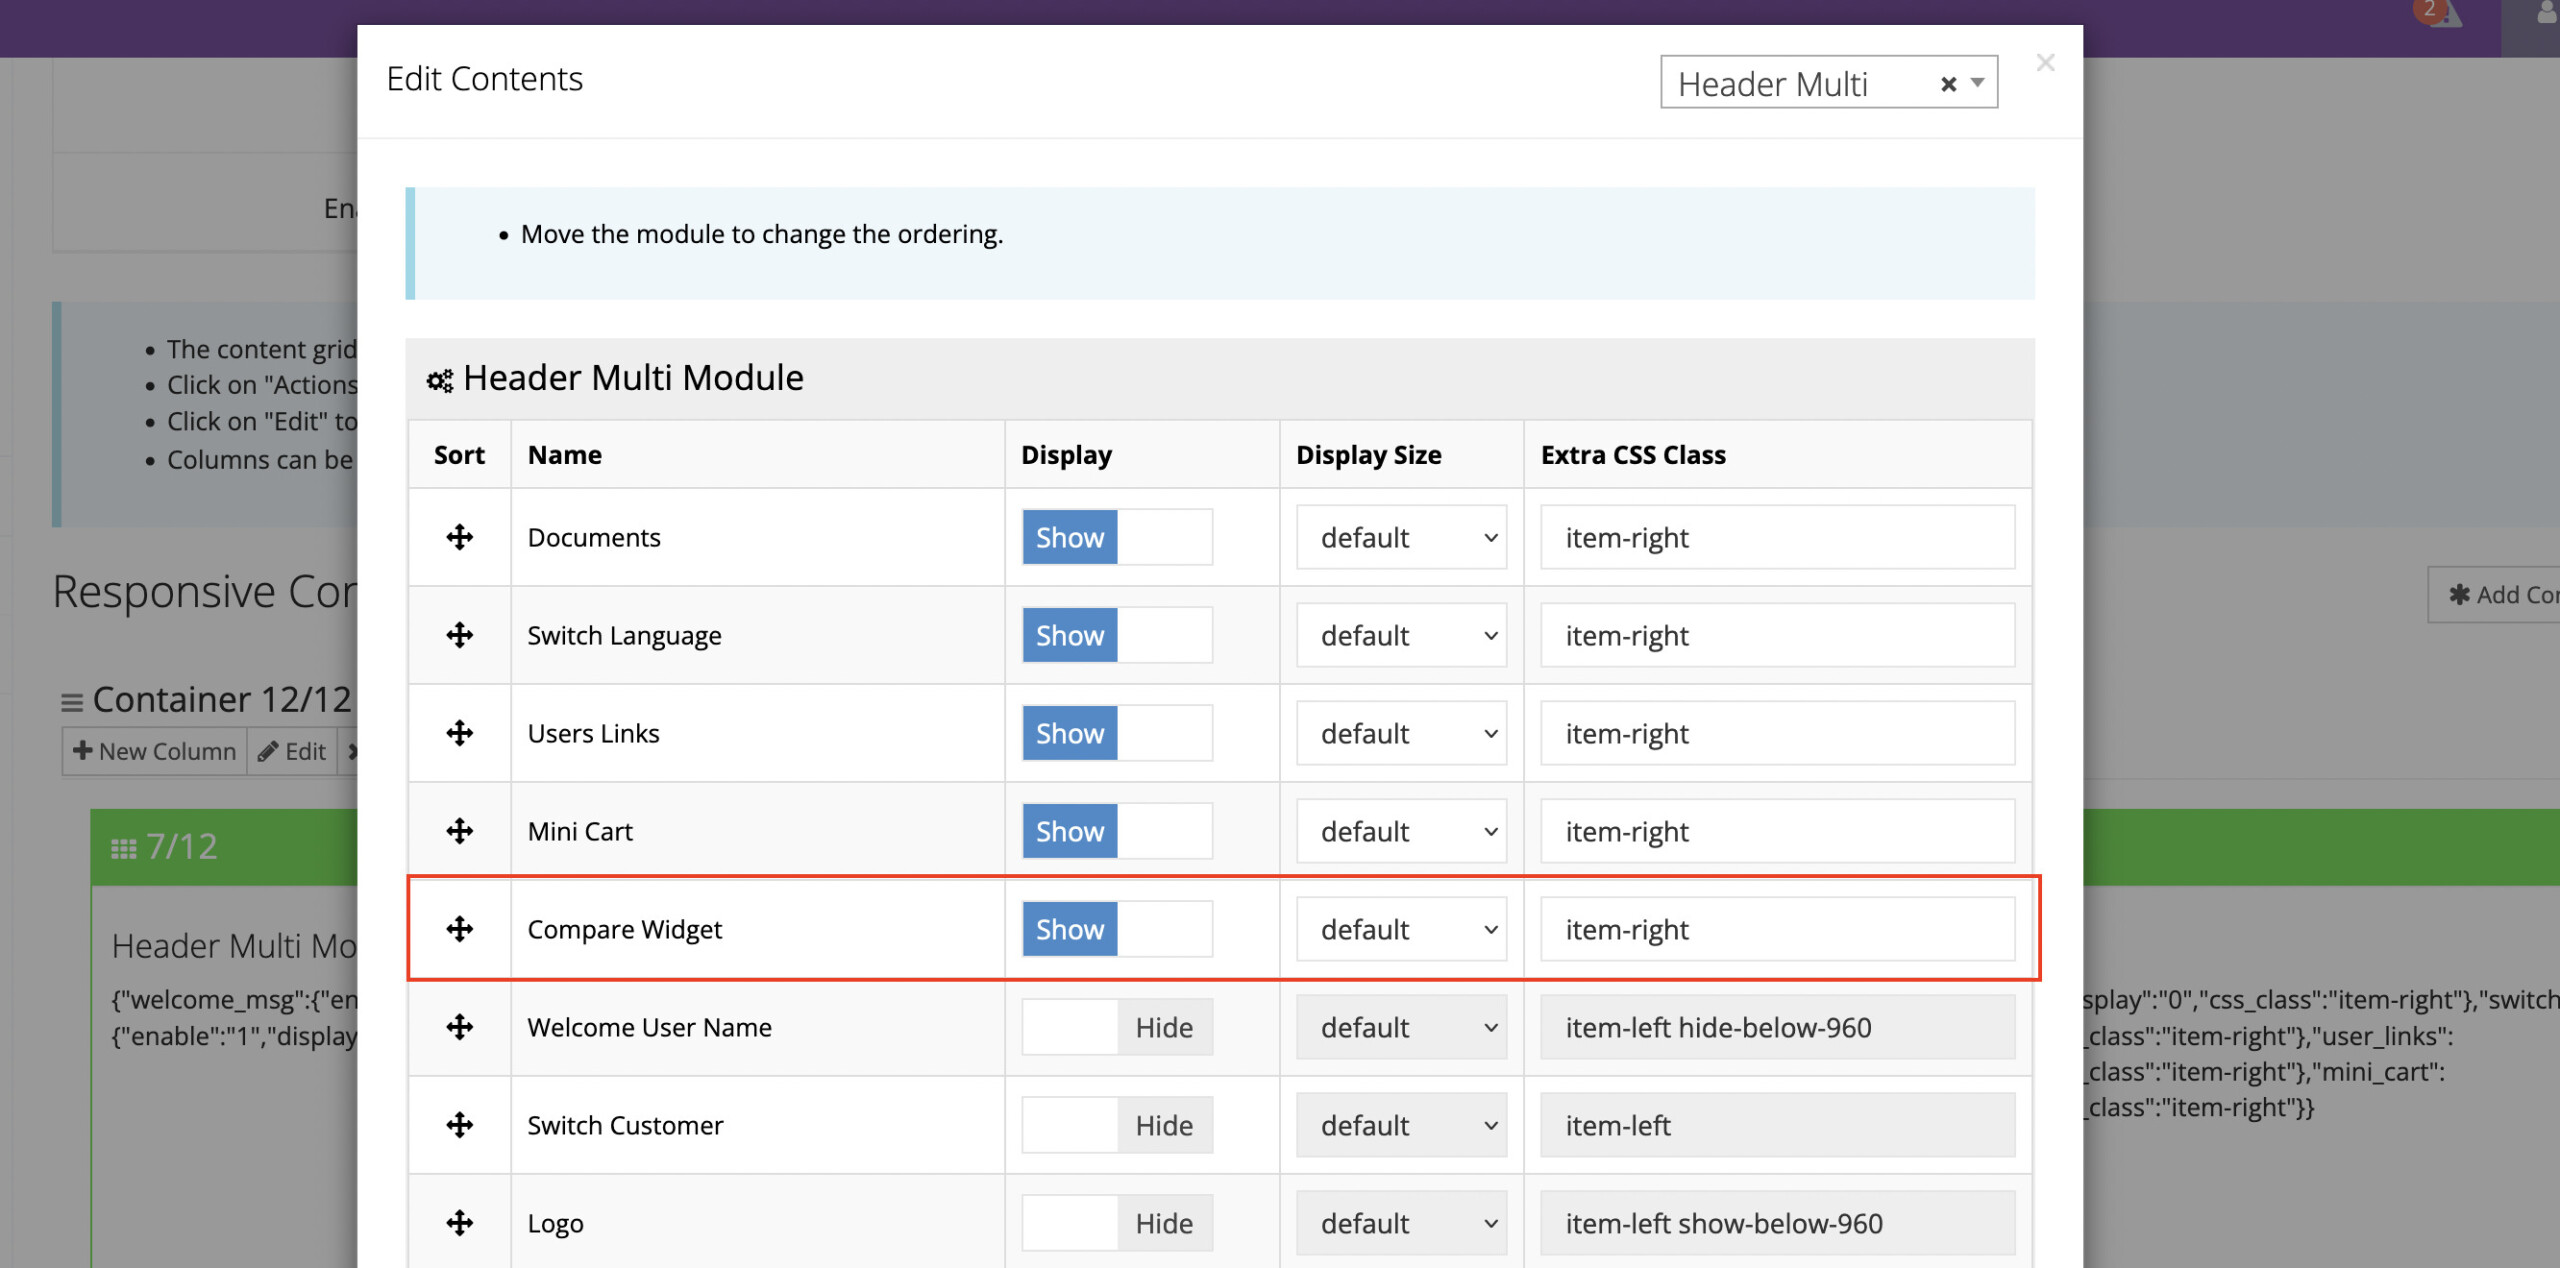
That will add a link to the store header allowing users to open the compare popup window. Please note that this header link may require some CSS to style it to match the rest of the store.

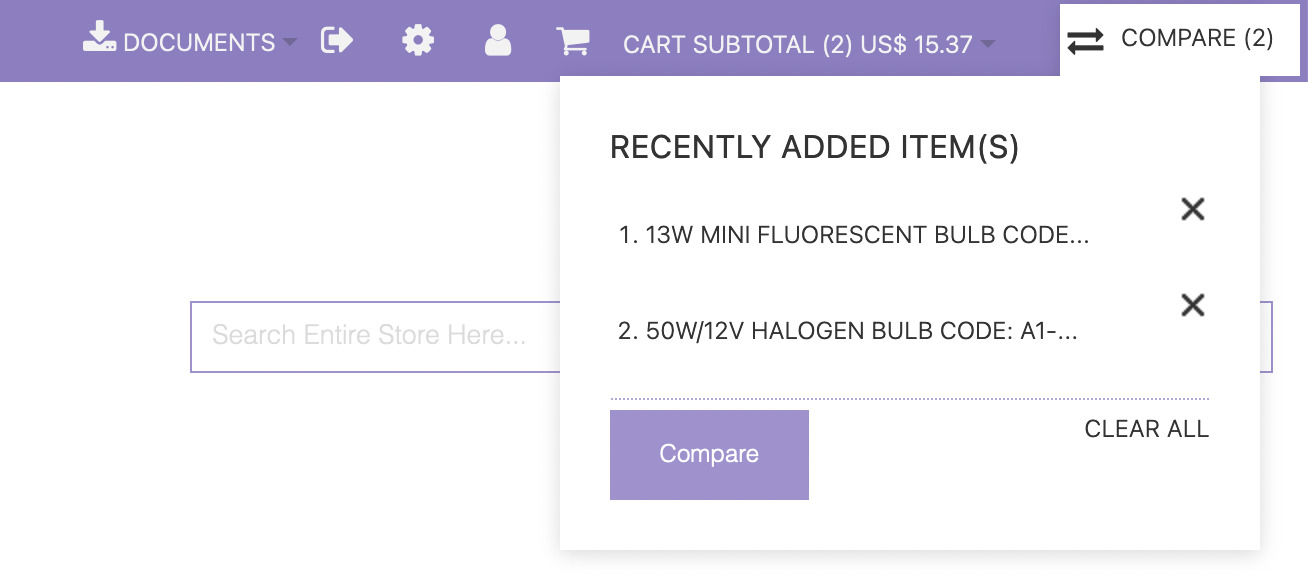
In addition to being able to open the compare popup window, users can hover the header icon to display a drop down summary of the items on the compare list.
Customizing
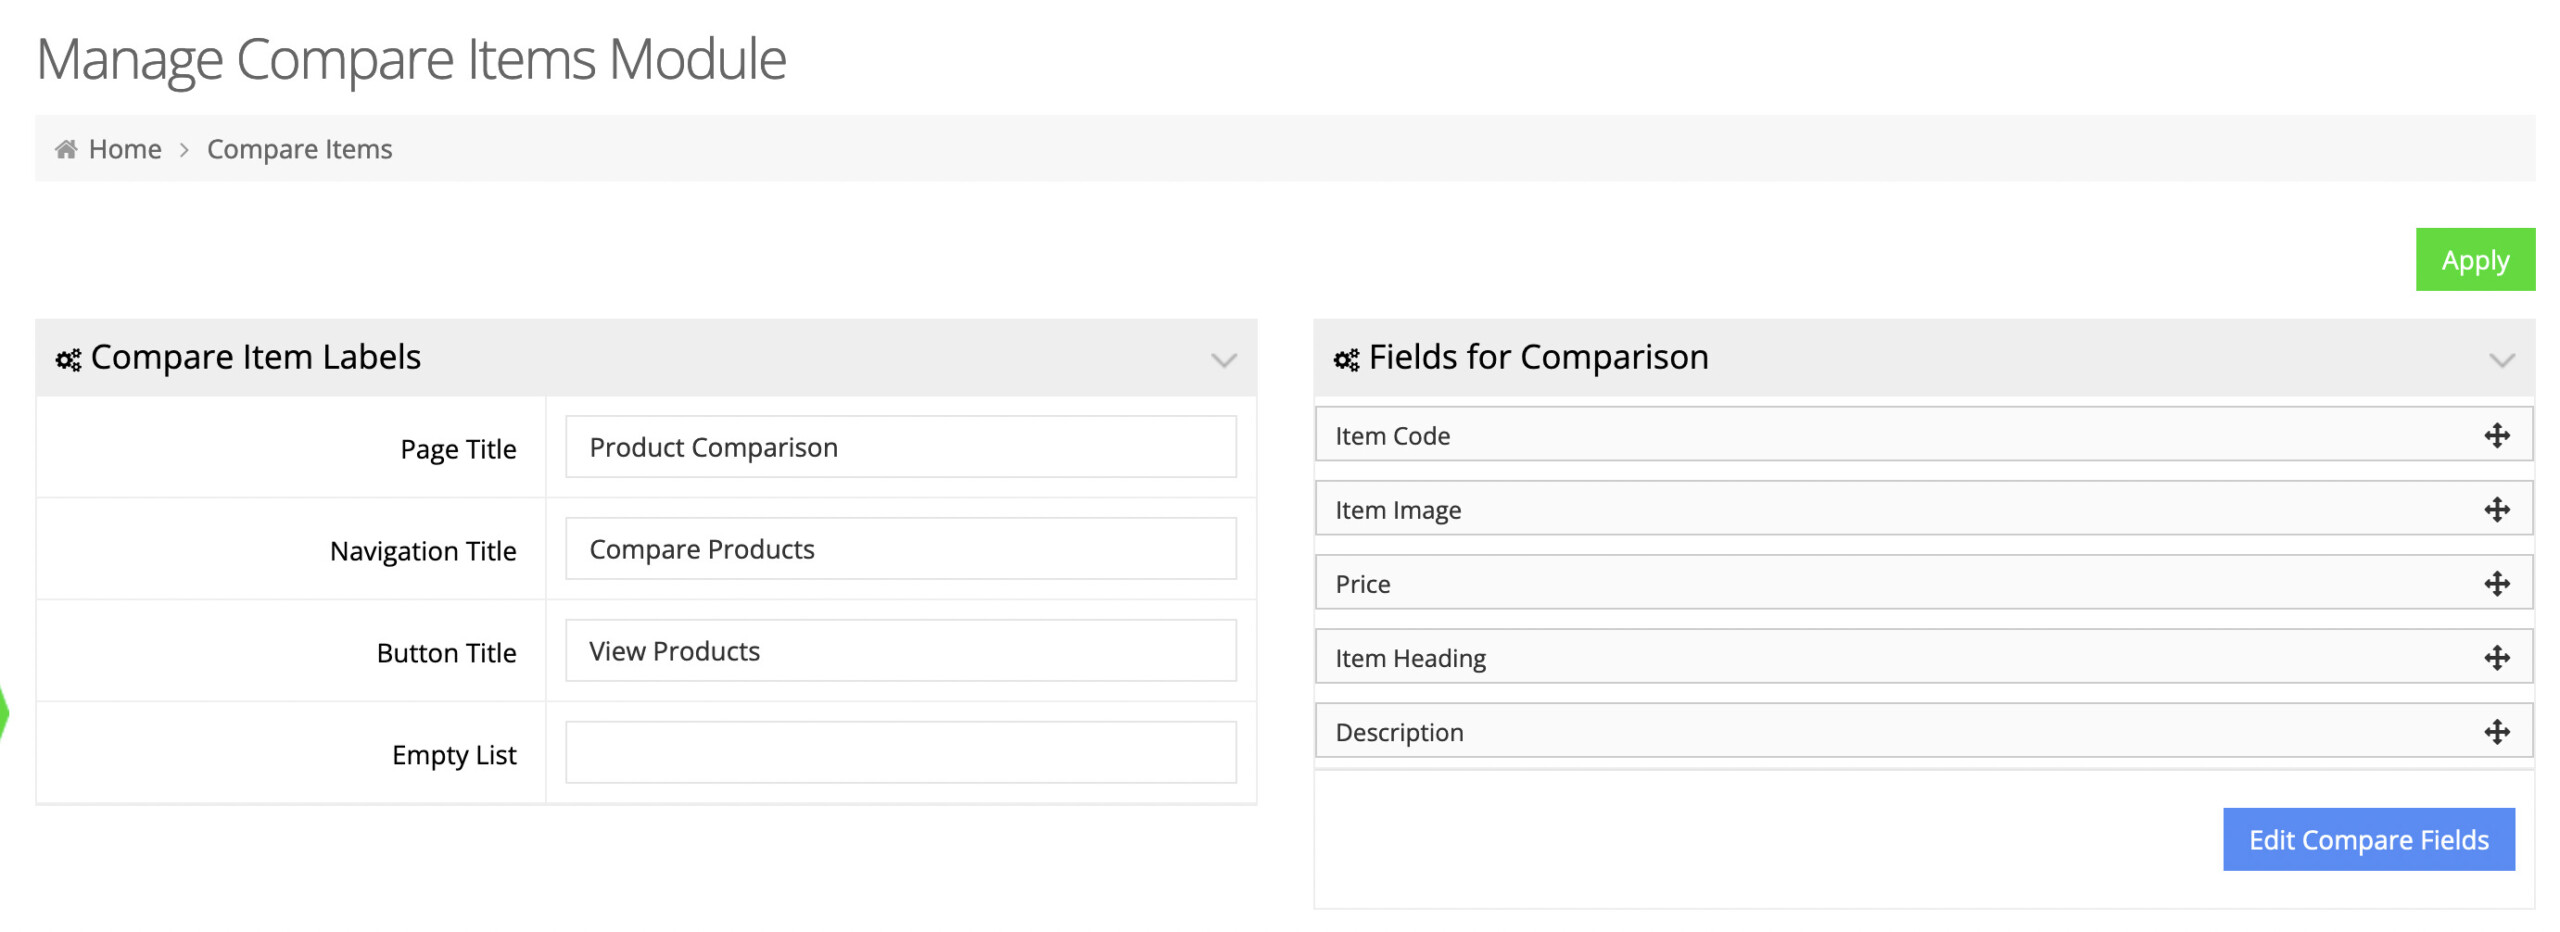
Under “System → Modules → Compare Items” you can customize the compare labels and fields to be included.
