A Category page is one of the default pages which displays category filters and product listings. To display content via a content grid and to customize the look of your category listing pages, you need to make use of a Responsive Content Grid.
Getting Started
In your admin dashboard, navigate to Content Management > Default Pages and click Edit next to the “Category” content page. 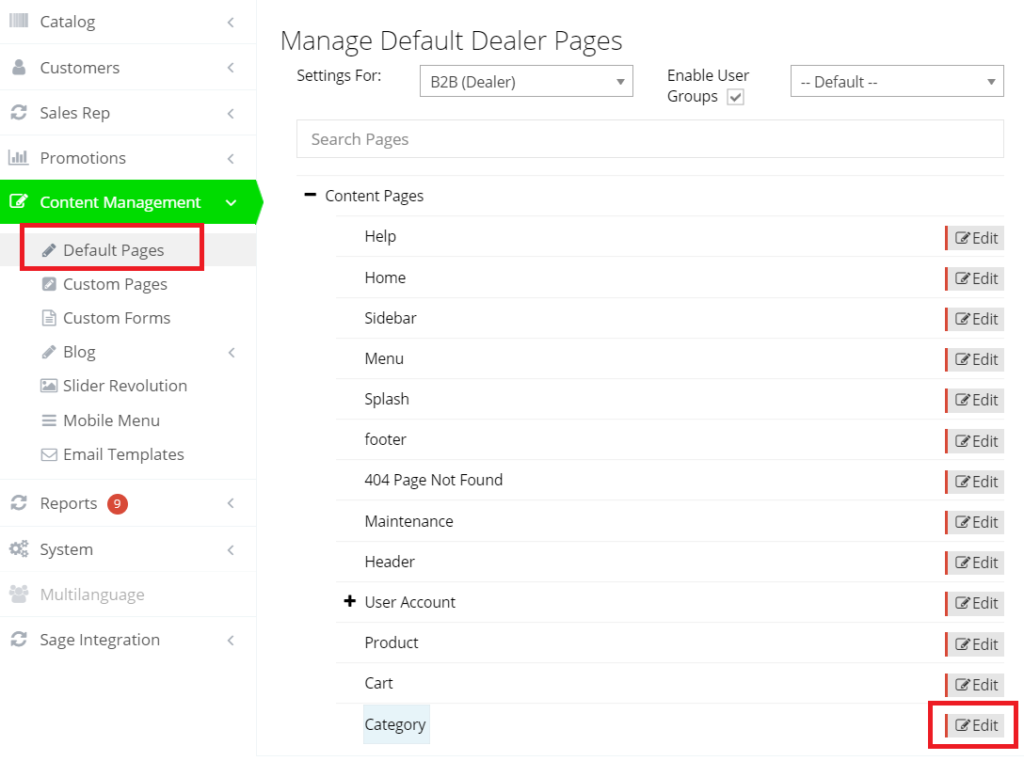
Add Containers
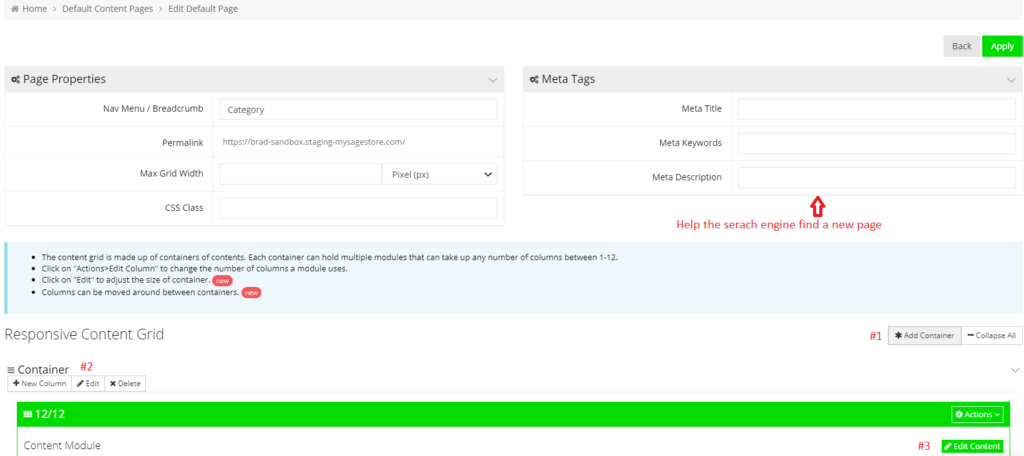
On the Edit Default Page screen, click “Add Container” under the Responsive Content Grid section.
To ensure that search engines can properly index the page, don’t forget to add in your SEO by entering meta information in the Meta Description field.
You may also adjust how many columns or the amount of screen space the container will take by clicking “Edit”.
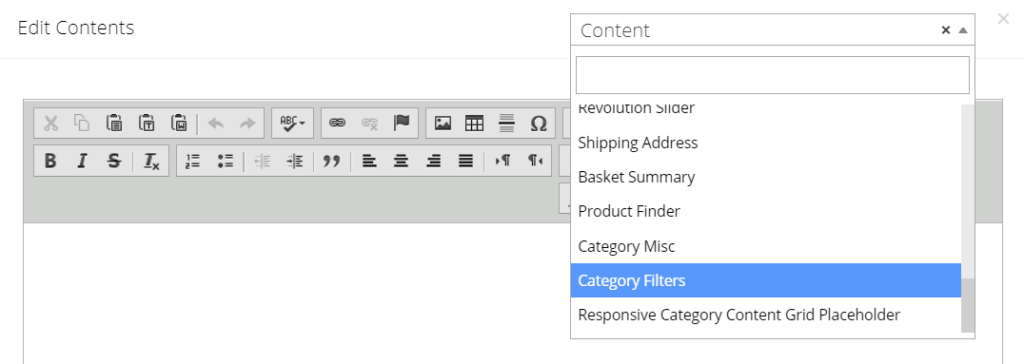
Click Edit Content to choose a type of module to display on a category page.
For example, the Category Filters module will display Filters. Adjust your container’s position and width so that it would take approximately 30% to 40% of the screen space.
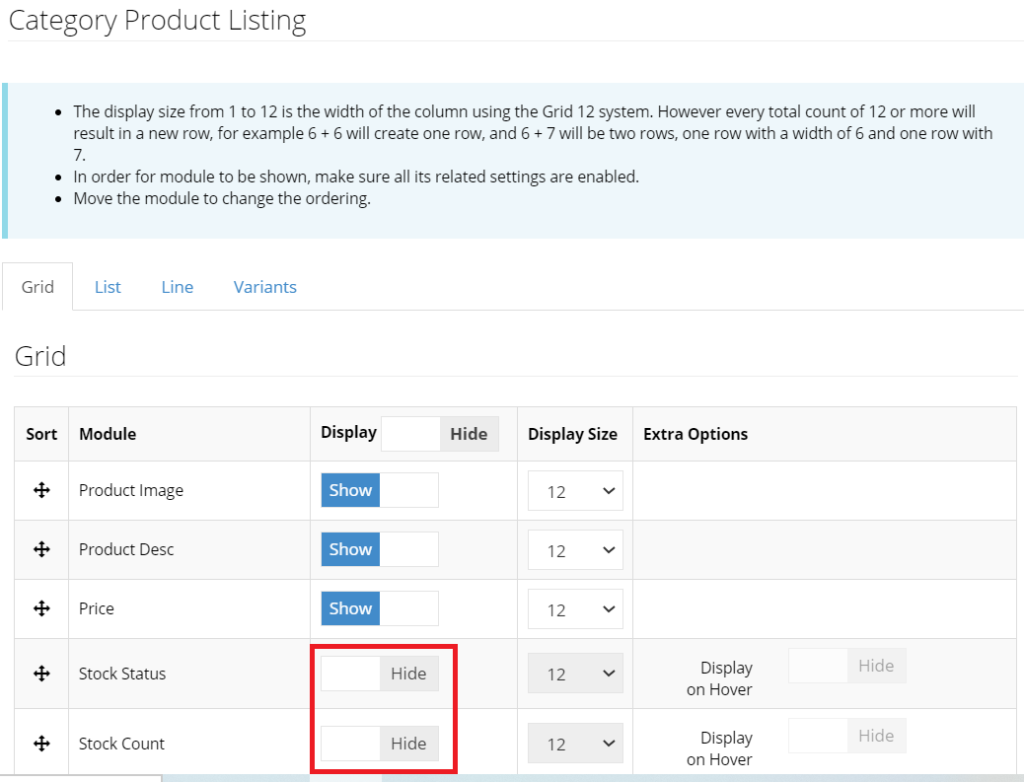
Similarly, the Category Product Listing module will display a list of products and various information associated with a product. You may choose to show/hide the extraneous information by toggling the buttons. You can also drag the elements up and down to position them.
When containers are added, click Apply to save and reflect the changes on your web store.

How it appears on the web store
This is how a sample category page will look after adding 4 containers: 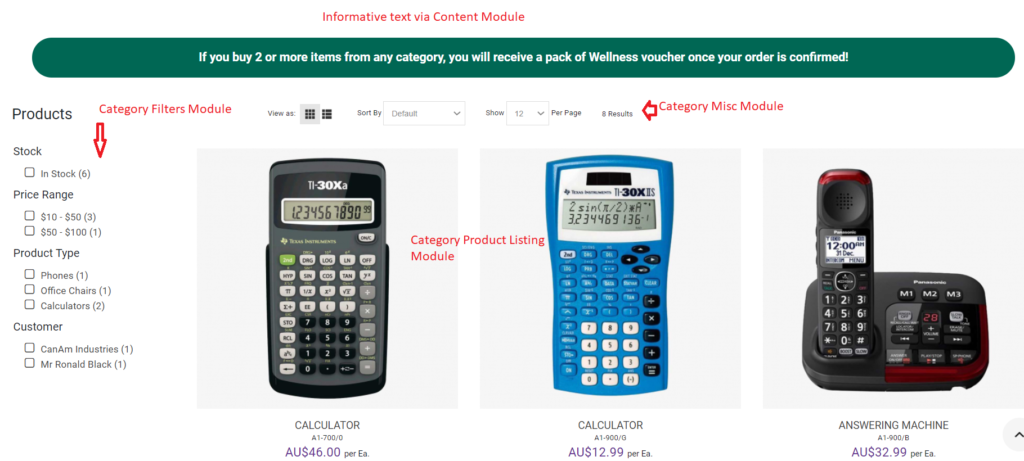
Click the copy icon to copy the grid from B2B to B2C if B2C pages are similar to B2B pages.