Before you begin adding a new user to your webstore, you will first need to decide whether the user will be a B2C user or a B2B user. The difference between the two can be reviewed in this article »
Jump to a section:
- Create a new B2C user
- Create a new B2B user
- Create a new administrator user
- Remove a user
- Remove users in bulk
Create a new B2C user
- Log into your store and navigate to Customers → Manage Customers (/admin/musers/)
![]()
- Press the “New Public User” button
- Fill out all of the required fields and then press “Apply”
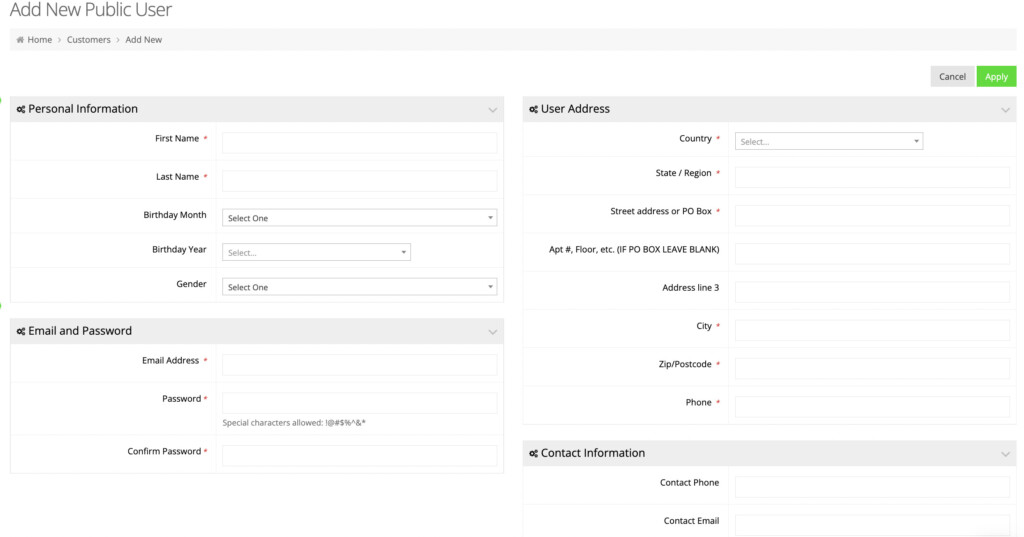
- Your new user will be created, assigned to the group “Public Users (Registered Users/B2C)”

Create a new B2B user
- Log into your store and navigate to Customers → Manage Customers (/admin/musers/)
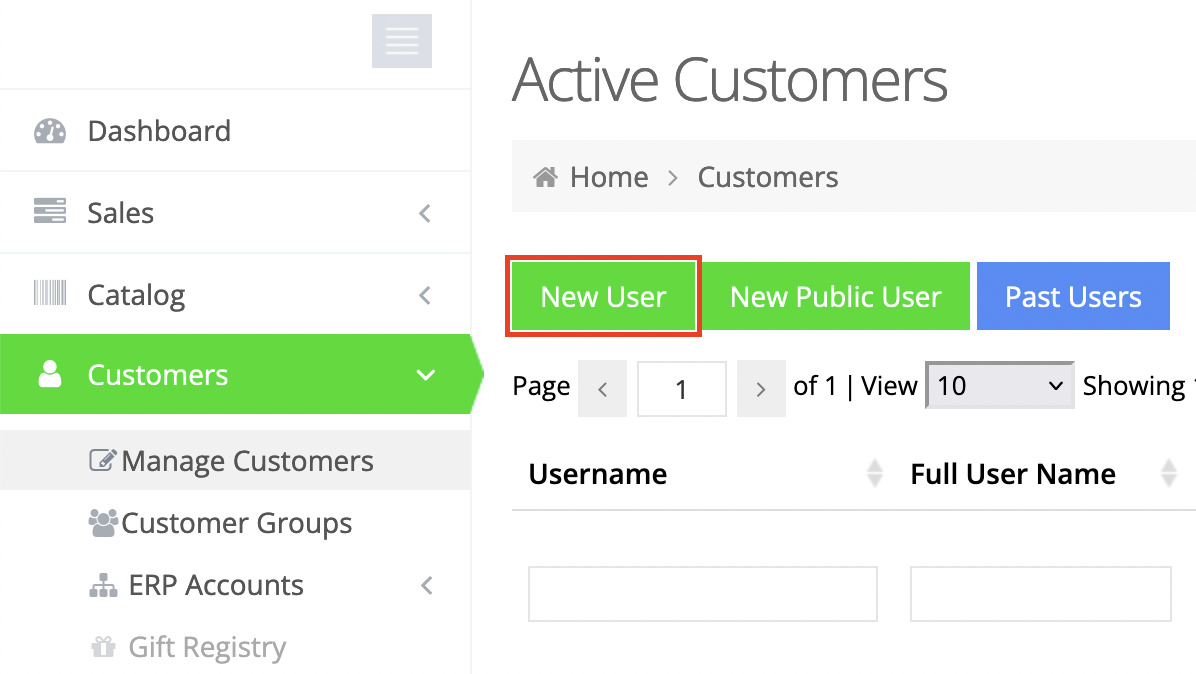
- Press the “New User” button
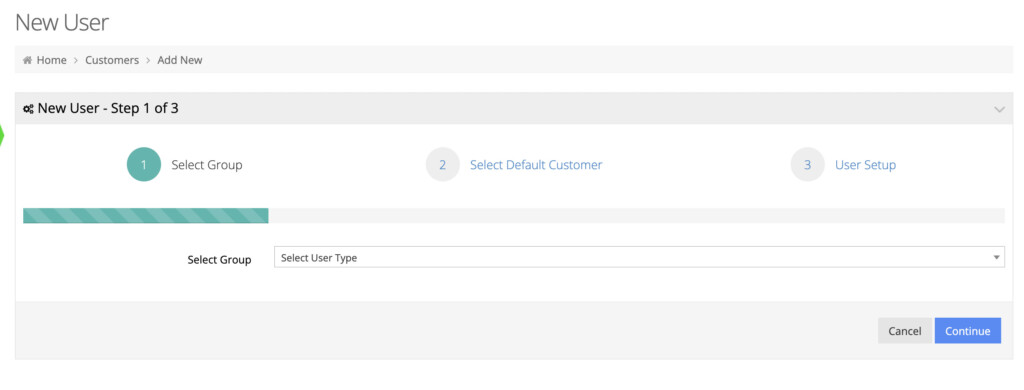
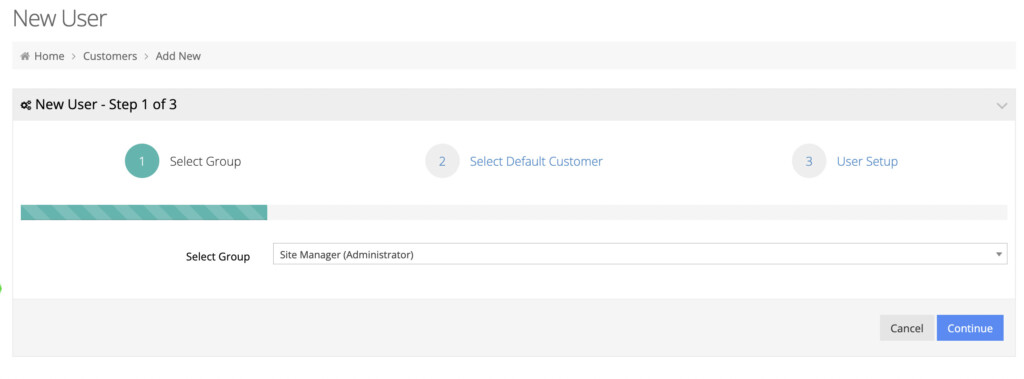
- First select the group that this user will be assigned to, and then press “Continue”
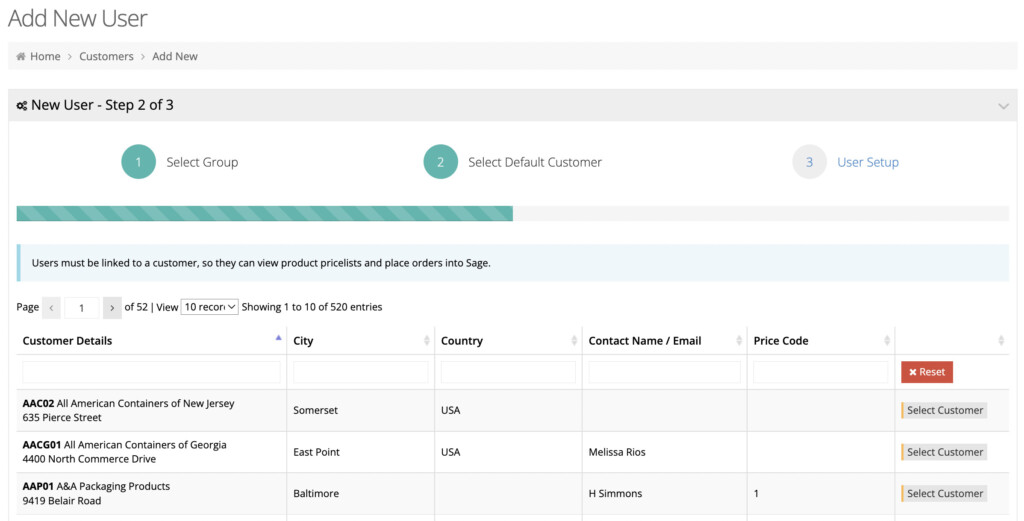
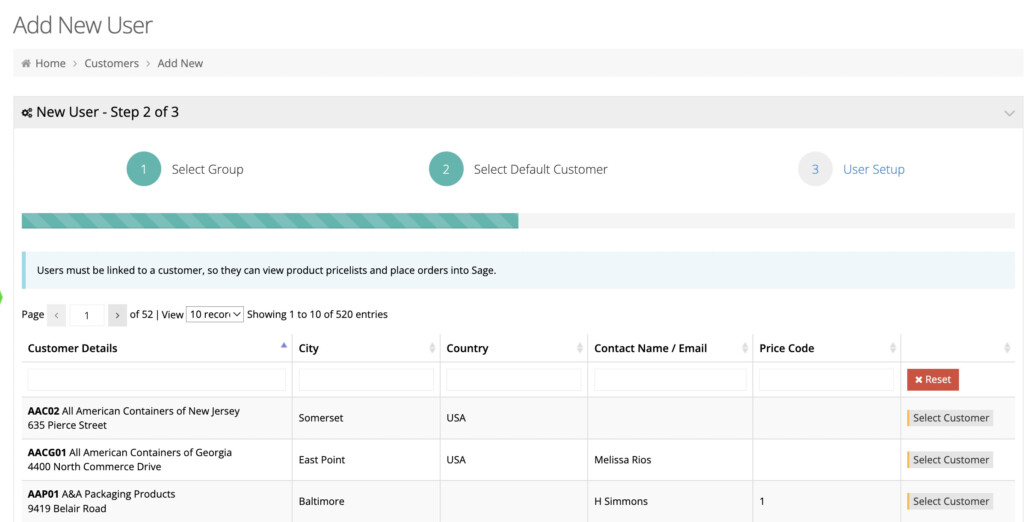
- Users must be linked to a customer, so they can view product pricelists and place orders into the ERP. On step 2, assign this new user to an ERP customer.
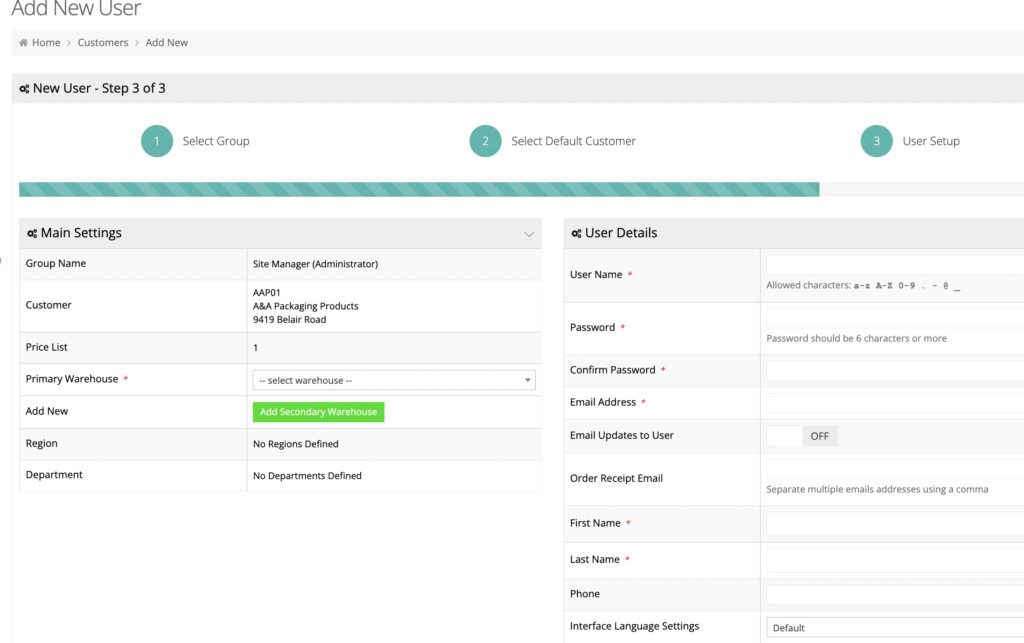
- Finally, fill out the required fields on step 3 and press “Continue”
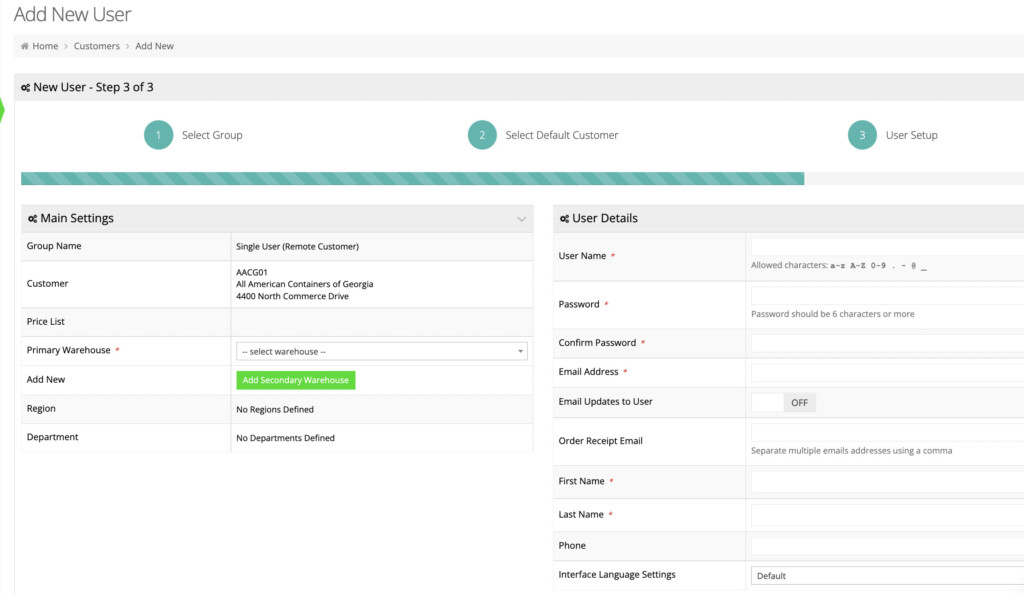
- Your new user will be created and will be assigned to the group you selected for them
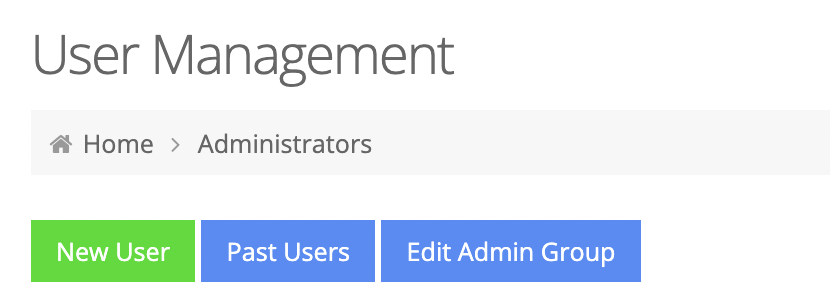
Create a new administrator user
- Log into your store and navigate to System → Site Administrators (/admin/musers/administrators)
- Press the “New User” button
- First select the user type for this user, and then press “Continue”
- Assign this user to a default customer by pressing the “Select Customer” to the right
- Finally, fill out the user details and press “Continue” to submit
Remove a user
- Log into your store and navigate to Customers → Manage Customers (/admin/musers/)
- Locate the user you wish to remove, and press the “Delete” button in their row

- You will be prompted to confirm the deletion, and once you confirm, the user will be removed
Remove users in bulk
- Log into your store and navigate to Customers → Manage Customers (/admin/musers/)
- Click Tools → Export
- Download the Excel sheet. When finished, open the sheet and find column AE, i.e.
Deleted? (true/false) - For the users you wish to delete, change the column from
falsetotrue. - Save the Excel sheet. Return to Customers → Manage Customers, and click Tools > Import to import your newly saved Excel sheet.
To verify that a user has been deleted, navigate to Customers → Manage Customers, and then click Past Users. You can then search for the user by their email address or name to verify that they have deleted.