A popup is a small window that pops up in the foreground of a visual interface and offers informative or promotional content to a site’s visitors. Creating a popup and adding it to the site can be achieved by following a few steps.
Create the Popup
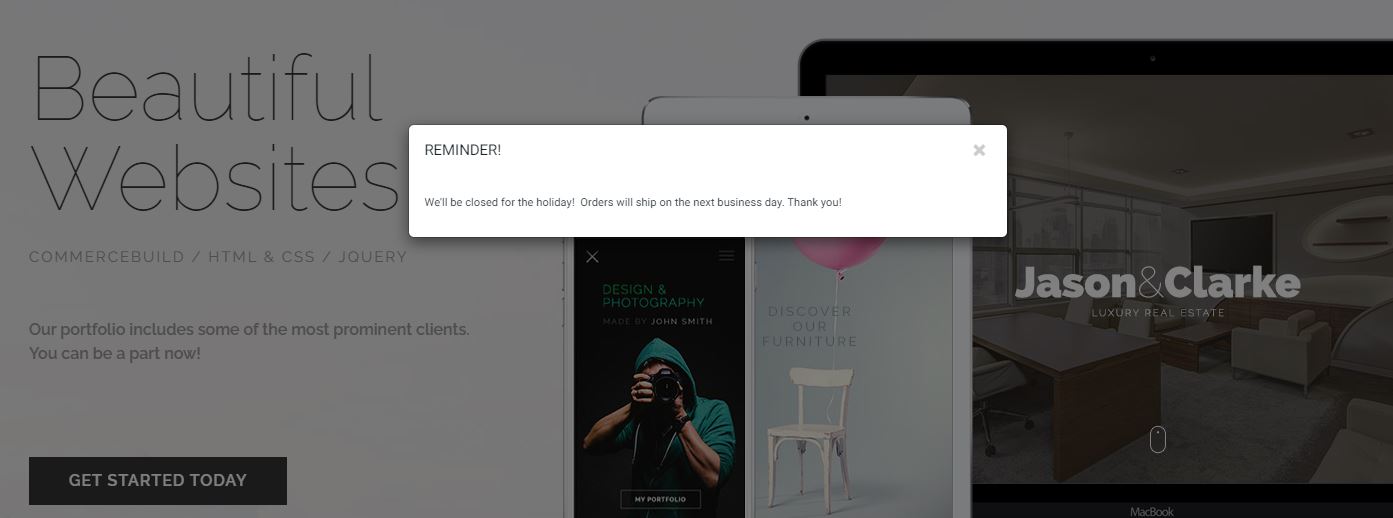
First, know where you’ll put the popup content. It’s common to put this on a home page, but you could put a pop-up on other pages, too. For this example, I want to create a reminder on the home page that we’re closed for the holiday, and that orders will be shipped out on the next business day.
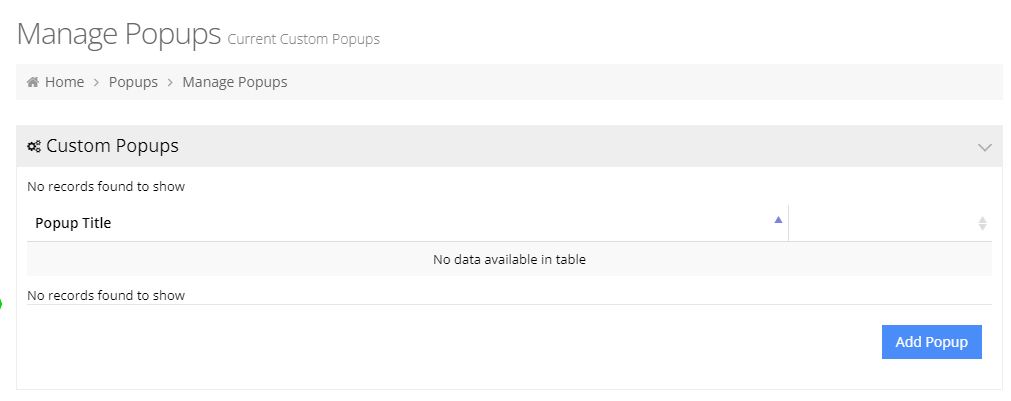
Once you know your message and where it’s going to live, via your web store Dashboard you can navigate to System > Modules > Popups. Click on the Add Popup button.
The first five fields are fairly straightforward:
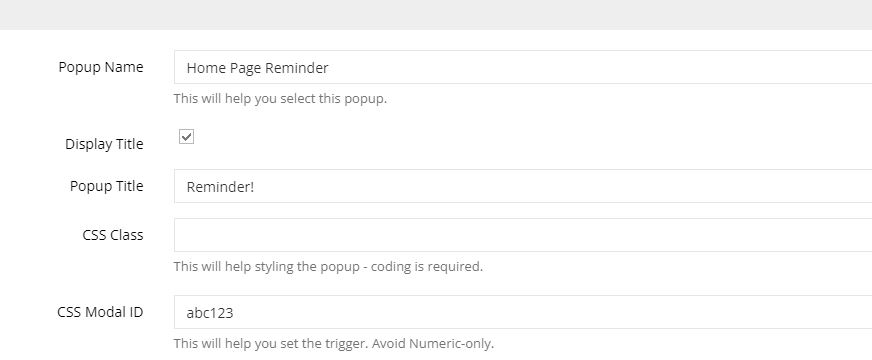
- Above, I’ve given this pop-up a name. It’s something only people with Admin access will see. I have a title “Reminder!” and I’ve elected to display this title.
- Please put the class in the next field if you want to style this pop-up. We’ll leave this blank for now and focus on the popup.
- For Modal ID it’s a good idea to put values here, and a reminder that if you’re creating multiple popups you’ll want these to be unique. Even if I’m not yet styling this, I’ll probably want to, so I fill this in.
Below CSS Modal ID are two more fields:
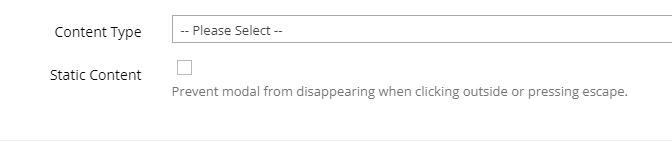
There are four options under Content Type:
- Contents
- Custom Form Module
- Shipto Address Module
- Multi Location Module. Multi Location Module may not be visible: it allows users to select the location you will ship from, or the retail location to pick up from. There are other requirements to use this, and it’s worth contacting support to see if it’s a good fit.
Static Content forces your user to either select something on the popup, or find the close button. If you leave this unchecked, then a user could click anywhere on the screen and the popup would disappear.
For this example, we are going to use Contents. As soon as we select Contents, we should see a content editor:
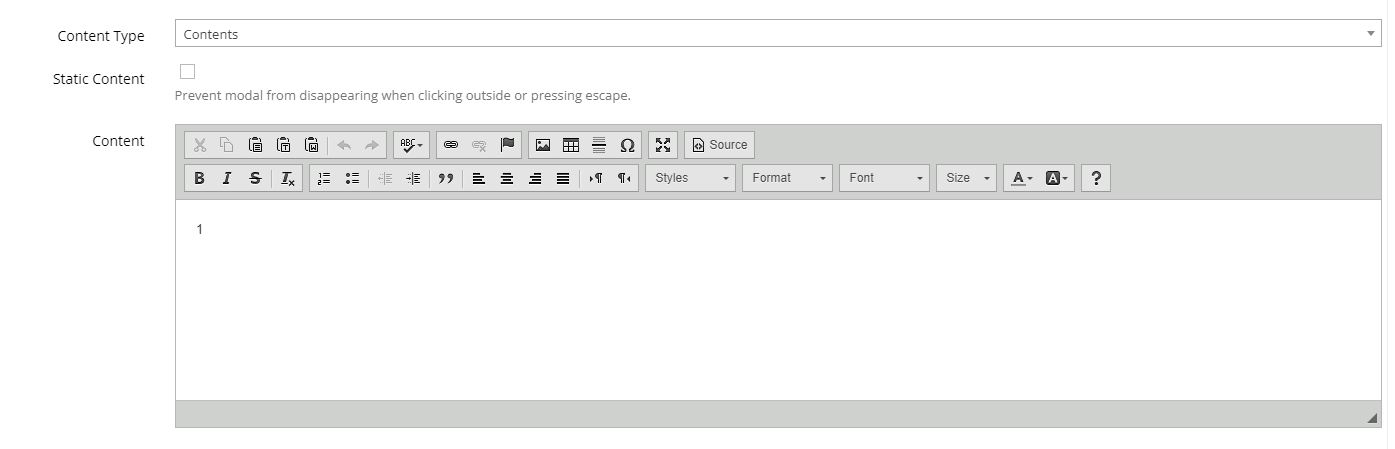
We’ll add in the following message:
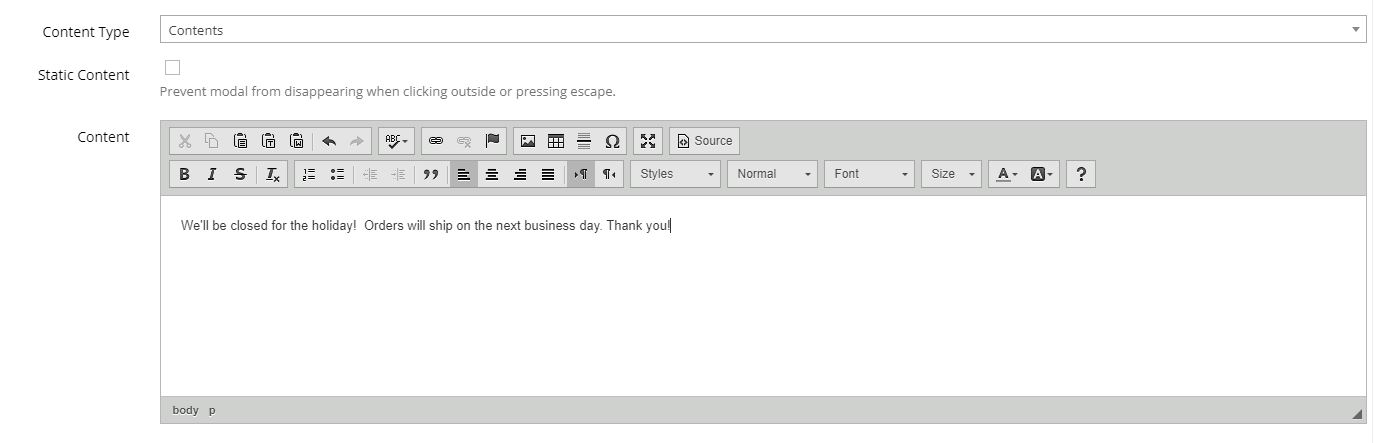
Don’t forget to apply your changes. The popup is built! Now it needs to be placed on a page to be seen by users.
Add a Popup to a Page
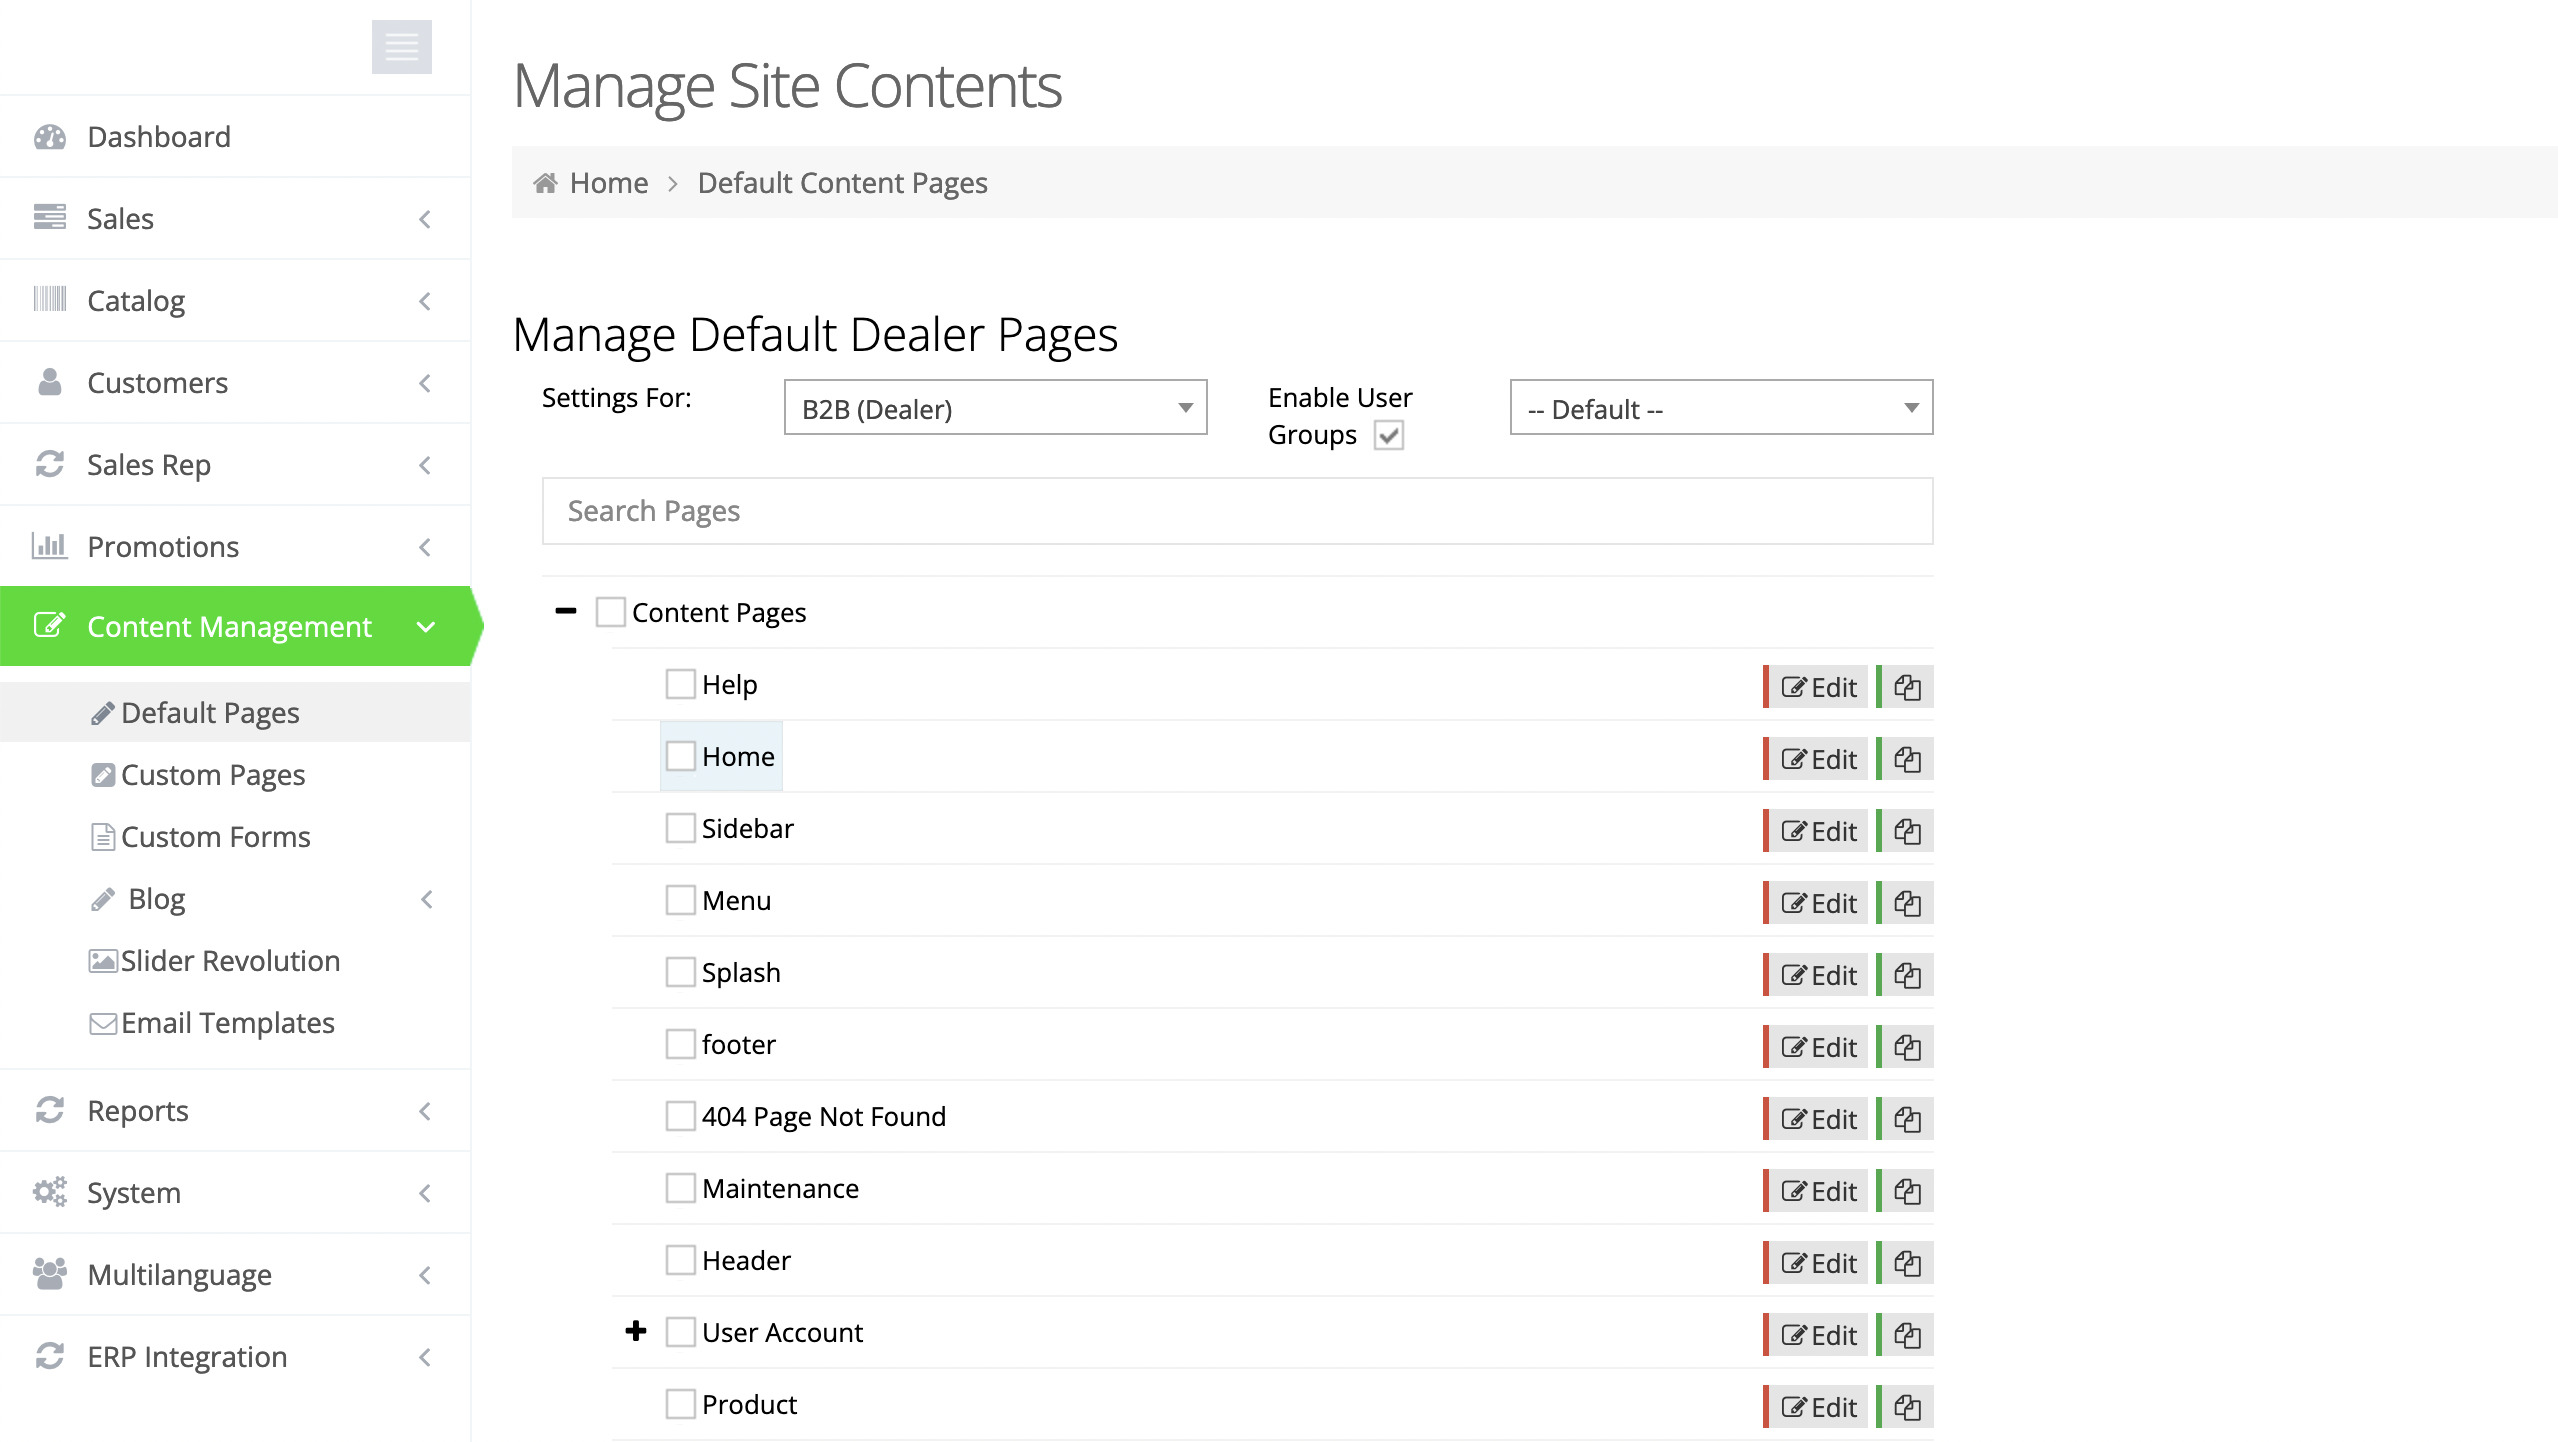
The popup has been built, but it’s not visible to users until you put it on a page. In this case, I want this pop-up to live on the home page, so navigate to Content Management > Default Pages and Edit your Home page.
Editing a Page
After you click Edit, click on the Add Container button. We’ll generate a new container with the default content module.
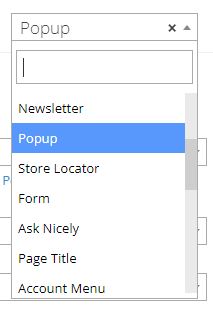
Next click on the Edit Content and switch to the Popup option:
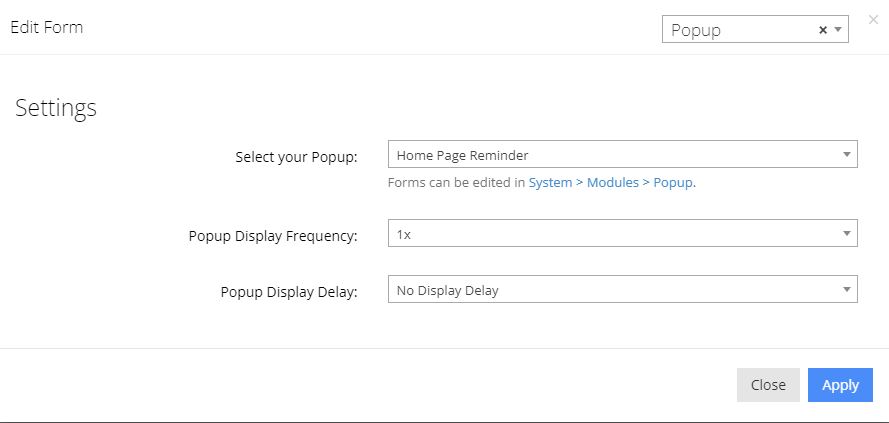
On this screen, you can select your popup module created in the previous steps, select the frequency, and if there is a delay for the popup. Generally, 1x is the value you want for display frequency. Popup display delay should usually be set to no display delay.
Here’s what the stock popup looks like:
Popup Content Options
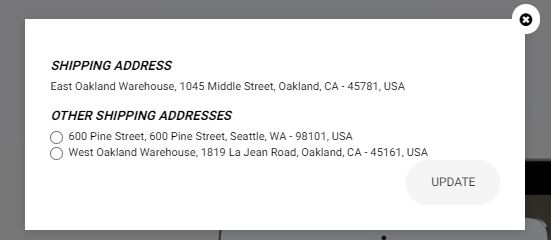
Shipto Address Module is a really powerful way to remind users with multiple ship-to addresses where the order they are about to work on is shipping to. Selecting the Shipto Address Module results in this kind of display:
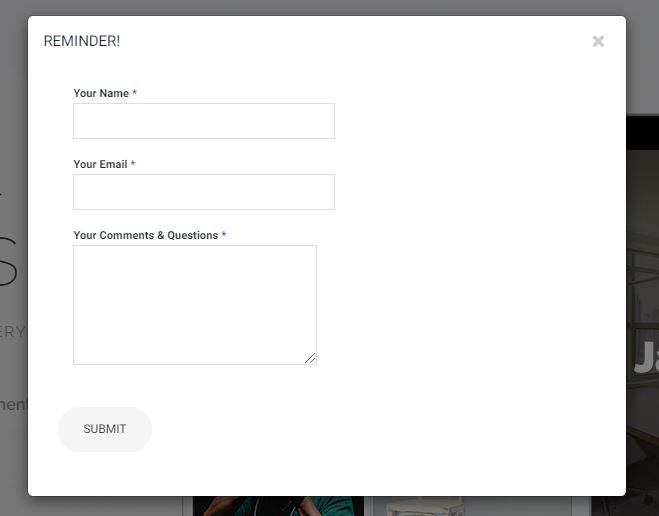
If you want to have a survey, or gather email addresses, you could select Custom Form Module. Here’s what a standard Contact form would look like as a popup:
Troubleshooting
If you’re trying to edit and work on a pop up, and can’t see it, or only saw it once, it’s probably because the site remembers that you’ve visited and is sticking to its instructions on frequency. Try opening up an incognito window to work on it.