Once you have read how to setup variant products, you are now ready to begin creating variant options.
Getting started
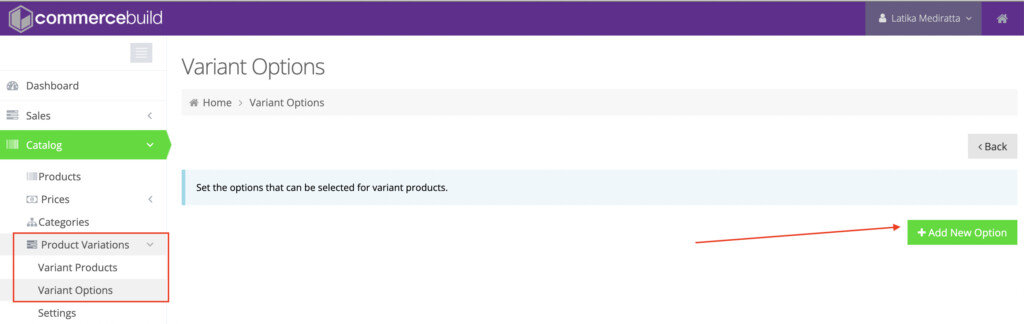
Navigate to Catalog > Product Variations > Variant Options
Click Add New Option
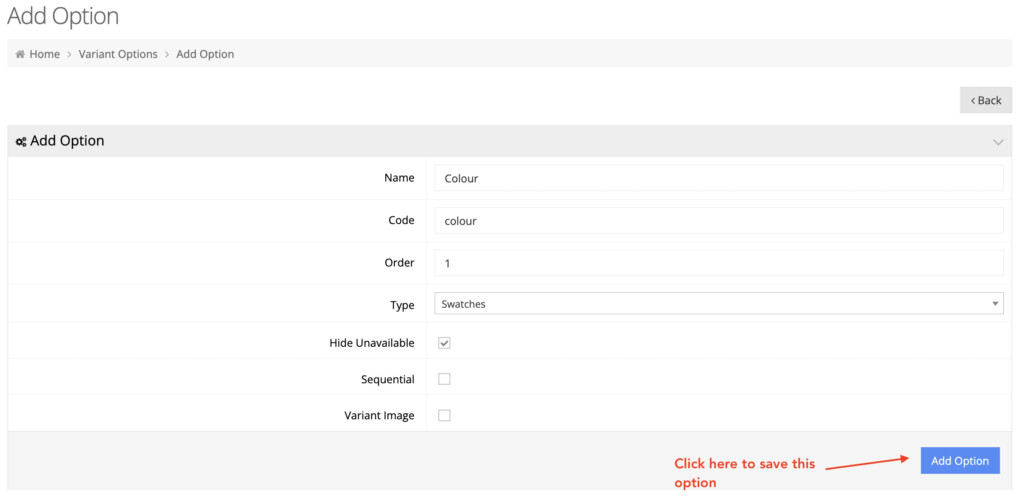
On Add Option screen, fill in the following fields:
- Name: Title of the variant option. It will be displayed on the frontend.
- Code: Unique code that determines this variant option. This field accepts only alphanumeric characters and dashes (-). Do not use any special characters or spaces here, only alphanumeric characters and dashes (-).
- Order: If multiple variant options are present in a variant product, this field determines which is listed first. “1” is listed at the top. The higher the number, the lower it will be listed.
- Type: This field determines how to display the values. Possible options are Swatches, Matrix and Dropdown.
- Hide Unavailable: Check this to hide an option value if products for that value are sold out.
- Sequential: If multiple options are present, checking this will force your users to choose variant options in sequence. A user will not be able to select the next option until the first one is chosen.
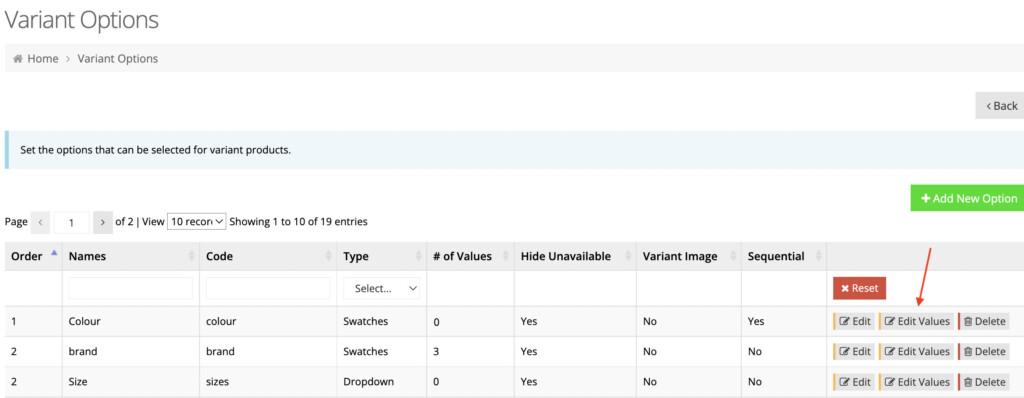
Next, on the main screen, click Edit Values to add/edit the values for this option.
Click Add New Option Value and fill in the option value. Select a color image that will be displayed as its swatch.
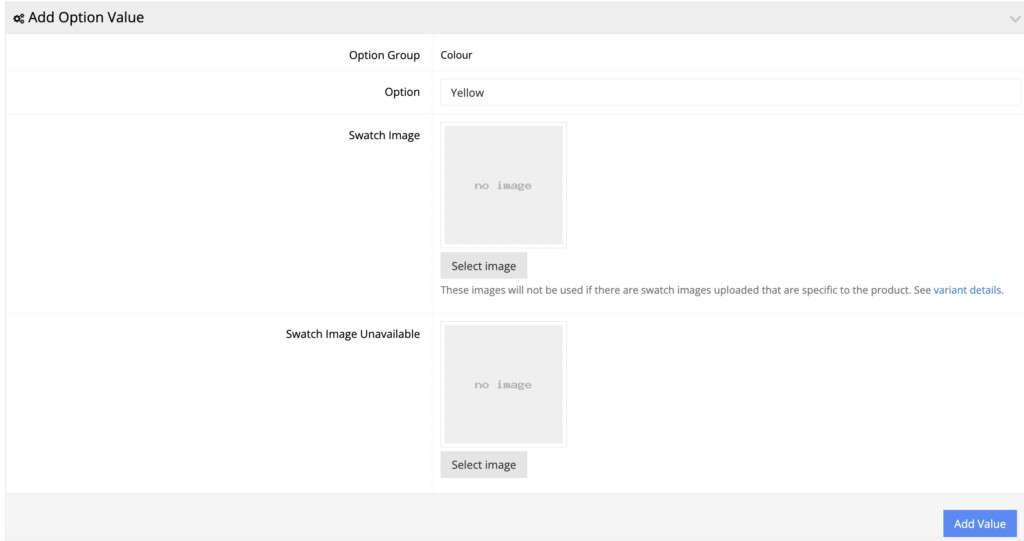
Click Add Value and repeat the above steps to add more values to a variant option.
To create a variant option of the matrix type, please see our guidance Variant Options: What Is The Matrix?
Video demonstration
[videopress aUQN33gW]
For bulk creation of variant options, you may take a look at our guidance How to set up product variants using Excel .