Auto Add Promotions is useful if you would like for promo codes to automatically be added to your customers’ carts when the conditions of the promo code are true.
These promo codes can be linked to a specific category. For example, if you have a category called “Top Deals,” a promo code can be automatically added to your customers’ carts when products selected from that category allow your customers to meet the conditions of the promo code.
Request Auto Add Promotions
Auto Add Promotions may not be available on your web store. If you are not able to achieve the steps below, please reach out to the commercebuild Customer Success team to ensure that this module is activated. There is no additional charge for this feature.
Create Your Promo Code
Make sure you have activated promotions on your web store and created a promo code to use.
Add a Promo Code to a Category
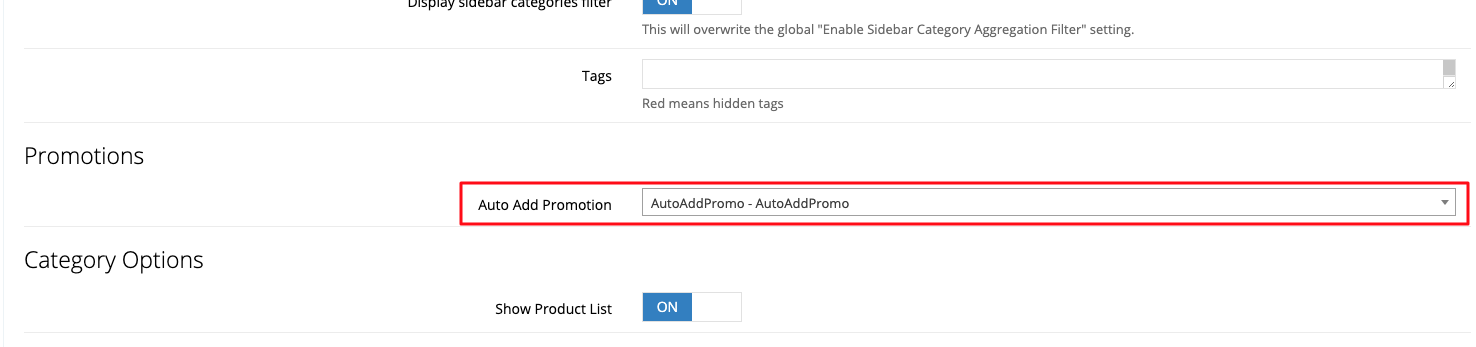
Once you have created your promo code, you can navigate to the category you’d like to add it to by going to Catalog > Categories. In the category page, go to Settings and scroll down to the Promotions section. After that, select the promo code that you would like to associate with the category.
Note that if you wish for both B2B and B2C customers to have the promo code automatically added to their carts when shopping in this category, you will need to add it to the Promotions section of both B2B and B2C categories.
The promo code can be added to multiple categories.
Test the Promo Code
Finally, navigate to the category page that has the code and add the products that will meet the conditions of the promo code. After you’ve selected the items, go to your Cart and observe that the promo code has been added.
