It is recommended to gain an understanding of how to set up product variants through the admin dashboard before delving into using the Excel export/imports.
Setting up product variants through a step by step procedure not only offers a more visual way of connecting these dots but also provides insight on how the system expects data from your end.
In addition to that, having created one or more records helps to have a sample data in the downloaded file when you use an Excel export which will give you a fair idea of what values go in which columns.
Getting started
We recommend that you follow this tutorial in order. To begin with navigate to Catalog > Product Variants > Variant Import/Export in the admin dashboard.
How to Create variant products
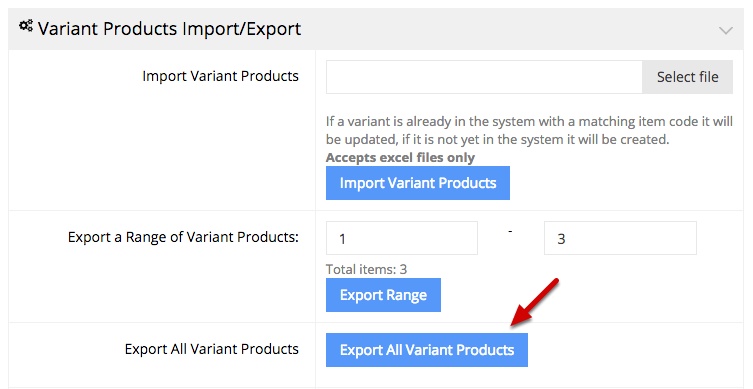
1) Click Export All Variant Products
This button will be in the top section titled Variant Products Import/Export.
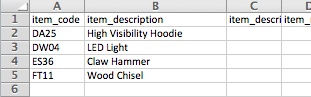
2) Open the export file
The file will contain any and all existing variant products. You should create at least one before exporting so there is an example.
3) Fill in virtual item codes and descriptions in columns A and B
Similar to item codes and descriptions from your ERP, these will display on the product page as a container for your child products. Typically, they’re the generalized version of the products that will be assigned to it. If your item codes all start with the same few characters, it’s best practice to give the variant product those beginning characters as the item code. For example, child products with item codes of DA2501, DA2502, and DA2503 all have the same starting characters of DA25. You could then name the virtual item code DA25 in this example.
Only fill in the item code and description while creating variant products. The rest of the sheet can be filled in once the variant has been created. You may create as many variant products as need here however only fill in one code/description per row.
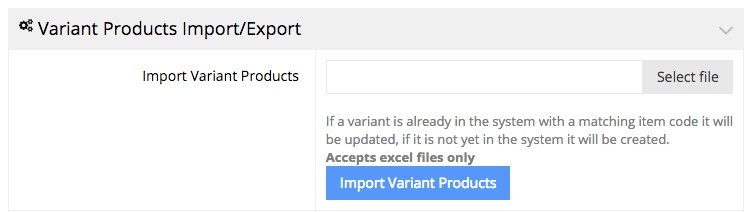
4) Save your file and navigate back to the eCommerce Console
5) Select your file and click Import Variant Products
How to Assign child products as well as Create Variant options and Values
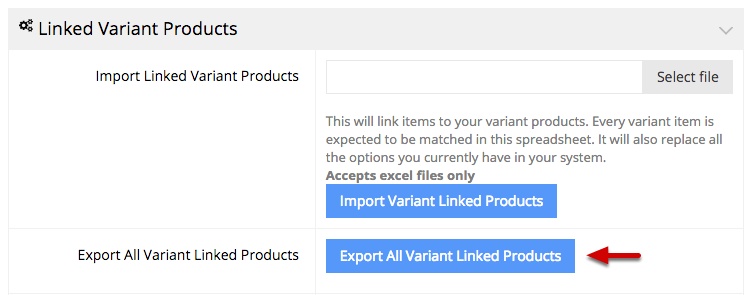
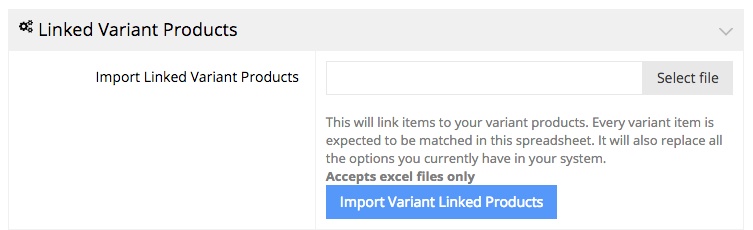
1) Click Export All Variant Linked Products
This button will be in the second section titled Linked Variant Products.
2) Open the export file
The exported file will contain all active regular products that have been replicated into the backend of your webstore from your ERP system. The sheet will only affect the item codes currently on the sheet during import so to declutter the sheet, you may clear it out except for the very first row.
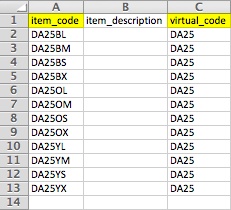
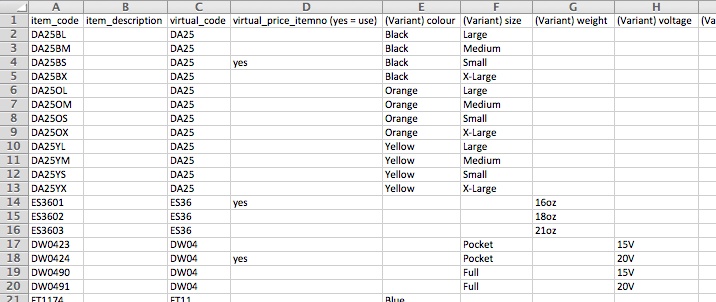
3) List your item codes in column A and match the virtual item code it they could be assigned to in column C
You do not need to fill in the item description as this will be automatically populated during the import. Item codes filled in column A will be regular codes from your ERP system. The virtual code in column C will be the code you created for your variant product. Only one match up per row.
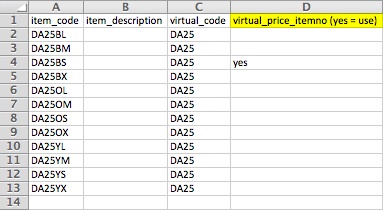
4) Type “yes” in column D for one row per grouping
This defines the default price of the virtual product. Since there may be different prices from one child product to another, you’ll be able to set a default price to display to your customer before they’ve selected their final variation of the product.
For every grouping, you should type in yes for one of the products with in that virtual codes group.
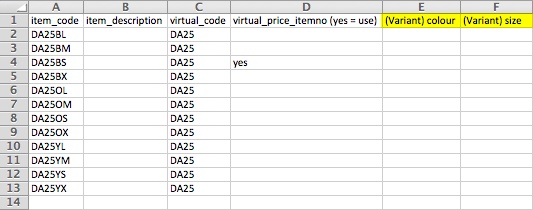
5) Create a new variant option by adding a column to the sheet titled “(Variant) option” in row 1
There may be some existing variant options in your sheet to show as an example. Keep adding columns to create options on the fly when you import the sheet.
6) Type in values per item for relevant variant options
By typing in a value under a variant option, you have the ability to create values on the fly during the import. Be careful not to accidentally misspell or create slight variations of a value as it will create additional unnecessary values during the import.
Ensure values are inserted for each option per item that is relevant for the variant product.
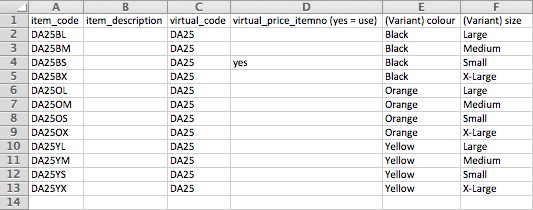
7) Your file may eventually look like the following
8) Save your file and navigate back to the eCommerce Console
9) Select your file and click Import Linked Variant Products
Assign variant products to at least one category
Like regular products, variants products need to be assigned to one or more categories in order to make them available on the frontend. Navigate to Catalog > Categories and select a category. On the right hand side, search for your variant product and click Assign Item to assign this variant product to the selected category.
The assignment of a variant product to a category is similar to the assignment of any regular ERP product to a category. You may like to read this specific tutorial – How to Assign Products to a Category