You may like to show an additional information about your categories when a user lands on category pages. This information can be a descriptive text, an image or a carousel of images representing your category. For example:
Descriptive text

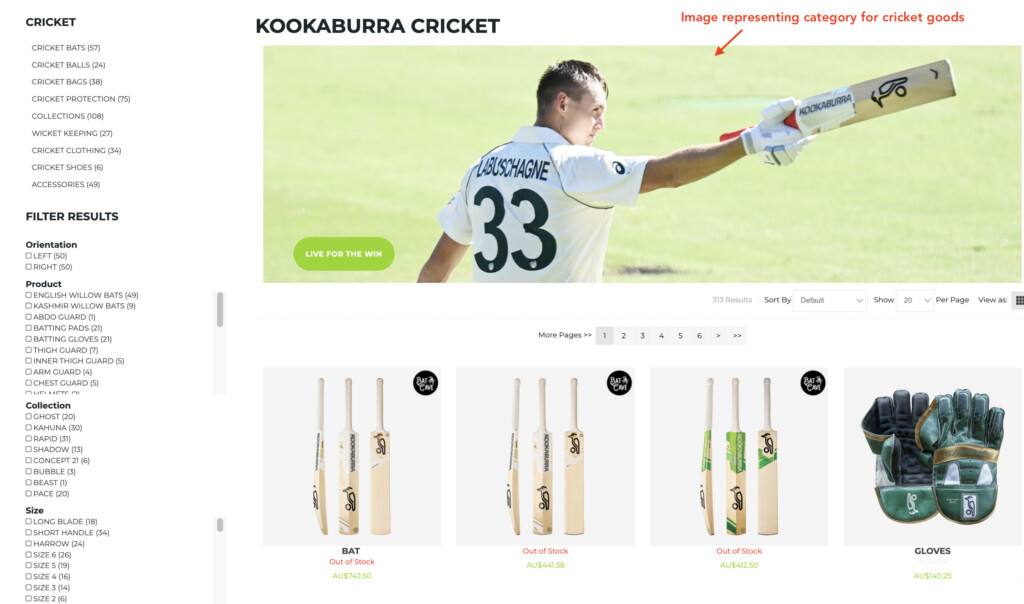
Image
Getting Started
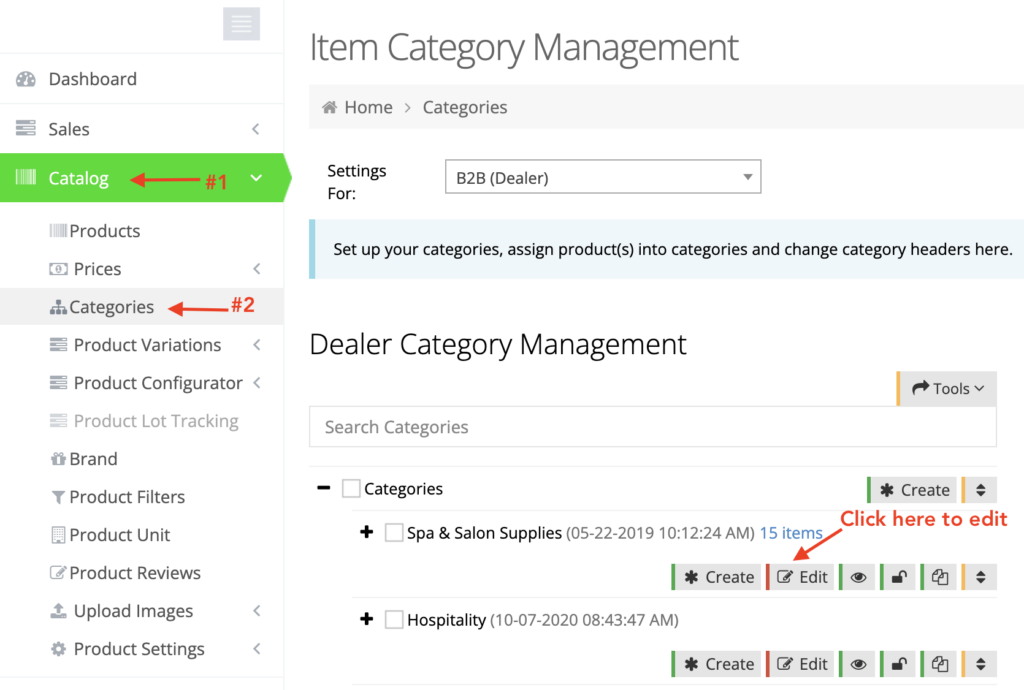
In your admin dashboard, navigate to Catalog > Categories.
Click Edit for a category for which you want to add description.
Add Content
Under Image & Layout tab, scroll down to Responsive Category Content Grid section.
Click Add Container to create a new container.
Click Edit Content and choose Content Module from the dropdown.
This module allows you add and style your text, or image.
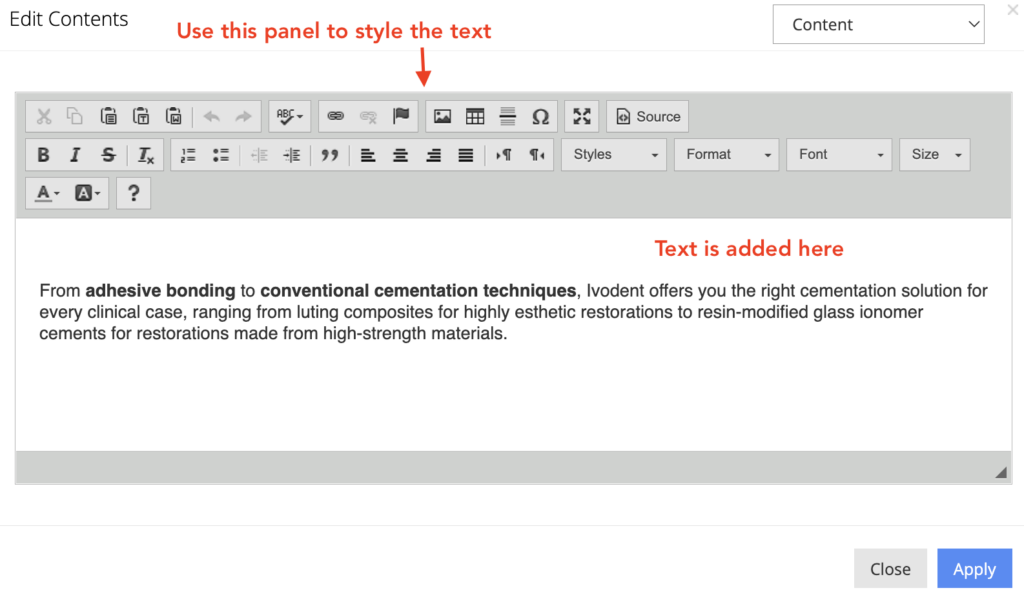
Instead of Content Module, you can also choose Responsive Carousel to create a set of rotational images.
Click Apply to save your changes.
How it show it on frontend
If your category pages are not driven by category grid, then your changes will show up immediately on the frontend.
On the other hand, if category grid is setup, then you need to make an additional modification under it.
NOTE: To determine whether category grid for your site is in place, navigate to Content Management > Default Pages. Click Edit for category and observe the section under Responsive Category Content Grid. If the section is not blank, it means category grid is set up on your site.
Modify Category grid
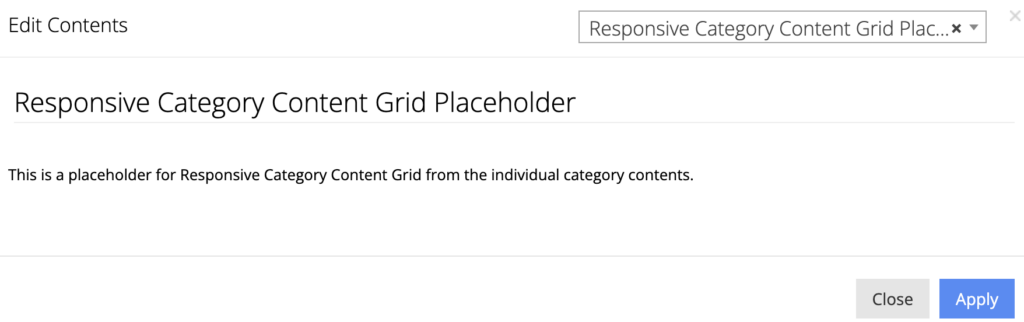
A special container called Responsive Category Content Grid placeholder is used to place contents from your category pages.
Create a new container and select Responsive Category Content Grid placeholder from Contents dropdown.
By default, this new container will be created in the end. You can position the container by dragging and dropping to the place where you want to show the contents.
Usually, category description is shown underneath category title. So, you can modify the existing modules and place your content as shown in the following video.
[videopress BjBi8T8O]