Once you assign products to a category, you may at some point decide to unassign those products from their categories. If you wish to unassign a product from several categories at once, see Batch Unassignment.
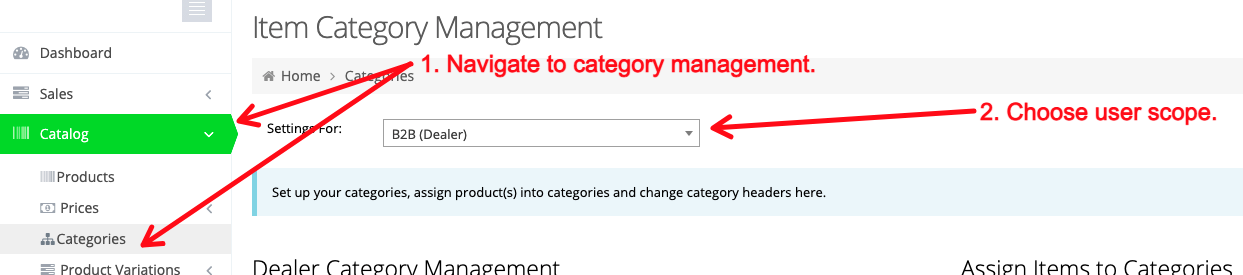
Category Management and Scope
To unassign a product from a category, navigate to Catalog > Categories. Once there, be sure to choose the customer scope. For example, if you wish to remove a product from a B2B user category, you will need to select the B2B user scope before proceeding.
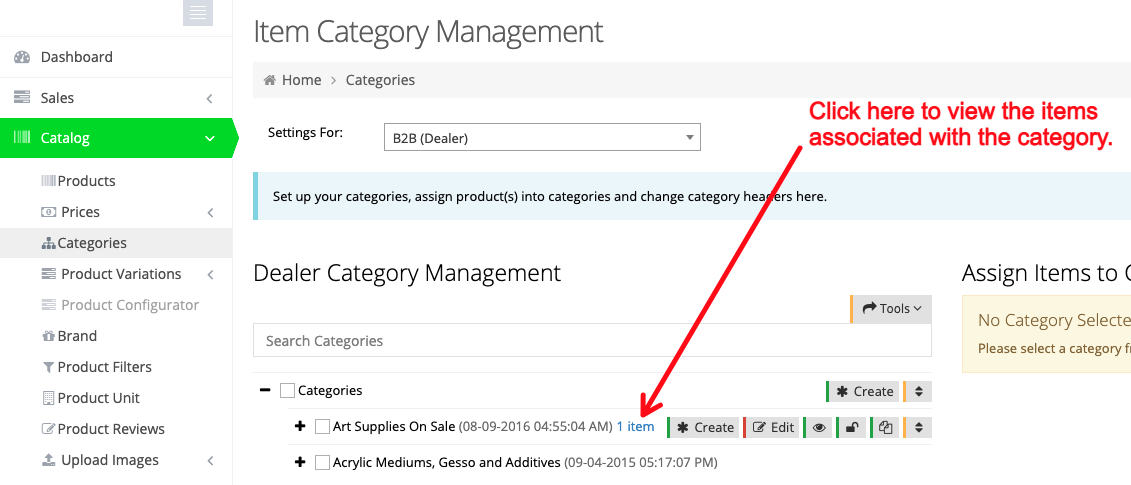
Find the Category
Locate the category from which you wish to unassign the product and then click the link for the number items.
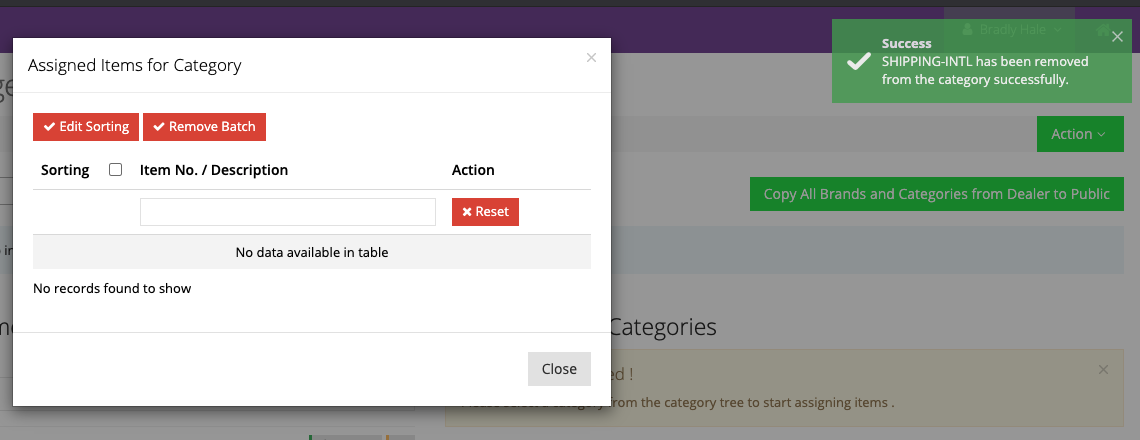
Remove the Desired Items
Once you click the link, a popup will appear with a list of items. In that popup, click the Remove button next to the item(s) you wish to remove from the category.
If the item is removed successfully, you will see a message that indicates this.
Batch Unassignment
If you wish to unassign products that are assigned to multiple categories on both the B2B and B2C versions of the site, you can use the Categorised Products export/import.
Export the File
To generate the Excel file to modify, go to Catalog > Products, and then click Tools > Export > Categorised Products.
Modify the File
- If you wish to unassign a product from all categories for both B2B and B2C users, delete the categories associated with the items.
- If you wish to unassign a product from certain categories, remove the categories from the comma-separated values in the list.

Import the File
Once your modifications are completed, return to Catalog > Products and then click Tools > Import > Categorised Products.