You may display one or more responsive rotating images or banners in a carousel for any size. It is often used as advertising placement containing a link to anywhere on the web or within your webstore.

Setup the carousel
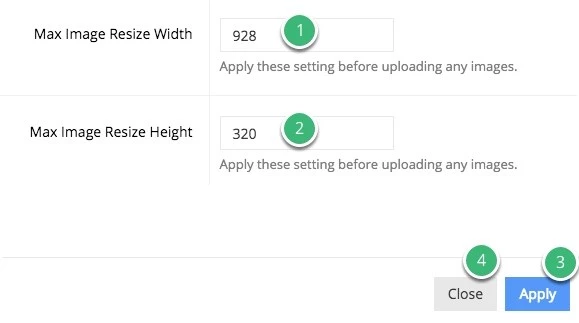
1) Set the maximum size for width and height, click Apply and then Close
These parameters will constrain your images to not resize larger than either value. We recommended that you lay out your page first and determine the largest scale that your images would appear, then create your images/banners at those dimensions.
You must set these parameters and apply them before uploading any images. If you resize it after uploading images, you will need to re-upload after the parameters are changed.
2) Click Edit Content of the content block again and choose your settings
Now you can choose your settings for this carousel but they will always be available to edit at any time. These include the following:
Pagination: Clickable dots that change in size according to the active image.

Arrows: Clickable arrow icons to switch between images.

Auto Play: Decide whether or not you’d like the carousel to automatically start switching between images, or if you’d like them to switch only when a user decides to.
Transition Type: This controls the animation when switching between images. We recommend setting it to a type, clicking Apply, and then refreshing the page on the front-end. See what it looks like and repeat until you find an animation you like.
Max Items: You may restrict the number of images that the carousel will display at once. If for example it is set to 2, it will display the first 2 images, then rotate to display the next 2, and so forth.
3) Click Apply after you’ve made any changes
Add your images
1) Click Add Files and find the images on your computer

2) Click Start Upload

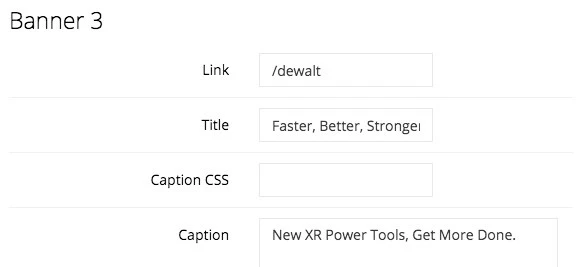
3) Add a link, title, and caption (optional)