
In this guide we will walk you through a couple of different ways you can integrate a Mailchimp signup form into your webstore to allow users to sign up for your newsletters.
Log into your Mailchimp account navigate to “Audience → Signup forms” to select the type of form you want to use.
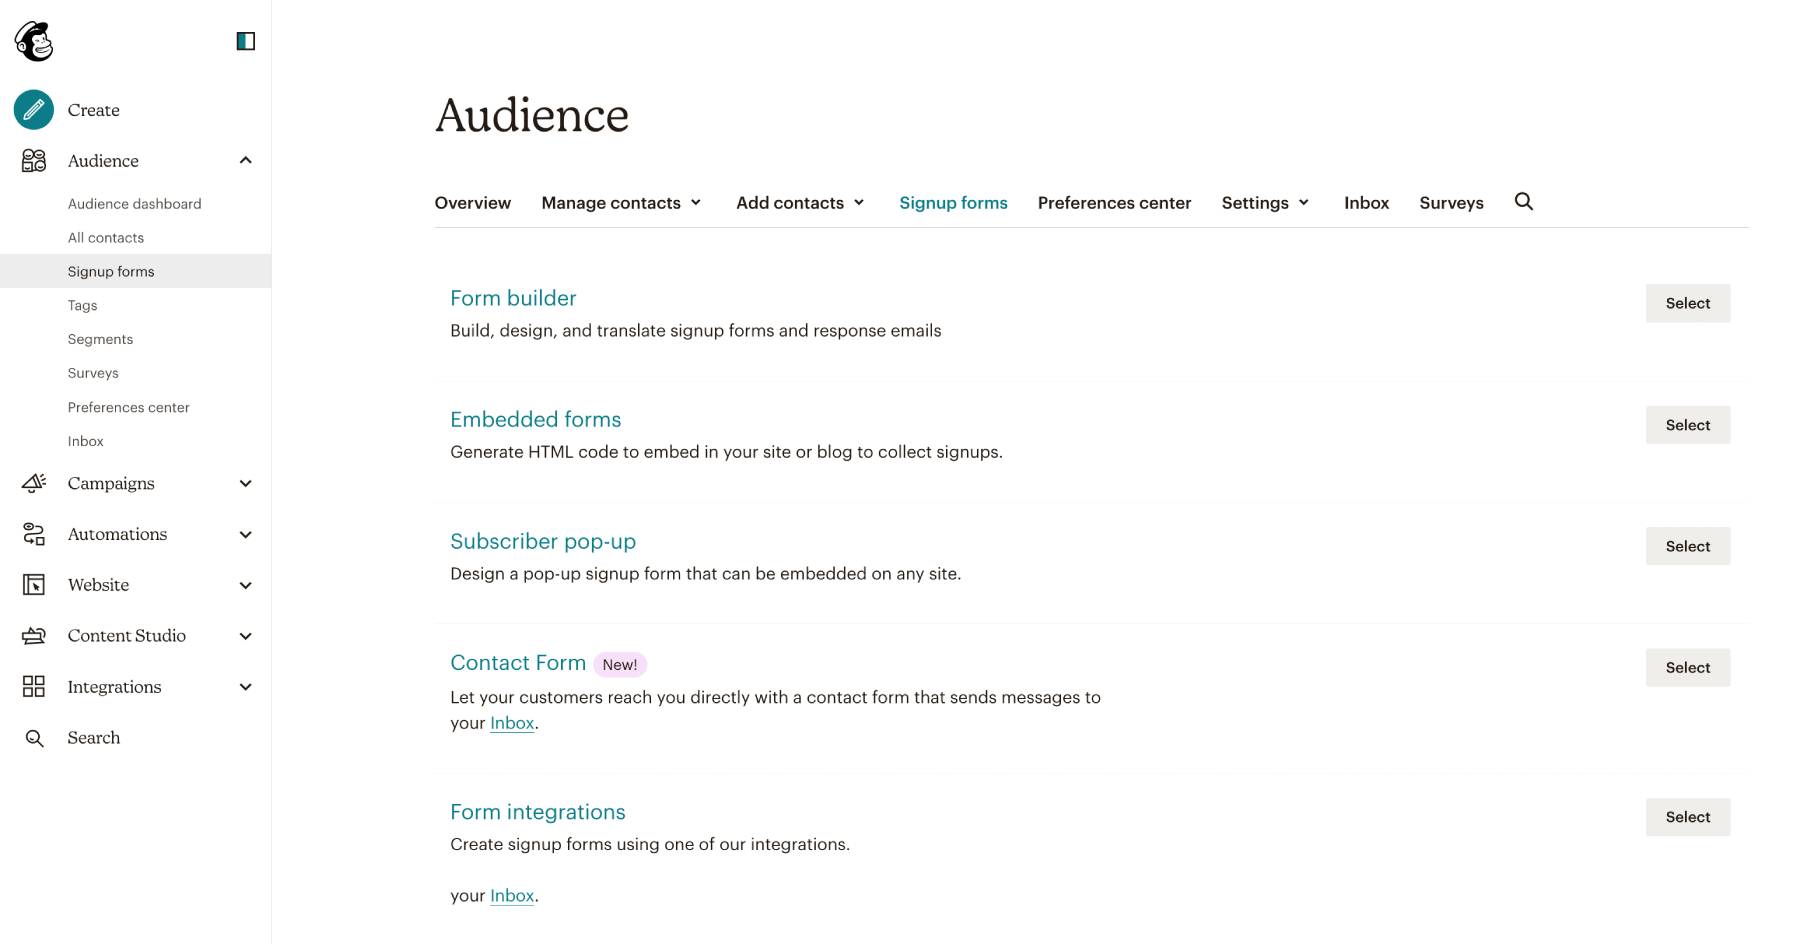
Embedded forms
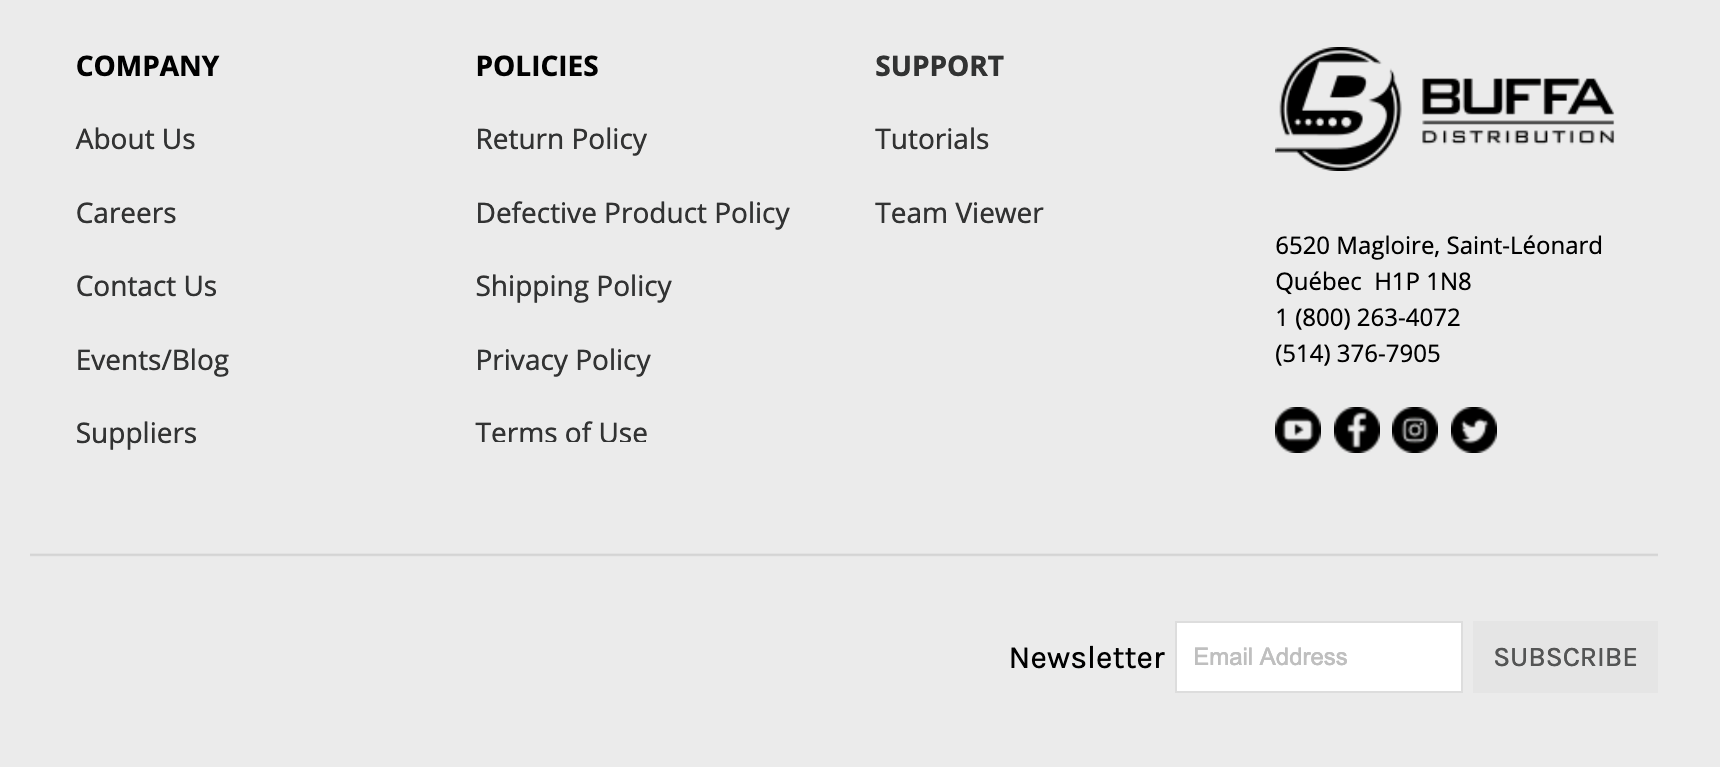
Select this option if you want to embed a signup form into the footer (or other location) of your website.
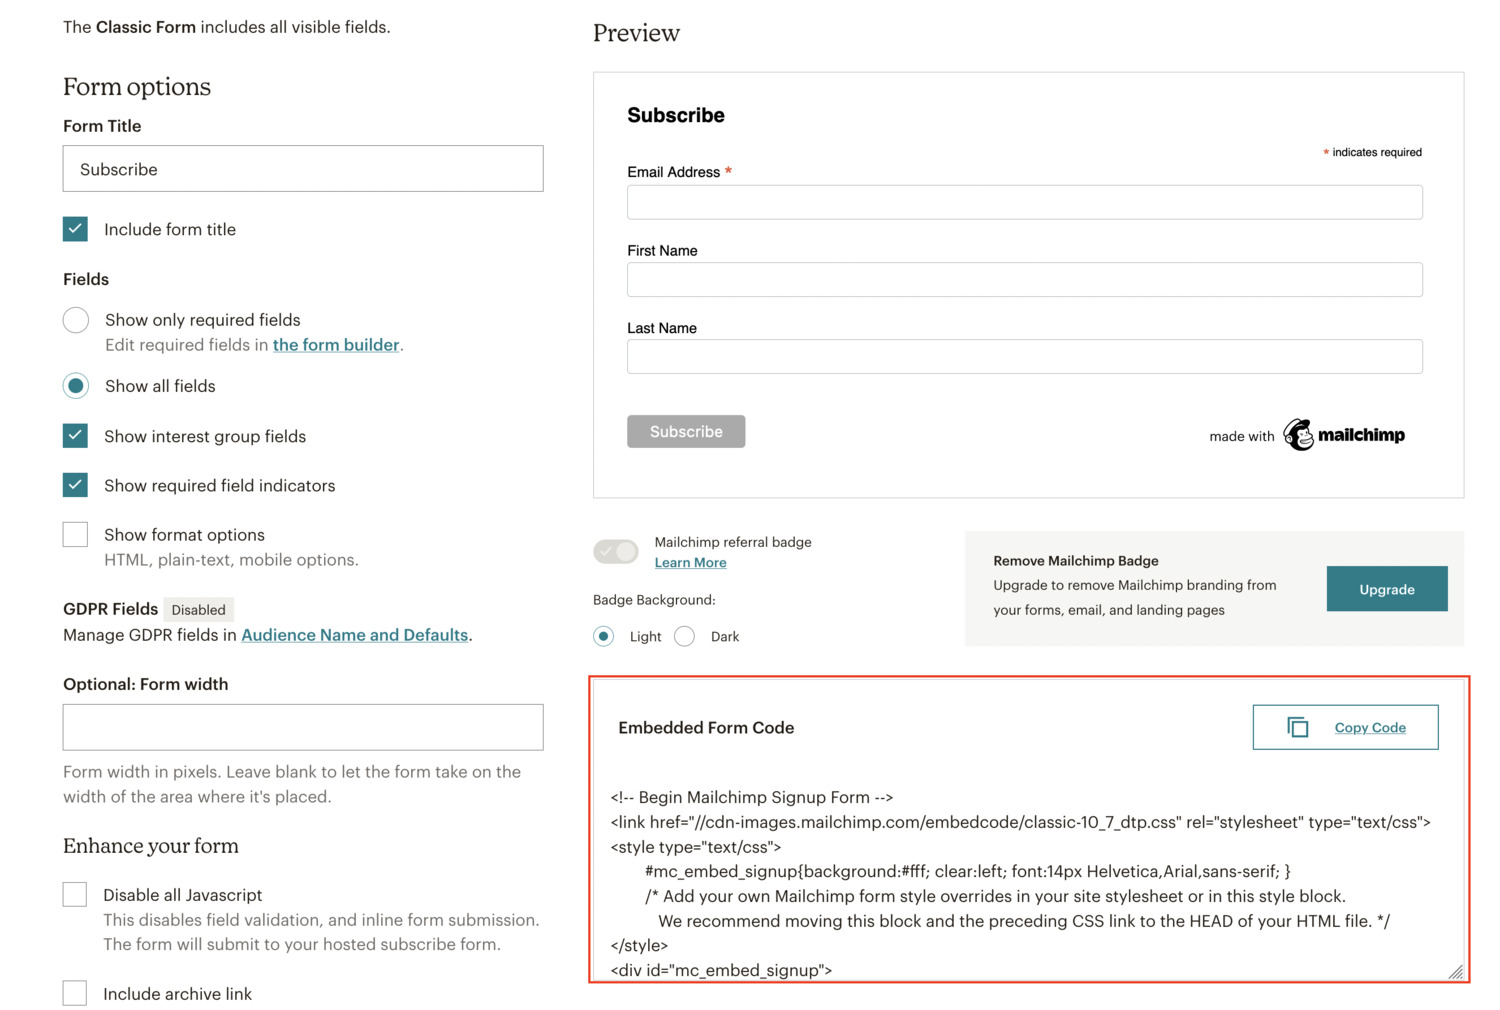
Follow the prompts to design the form to look the way you want. Once you are finished, copy the embed code provided.
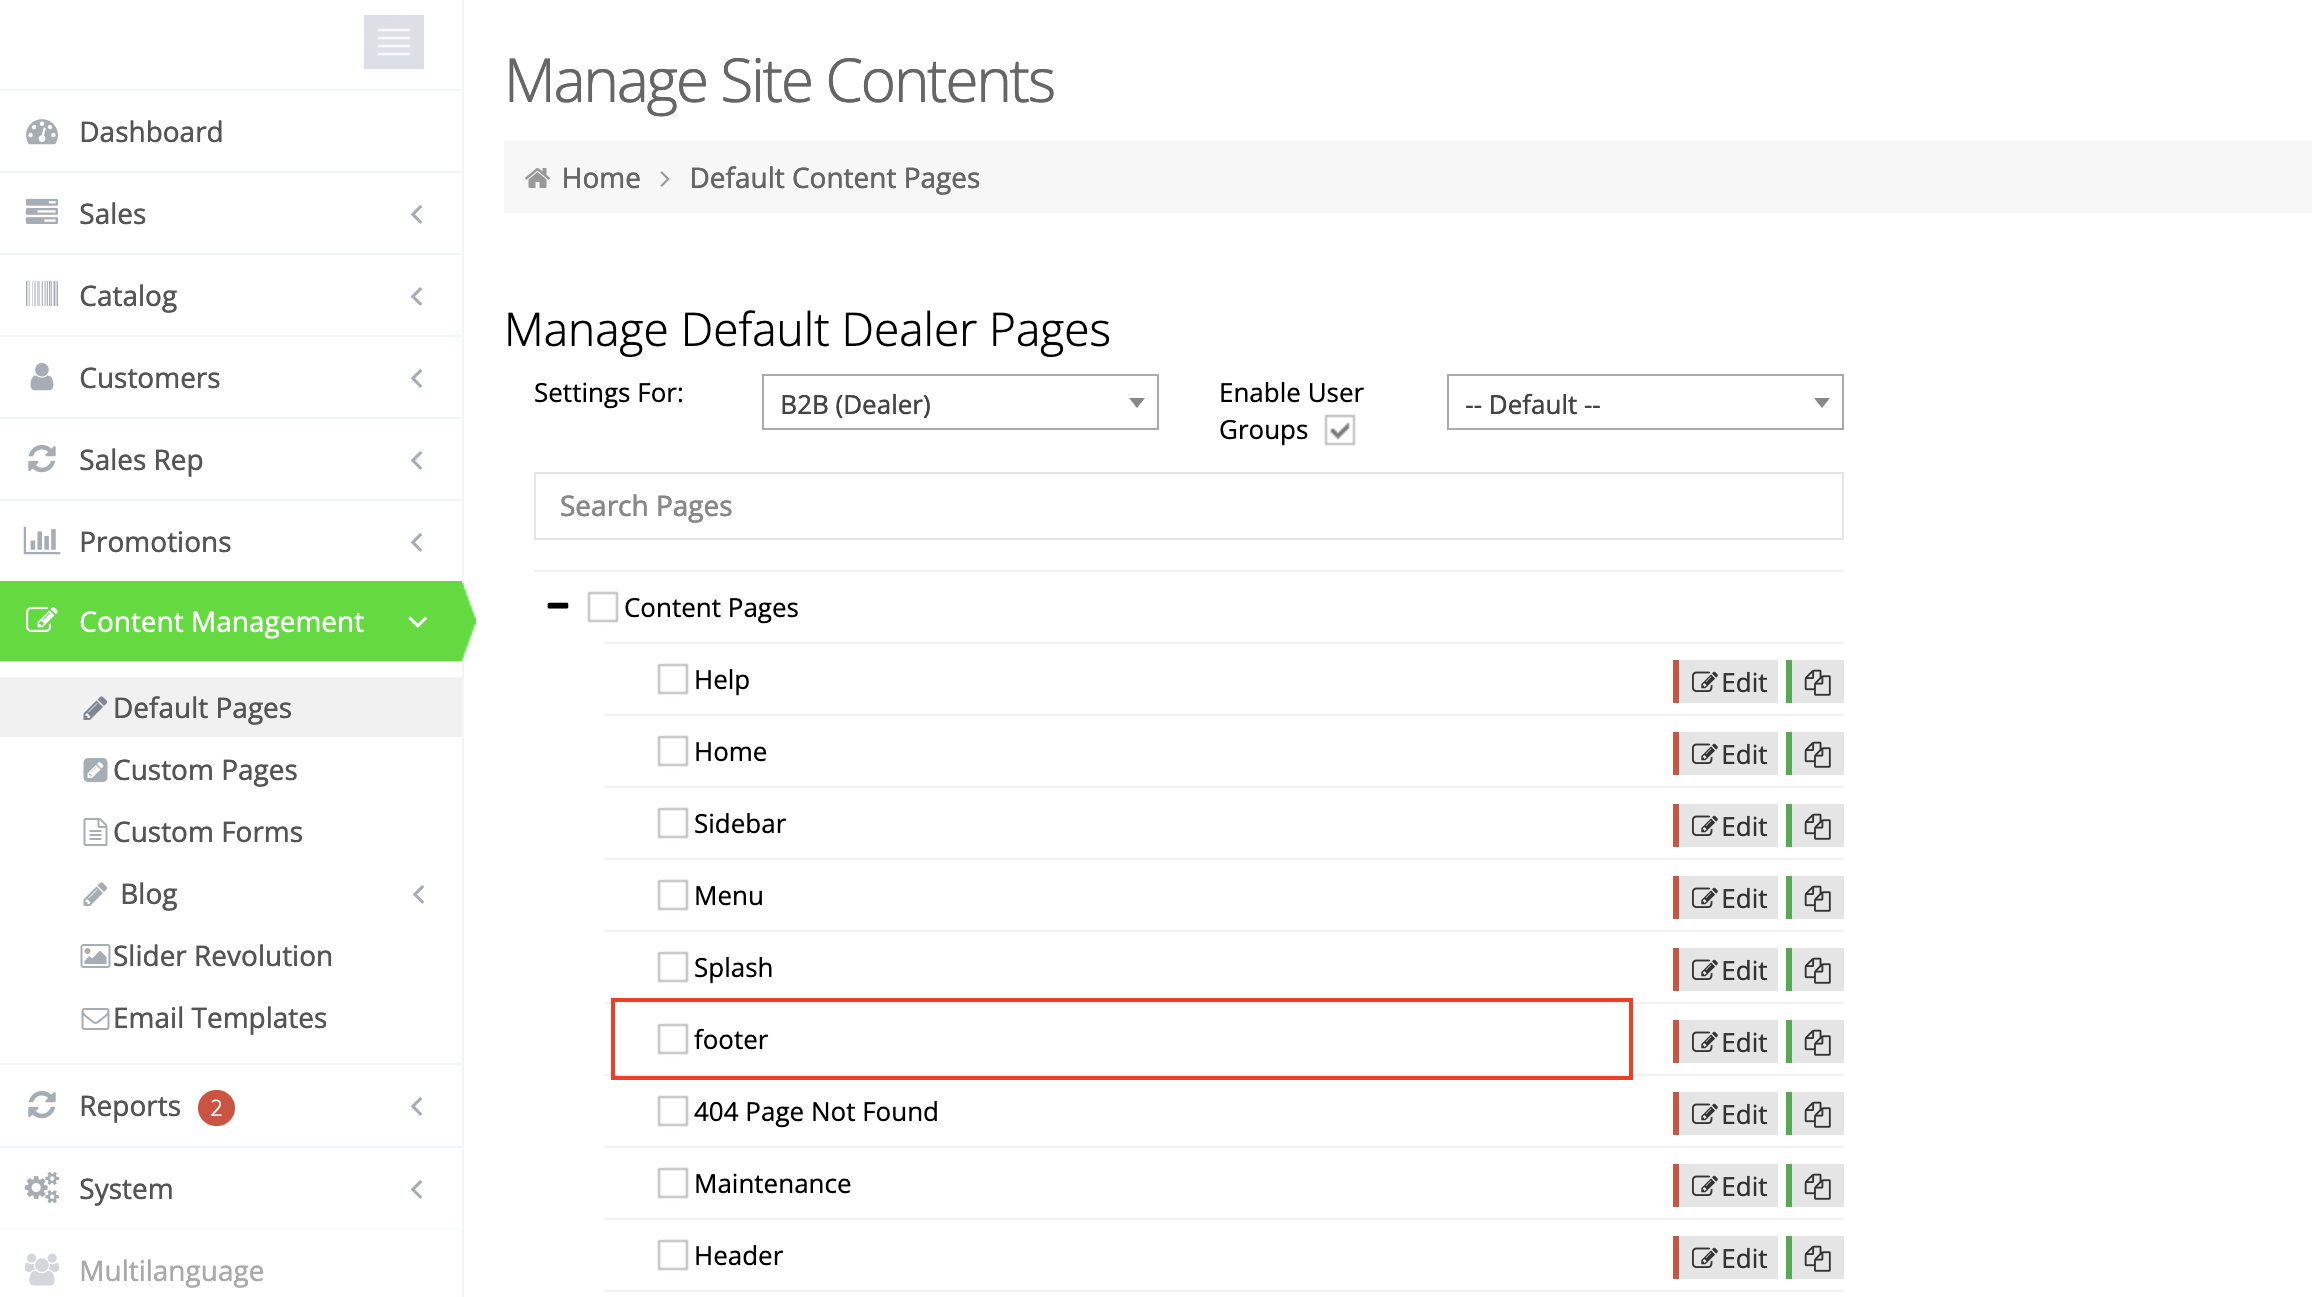
Now log into your webstore and edit the page that you want to add the form to. “Content Management → Default Pages → footer” is a common location.
Add a new “Code Editor” element/module to a container. Within that, paste in the embed code you copied from Mailchimp.
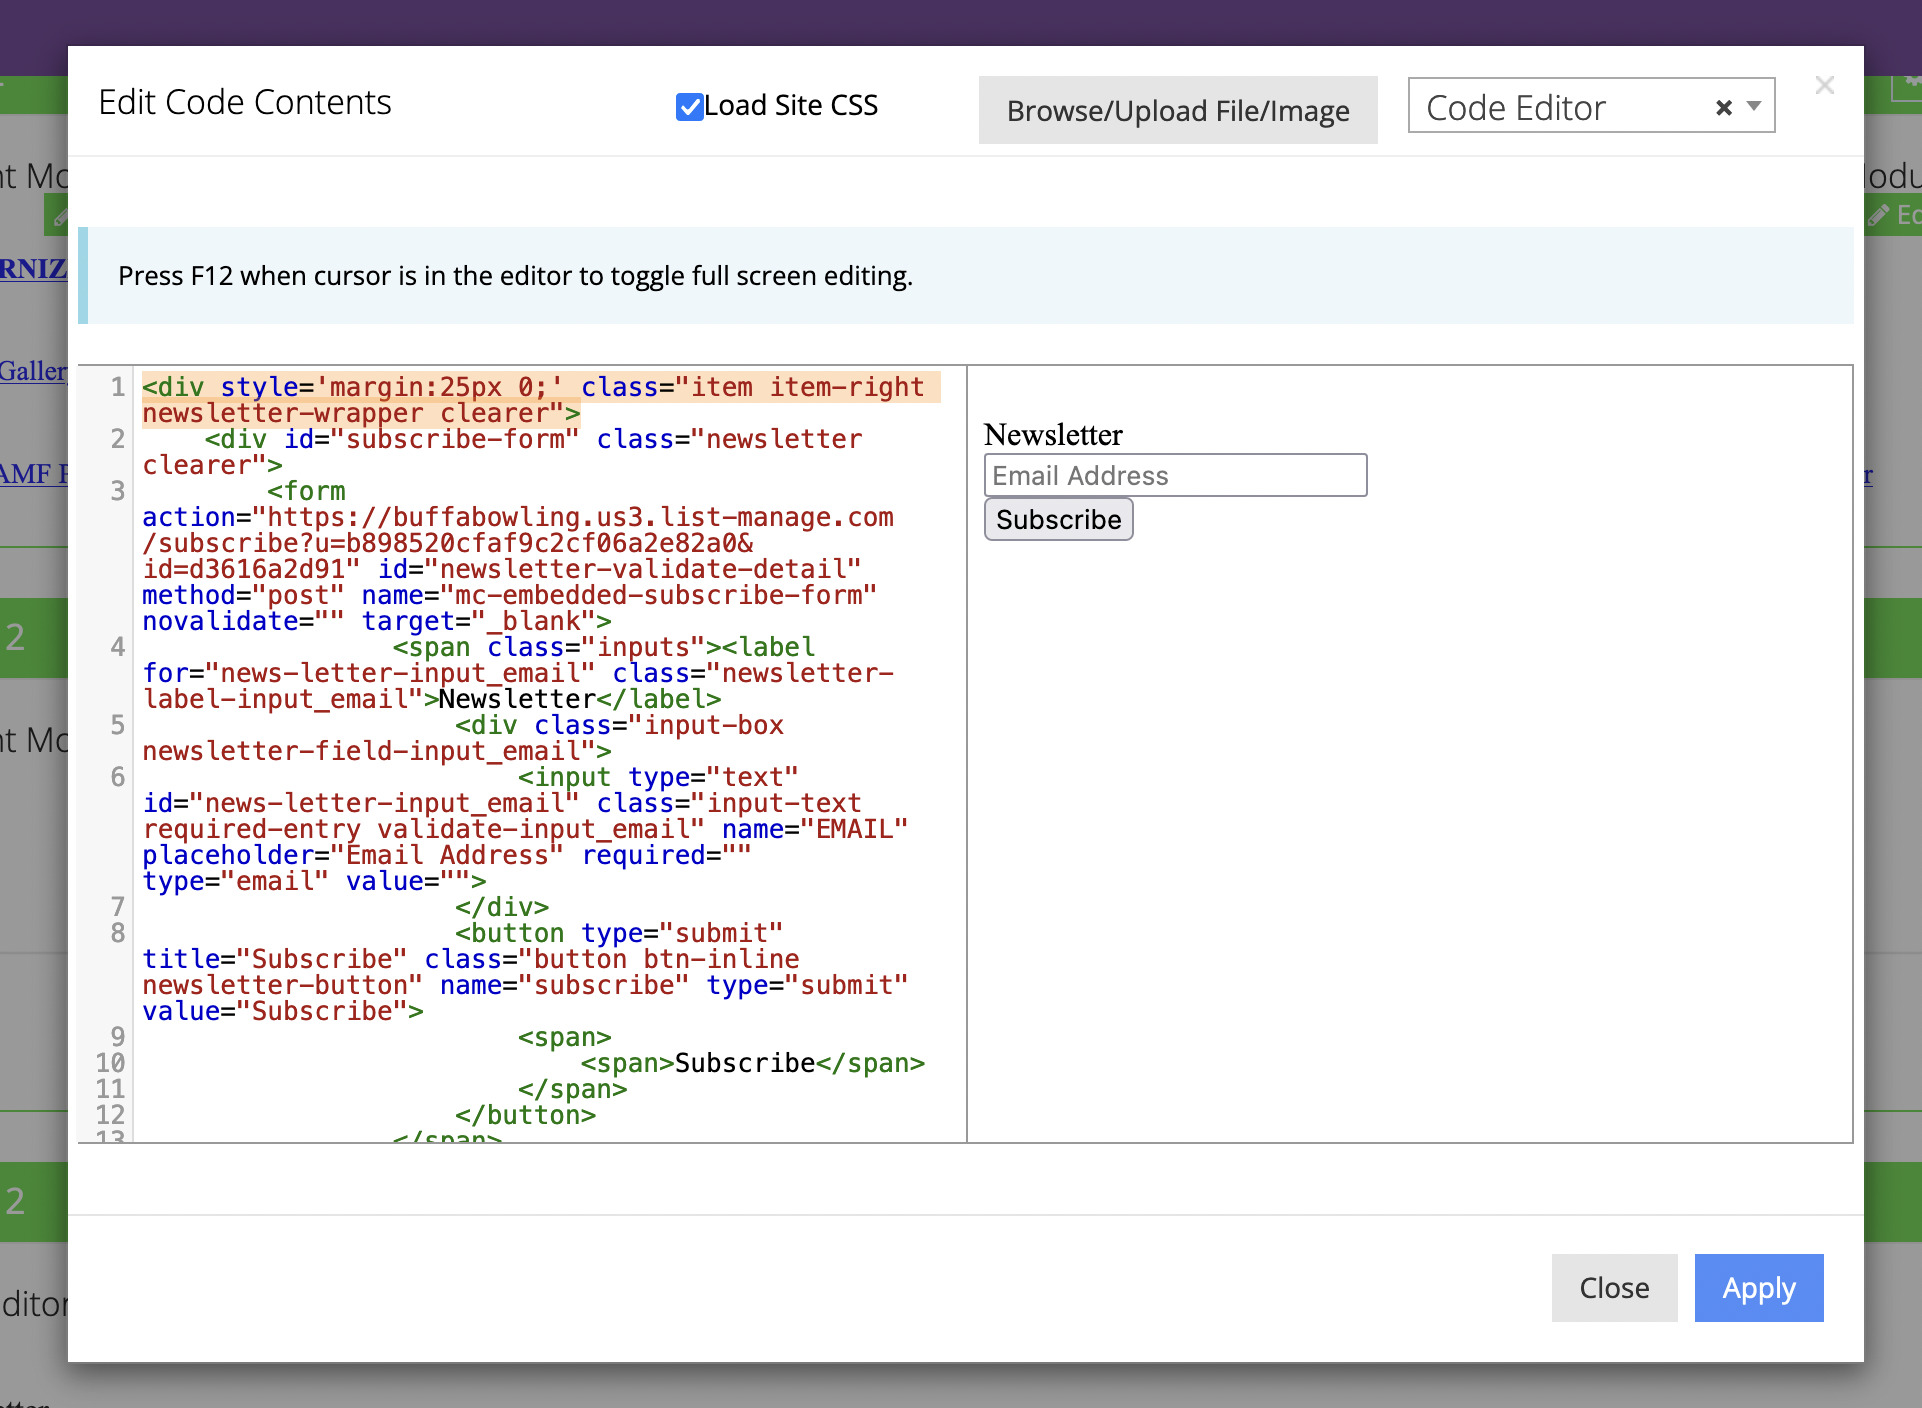
Apply your changes and you are done! Your new form will now be appearing on your webstore.
Subscriber popup
Select this option if you would like a popup window to automatically open to prompt users to subscribe to your newsletter.
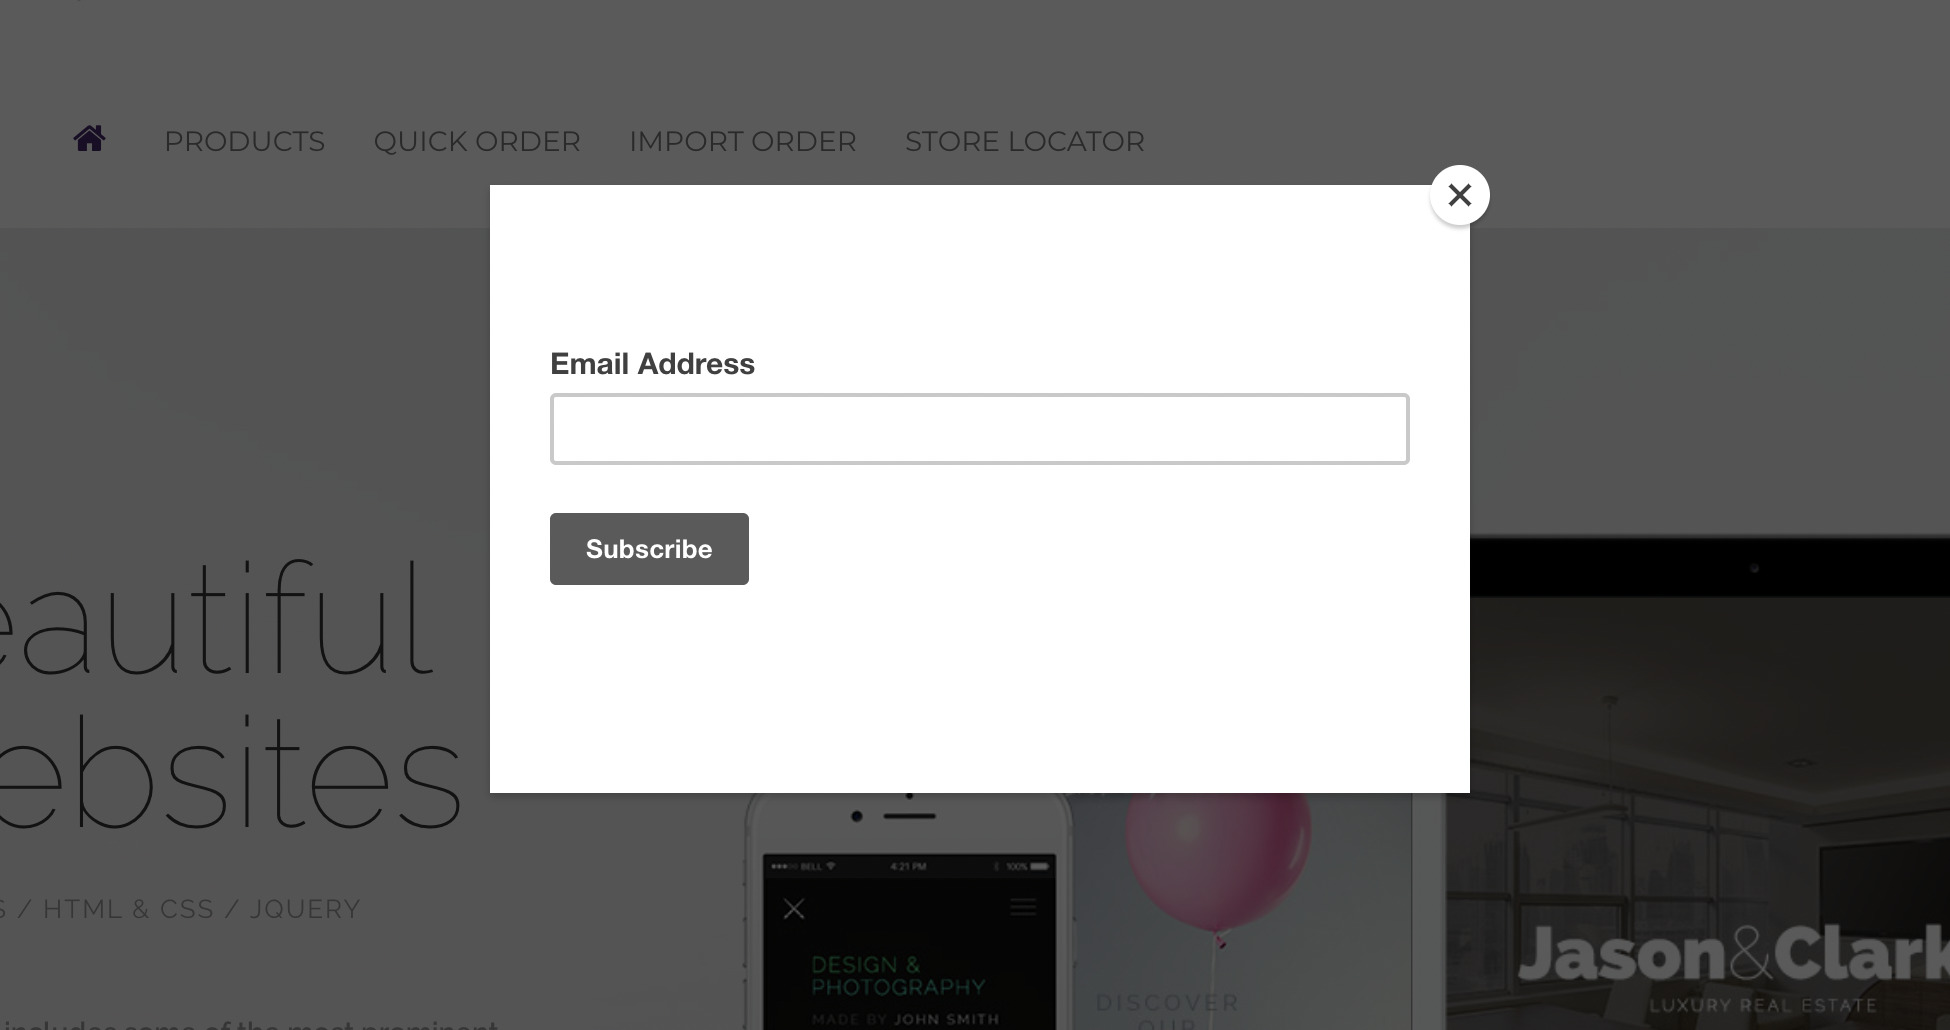
As you create this form, you will be prompted to link this form to your webstore by providing the website URL. Once that is provided, Mailchimp will generate some code to be embedded into your site. Copy that code, and log into your webstore. Navigate to “System → Modules → Custom Tags” Press the “New” button. In the settings, fill out the details in this way:
- Position: Head – directly before </head>
- Page Type: All
- Value: {the code you just copied from Mailchimp}
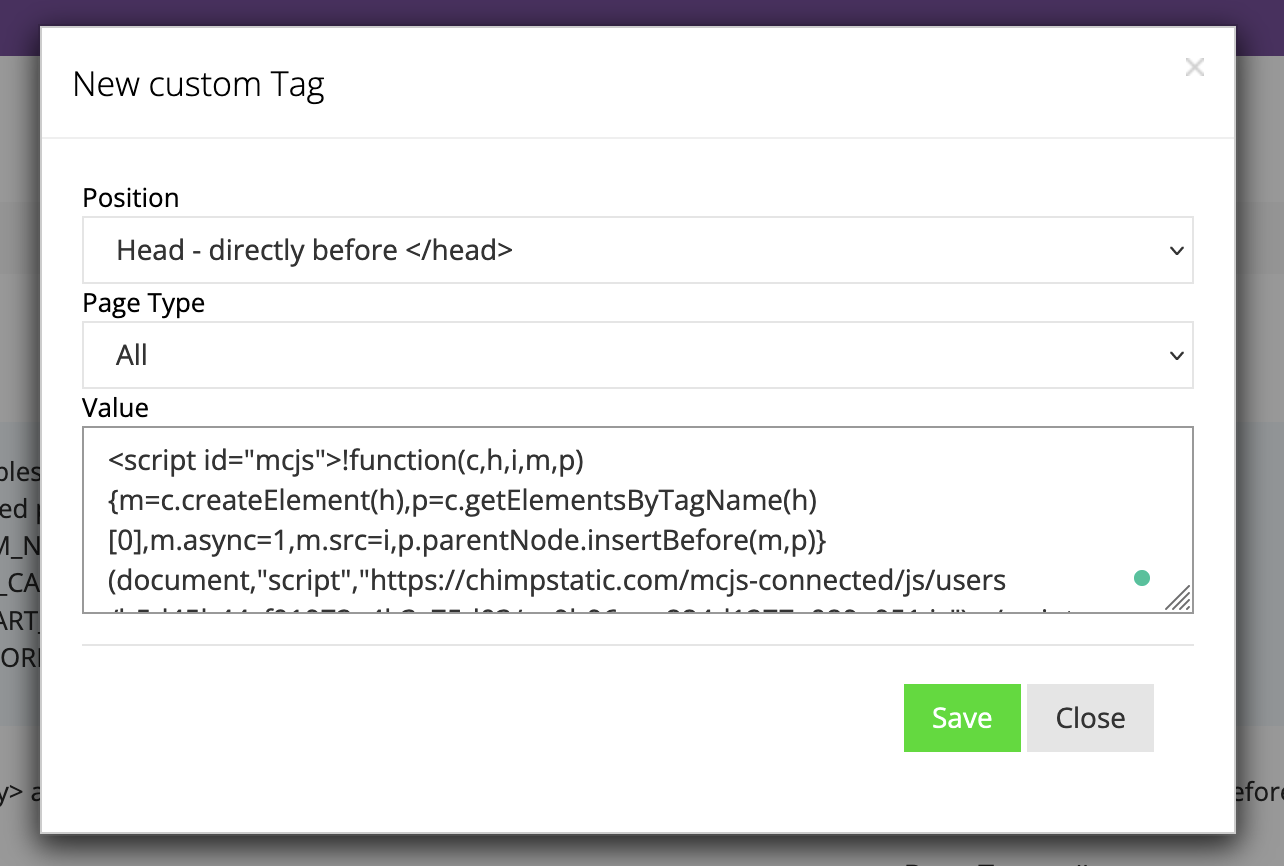
Save that change and then go back to Mailchimp to confirm it is in place. You will then be given the option to enable the popup form.
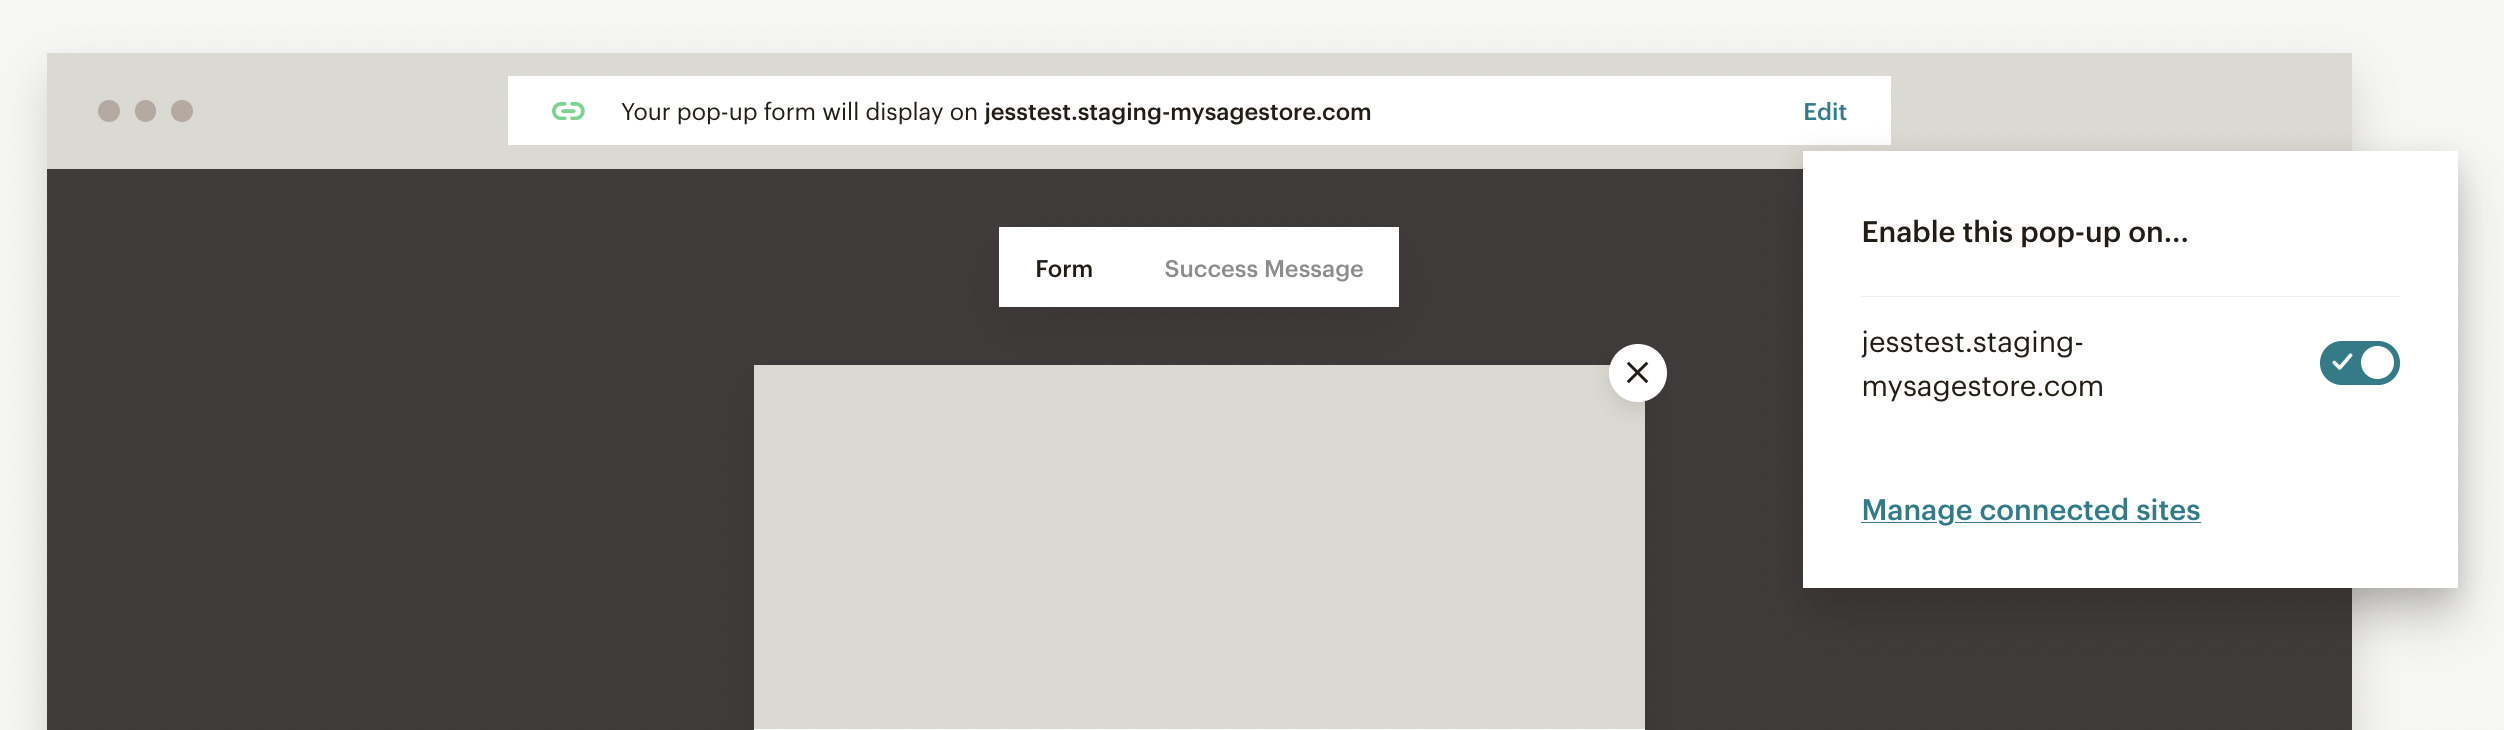
Once enabled, your popup form will now begin appearing on the website.
