Product images can add visual appeal to your webstore. By uploading strong images for your products your customers will not only be able to see what your products look like but it can also give personality and color to an otherwise plain category or the product page.
Preparing product images
Width to height ratio
The consistency of your product images’ shape (rectangular, square, etc) is extremely important. Mainly, the width to height ratio. For example, if you’d like to use portrait (tall rectangular) images with a ratio of 1:2, all of your product images should have this same ratio no matter the dimensions. This is so that they align properly and appear organized no matter if a user is on a desktop or smartphone.
The easiest way and the way we recommend to maintain a width to height ratio is to use squared images (1:1) — place your products on a square background or canvas. Essentially, all you’ll ever need to do is match the smaller length to that of the larger length of the image. For example, a 1000x625px image would become 1000x1000px and a 325x500px image becomes 500x500px.
Dimensions
Product images are important for visual impact but could hurt if the images are too small to see or too large to load. Ideally, all of your images should be around the size of 1000x1000px for 1:1 ratios.
Minimum
We recommend a minimum of 500px for at least one side of your product images. If using a 1:1 ratio, that would be a minimum image size of 500x500px. This is so your images appear clearly around the webstore and aren’t either too small to see or too pixelated.
Maximum
The recommended maximum is 1000px for either side of the image. 1000px offers the user the ability to see clear images and zoom in for a more detailed look. Images much bigger than this just aren’t necessary and will end up placing more data on the page to load and could result in slower load times.
Image type and file size
Your webstore will only accept the following file types and should not be on a transparent background; .jpg, .png, and .gif.
Your images should also not exceed 1MB in size. Files larger than this may be rejected or cause slow load times within your webstore.
Naming conventions
You should name your product images and their respective unformatted item codes. These codes are the stripped-down versions of your products. If you’re unsure of what they may be, navigate to Catalog > Products in the eCommerce Console. The values under the column “Code” are the unformatted versions of your codes. This is what you should name your images and those will then be your main default images.
For example, the item TB-502/0 in the ERP has the unformatted code of TB5020 which will require the image name of TB5020.jpg.
Additional images
For every product, you will be able to upload a maximum of 12 different images to it. These could be various views of the products, variant versions, action shots, etc. When naming these images, you will need to use the unformatted item code plus a sequential “@#”.
For example a product with one default image and 3 additional images; TB5020.jpg, TB5020@1.jpg, TB5020@2.jpg, TB5020@3.jpg.
Example

What happened?
Because the blue-handled chisel’s width is much narrower than its height (it has a ratio of 1:3), it has a very tall thumbnail. All other images on this page have a square ratio (1:1) so the chisel’s thumbnail throws off the alignment. To correct this, we’ll either need to modify the chisel’s image to have a square ratio (1:1) or modify all other images to have the same ratio as the chisel (1:3).
That’s better…
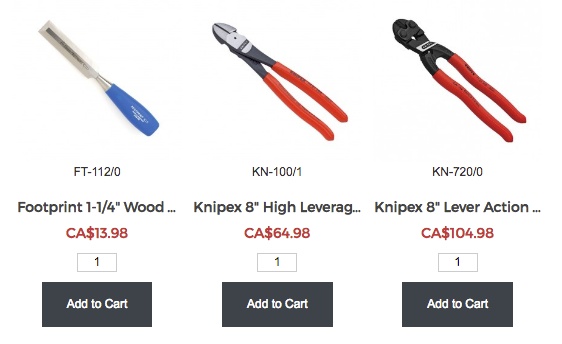
We decided to give the chisel’s image a ratio of 1:1. Now as you can see, all of the products line up nicely on the page appearing consistent and professional.
Upload product images
Once you’ve gone through the proper preparation of your product images you can then begin to upload them. There are two ways you can upload product images however it is recommended that you upload your images using the Batch Uploading section regardless if you’re bringing in a large batch or only 1 or 2 images.
Batch Uploading
As long as you’ve named your images properly using their unformatted item codes, you can upload hundreds of product images at once. The process will assign your images based on those codes so they must be named correctly.
First, navigate to Catalog > Upload Images > Batch Uploading in the eCommerce Console.
If you are encountering any batch image upload issues please check the setting under Catalog > Upload Images > Settings, and make sure all thumbnail widths and heights are being set.
1) Click Add files… and select your images
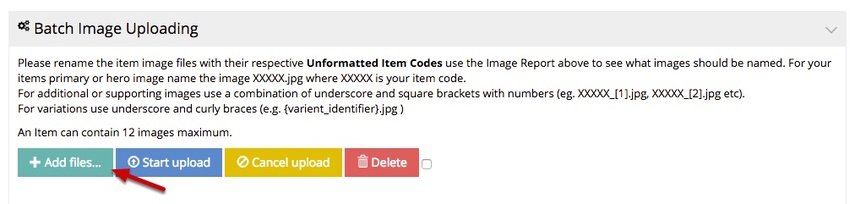
2) Wait for the spinner to stop
![]()
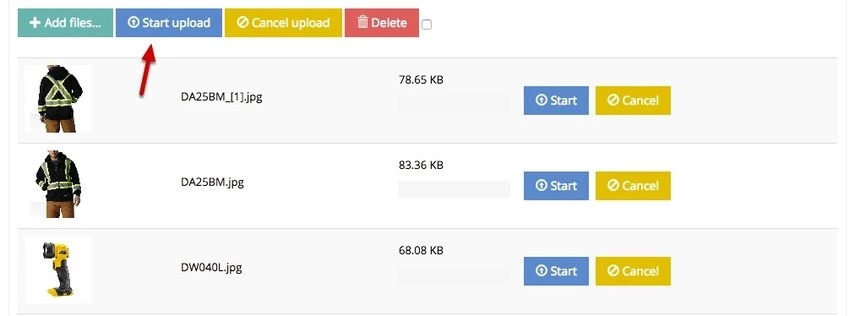
3) Click Start Upload and wait for the load to complete
How to remove an image from a product
Navigate to Catalog > Products in the eCommerce Console.
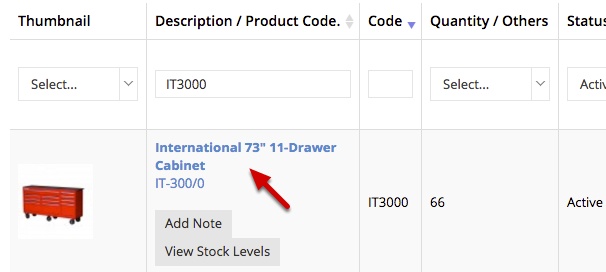
1) Search for the product and click its description
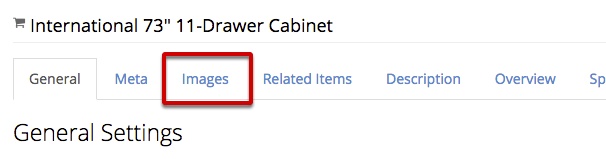
2) Select the Images tab
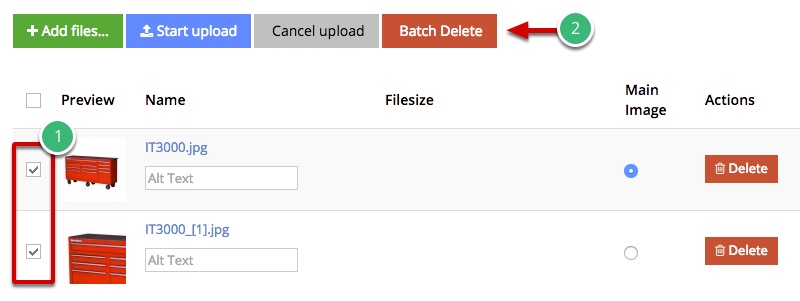
3) Either click Delete next to an image
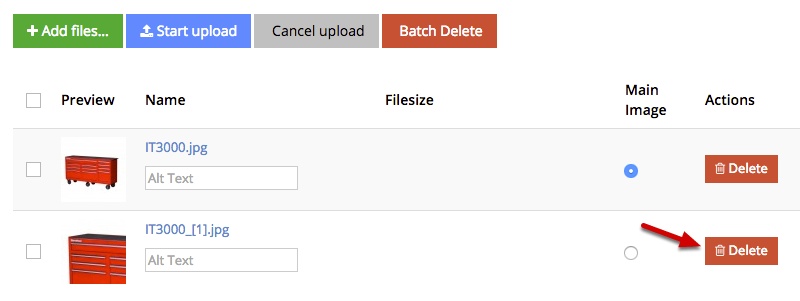
4) Or, check the boxes of multiple images and click Batch Delete