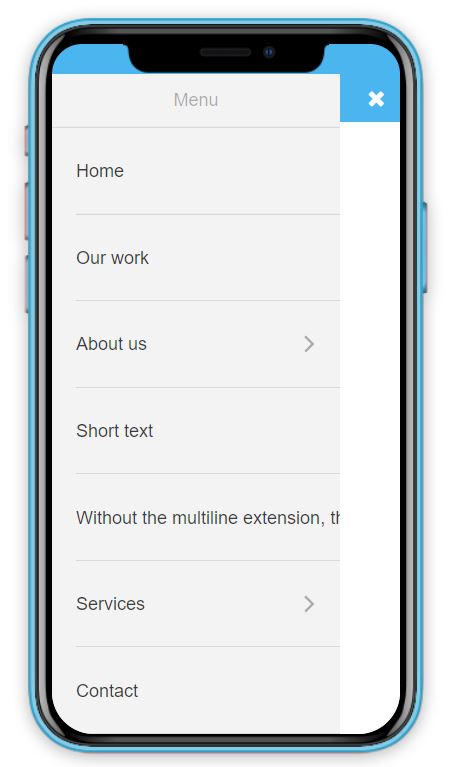
Our new Mobile menu feature lets you customize your own menu if you find that the default menu doesn’t meet your requirements. Anyone can use this new feature just to change up the look of their site, but this feature is great for sites that have a lot of categories and/or uses filters extensively.
You will need to request from the commercebuild team to activate the mobile menu before you can begin.
Your site should be using all of our eleasticsearch capabilities before enabling this feature. Reach out to the commercebuild team at support@commercebuild.com to confirm that your site is set this way.
Start Editing
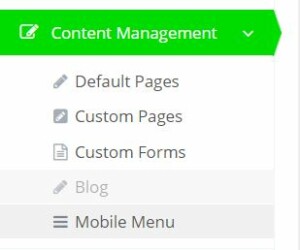
Once the mobile menu has been activated, you’ll see a new link under the Content Management pages:
When you click on Mobile Menu you’ll be presented with three options. You can configure how you present your categories, how you present your filters, and how you present the user Account links.
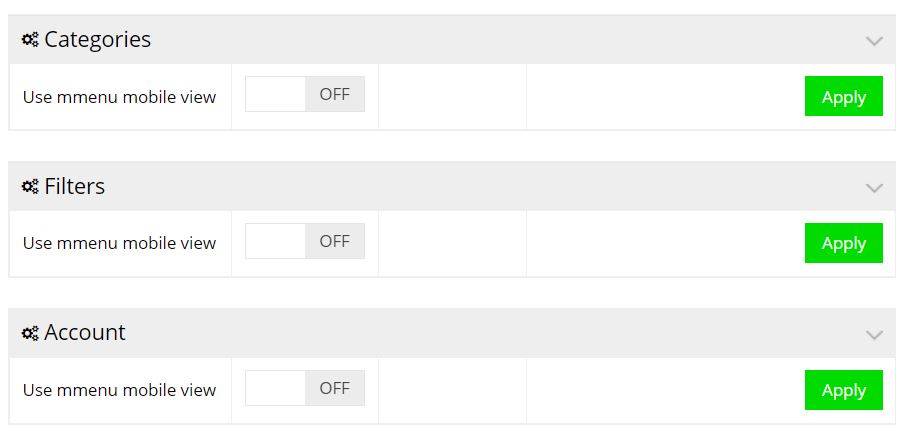
Your categories, filters and account menu are major navigation items that you find in your header. By activating these, you’re taking them out of the stock header when we detect a mobile device or small screen, and putting these items in your new mobile menu where you have more granular control. If you’re going to use mobile menu, we recommend you try turning them all on.
For every section that you turn on, you’ll see a tabbed menu:

When you select a tab, you’ll see a list of options
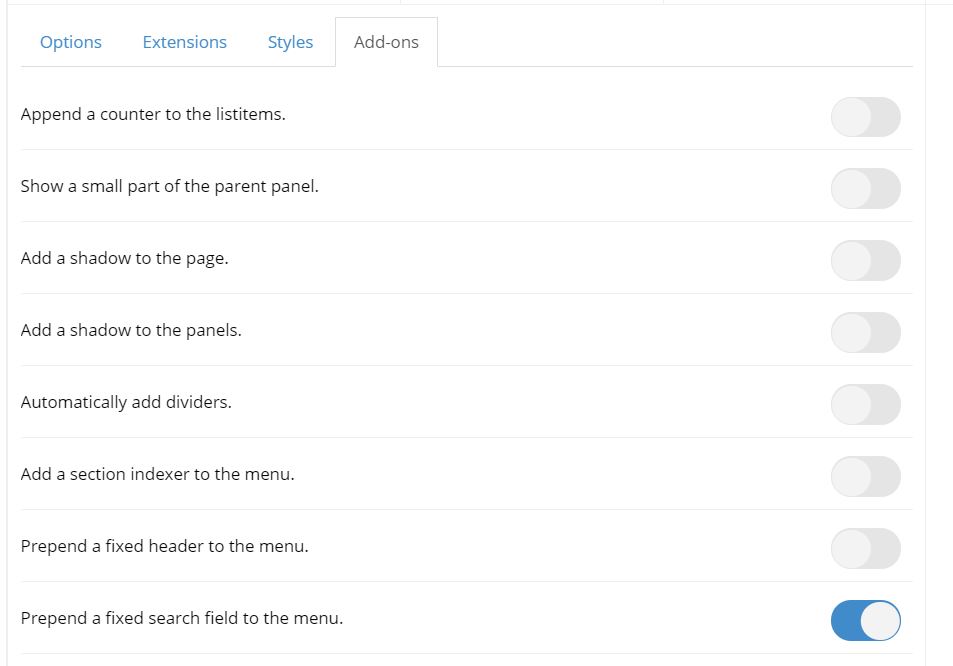
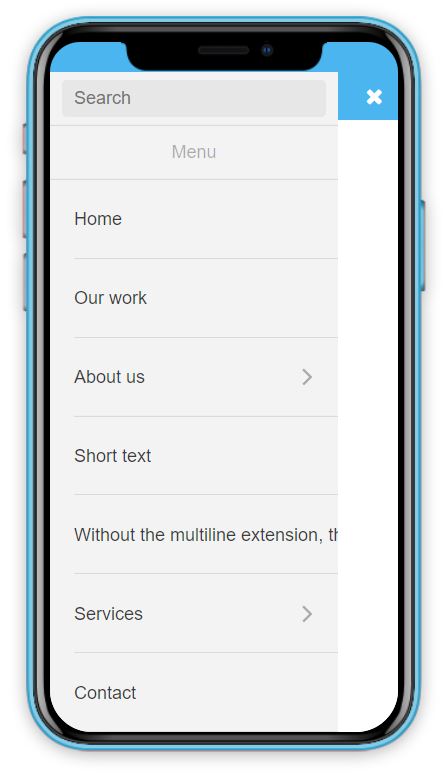
You can toggle them on and off, and to the right you’ll see an example of what each does. Below to the left is what the menu looks like with “Prepend a fixed search field to the menu” on, and to the right, with the search off.
This is a really user friendly interface that lets you preview your menu and set the behaviour without any coding. Don’t forget to apply your changes!
I can’t turn off a setting!
In some cases, one of a set of options is required to be on.
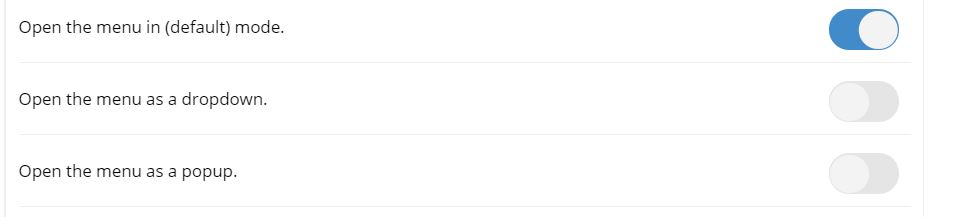
In the above case, you’re not able to toggle the “Open the menu in the (default) mode.” off by clicking on it. To turn it off, you’ll need to select one of the other two options. It’s not always obvious at first, but the above helps prevent users from generating a custom menu that’s blank.
Once you’re satisfied with your changes, save them, open up your phone, and check out your site!