Introduction
In 3 simple steps, you can create your own webstore, connected to your Business Central environment, with your own customers, products, prices, orders, shipments, invoices and payments. You even can place webstore orders and see them in Business Central.
Let’s get started….
Step 1: Install the commercebuild app from the MS Extension Marketplace
- Login to Business Central
- Search for “Extension Marketplace”
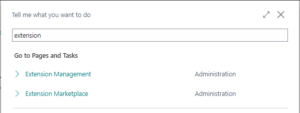
- Click to open the Extension Marketplace and then search for “commercebuild”:
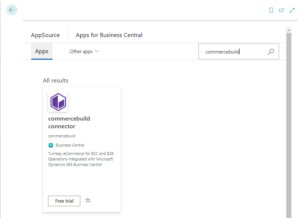
- Click the “Free Trial” button to install the commercebuild connector
- Once installed, access the commercebuild app settings from the Business Central navigation bar and click “BC System Configuration”

- Configure settings under the headings “General”, “General Posting Setup”, and “Cash Receipt Journal Setup”
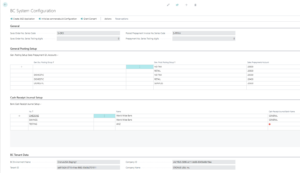
- Now, let’s activate and authorize the commercebuild app for your Business Central environment:
NOTE: you may require assistance from a Business Central user with sufficient permission to complete the following steps:- Click “Initialize commercebuild Configuration“
- Finally, click “Grant Consent” – this will allow the webstore you’re about to build to connect to your Business Central
Step 2: Create a Store
You can create a site directly from the commercebuild app. In fact, you can create multiple sites. Each site is valid for 14 days providing you time to evaluate many of the great features and benefits on offer. We urge you to reach out to one of our skilled staff to answer any questions you may have, and to recommend the right solution for your needs.
Building a site is easy:
- First, let’s check the webstore environment that we want to use – “Staging” is ideal when you want to try out a new webstore or customer portal, while “Production” is great when you’re ready to build out a webstore or portal that you want to take live. Access the commercebuild app settings from the Business Central navigation bar and click on “Environment List“:

- Edit the Environment List as necessary
- Next, click “Store List”
- Click “+ New“
- Enter a name for your store and the email address of the person who will administer the store:
NOTE: an email will be sent to the store administrator once the store creation process has completed, usually within a few minutes

- Click the “Create” button
- Check for an email indicating that the store is built and ready to be configured
- Click the link in the email to take you to your new store
Step 3: Configure your Store
With your store created and ready to configure, you can use the “store wizard” plus the notes below to get your store up and running in minutes. If you’re happy doing that, please skip to the “Store Wizard” section below.
But we’re also available to help via chat or MS Teams to screen share. Up to you. You can access the chat widget at the bottom-right of the store screens, and connect with one of our super helpful team members. They can answer your questions, help you with configuration, review features, and provide details of pricing and implementation services.
If you prefer, you can also schedule a time to meet
Store Wizard
The Store Wizard can be accessed by logging in to your new store, and visiting the store “Admin Tools“. The Store Wizard leads you through the basic settings required for the store. Once the Store Wizard has been completed, it will not be displayed again.
- To access the Admin Tools, login to your store by clicking the icon below:

- Now that you are logged in to the webstore, click the icon indicated below to access the Admin Tools

TIP: it’s a good idea to open the Admin Tools in a separate tab to the Store, making it easy to switch between the two - Wizard Step 1: Select a customer
Tip: this is required for the public facing side of the webstore – Choose the customer against which public (b2c/guest) orders would be placed. Select a customer here even if you are not intending to enable public eCommerce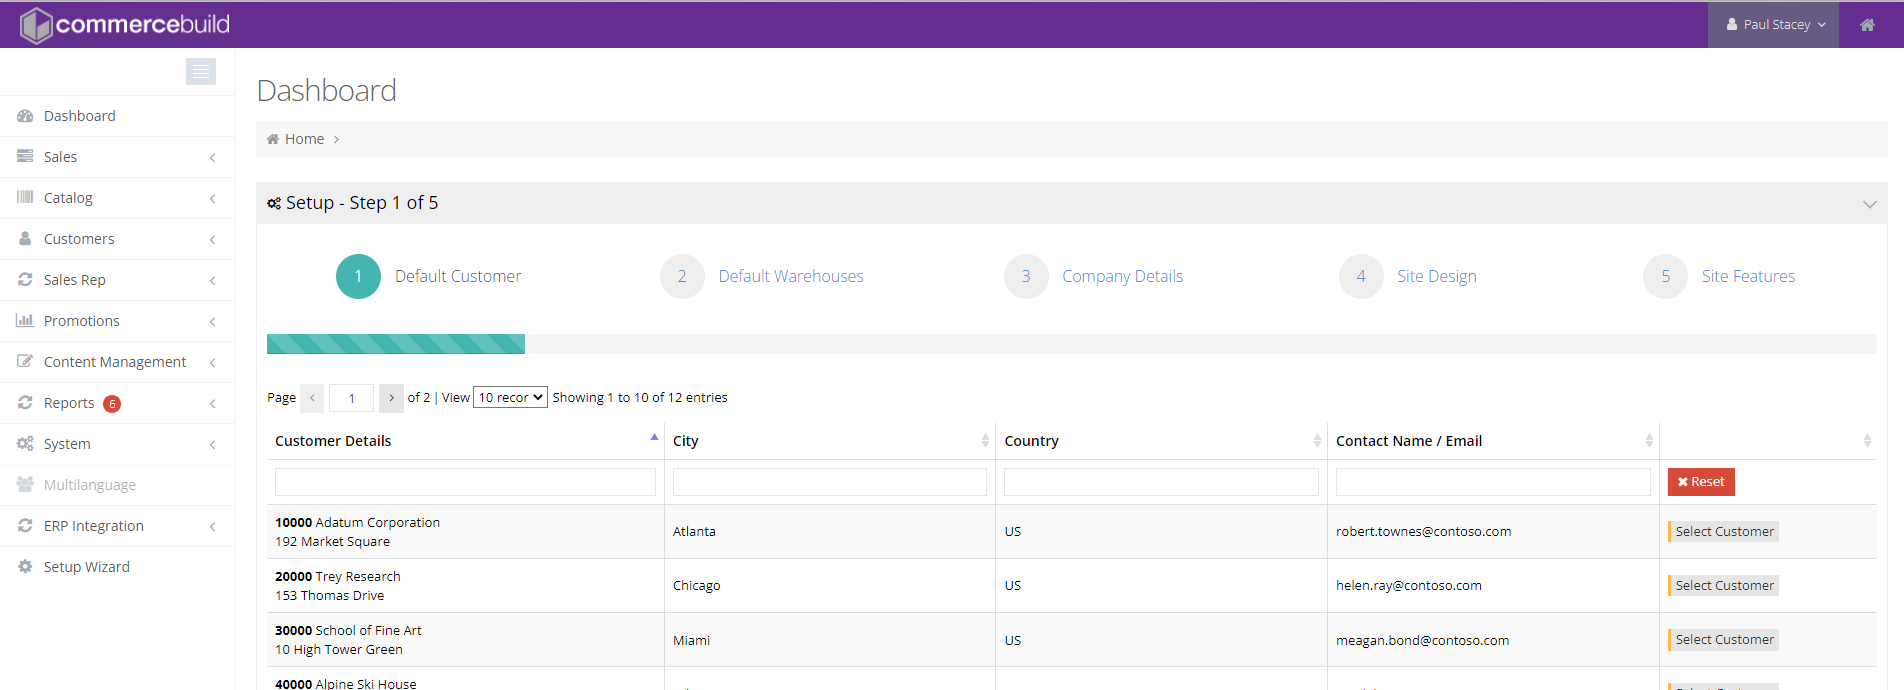
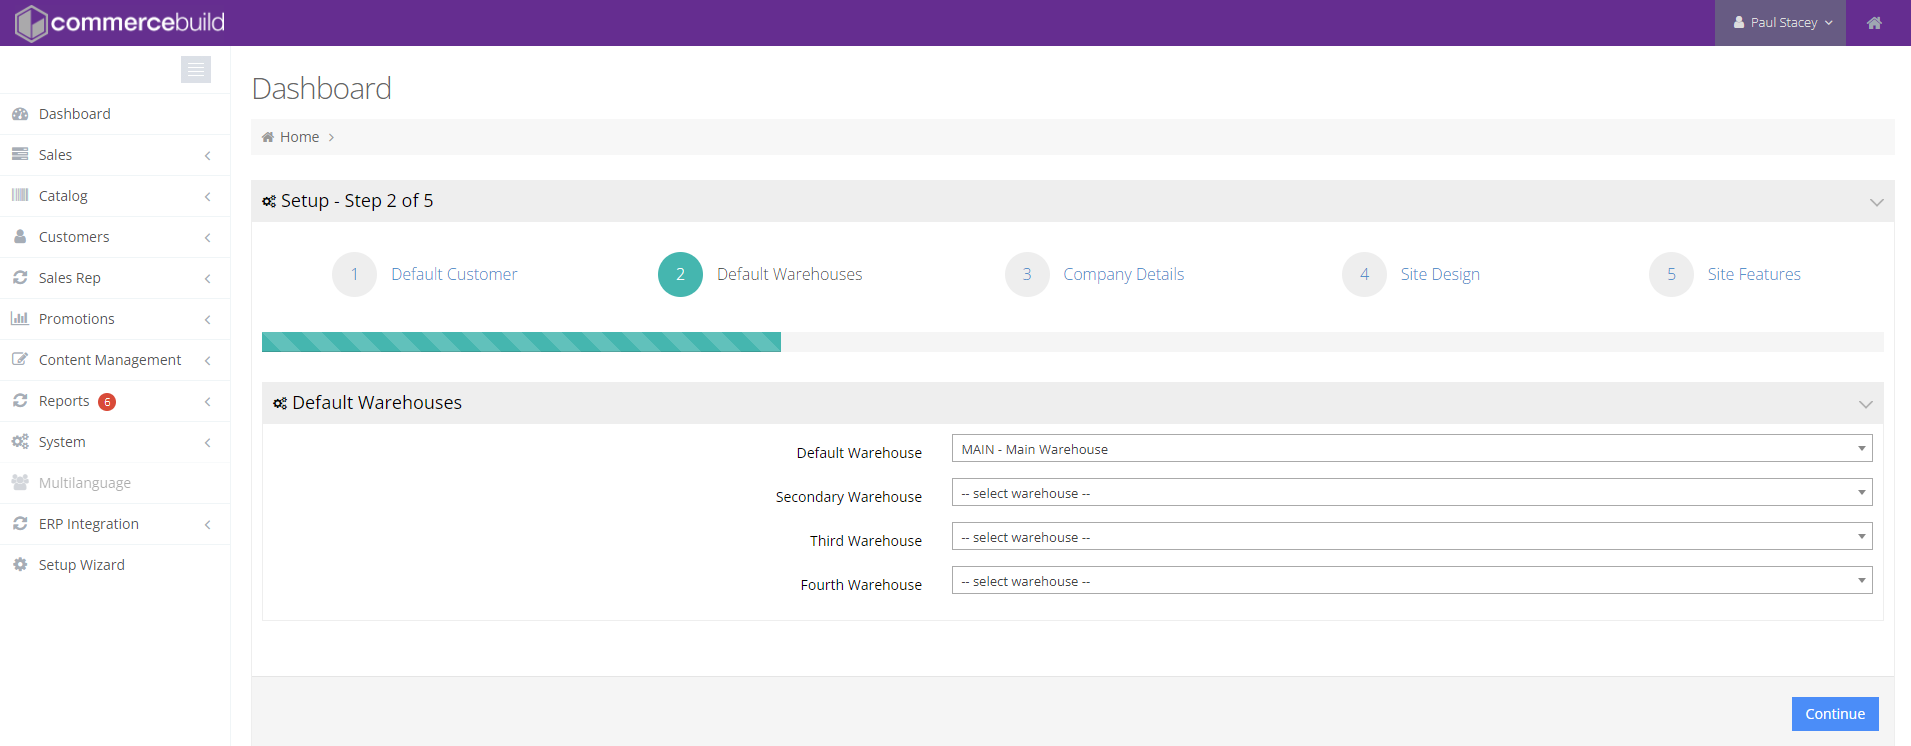
- Wizard Step 2: Select a default warehouse – this is required for the public facing side of the webstore. Select a warehouse here even if you are not intending to enable public (b2c/guest) eCommerce
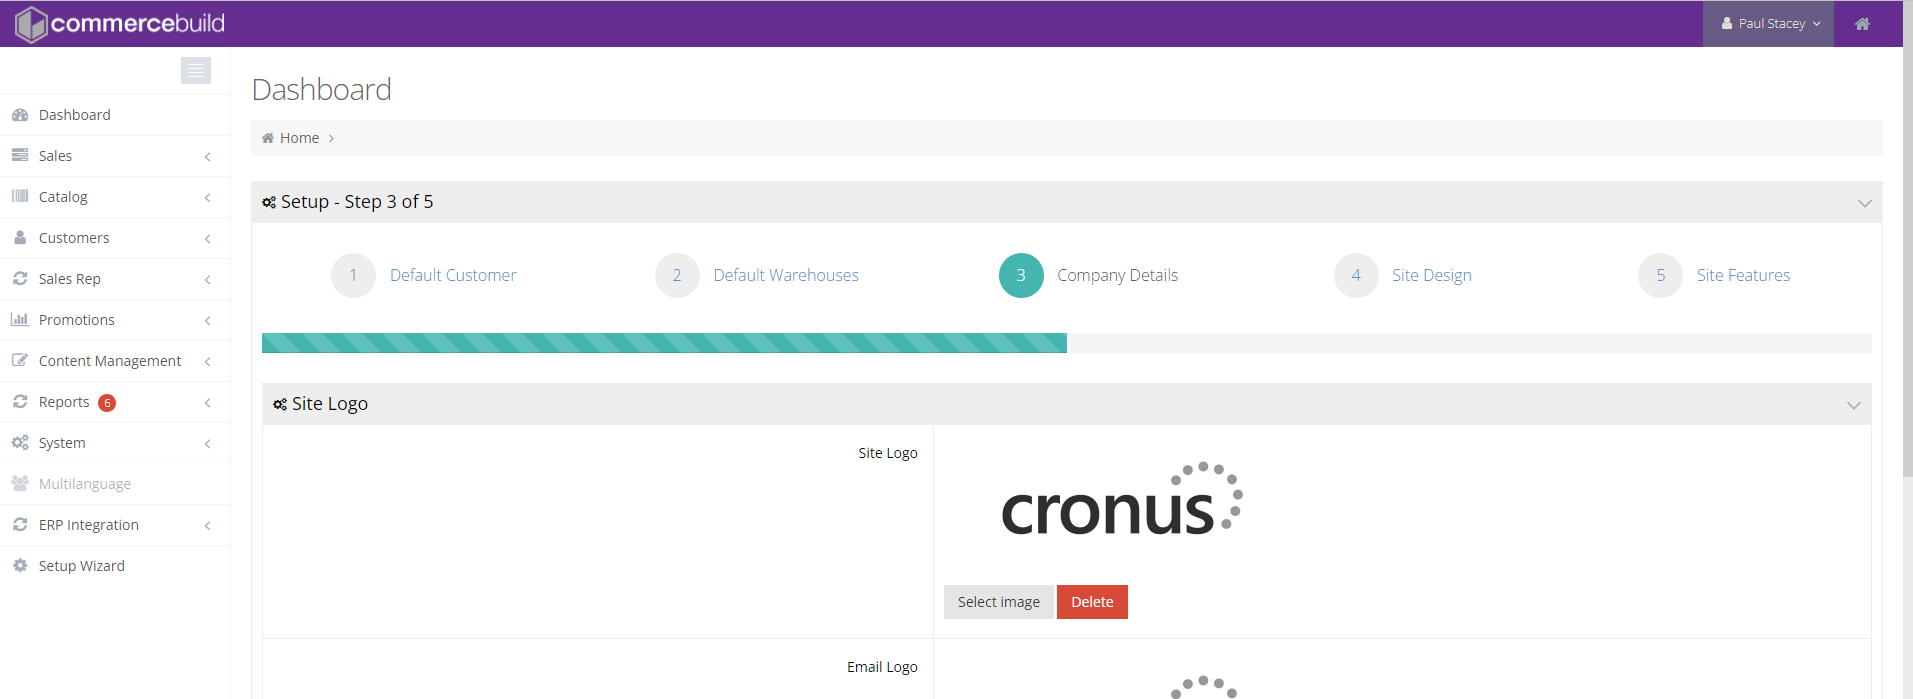
- Wizard Step 3: Check the site logo and details – the site logo and company details are uploaded from your Business Central system
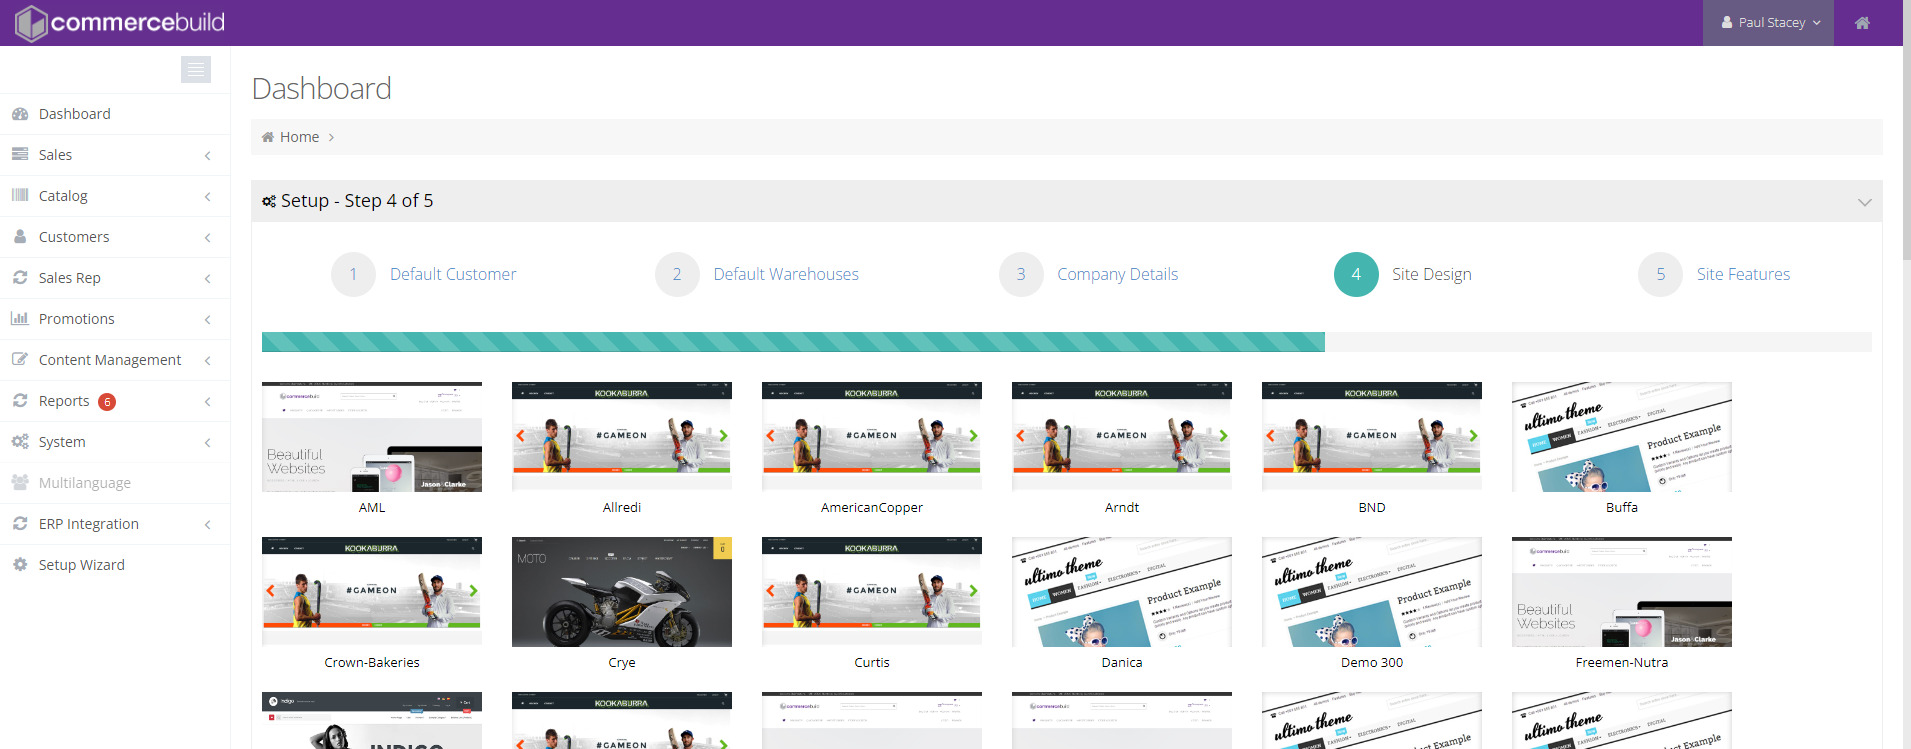
- Wizard Step 4: Select a theme to be applied for this site.
Tip: Use the default theme selected “commercebuild-v4-default” – this can be changed later
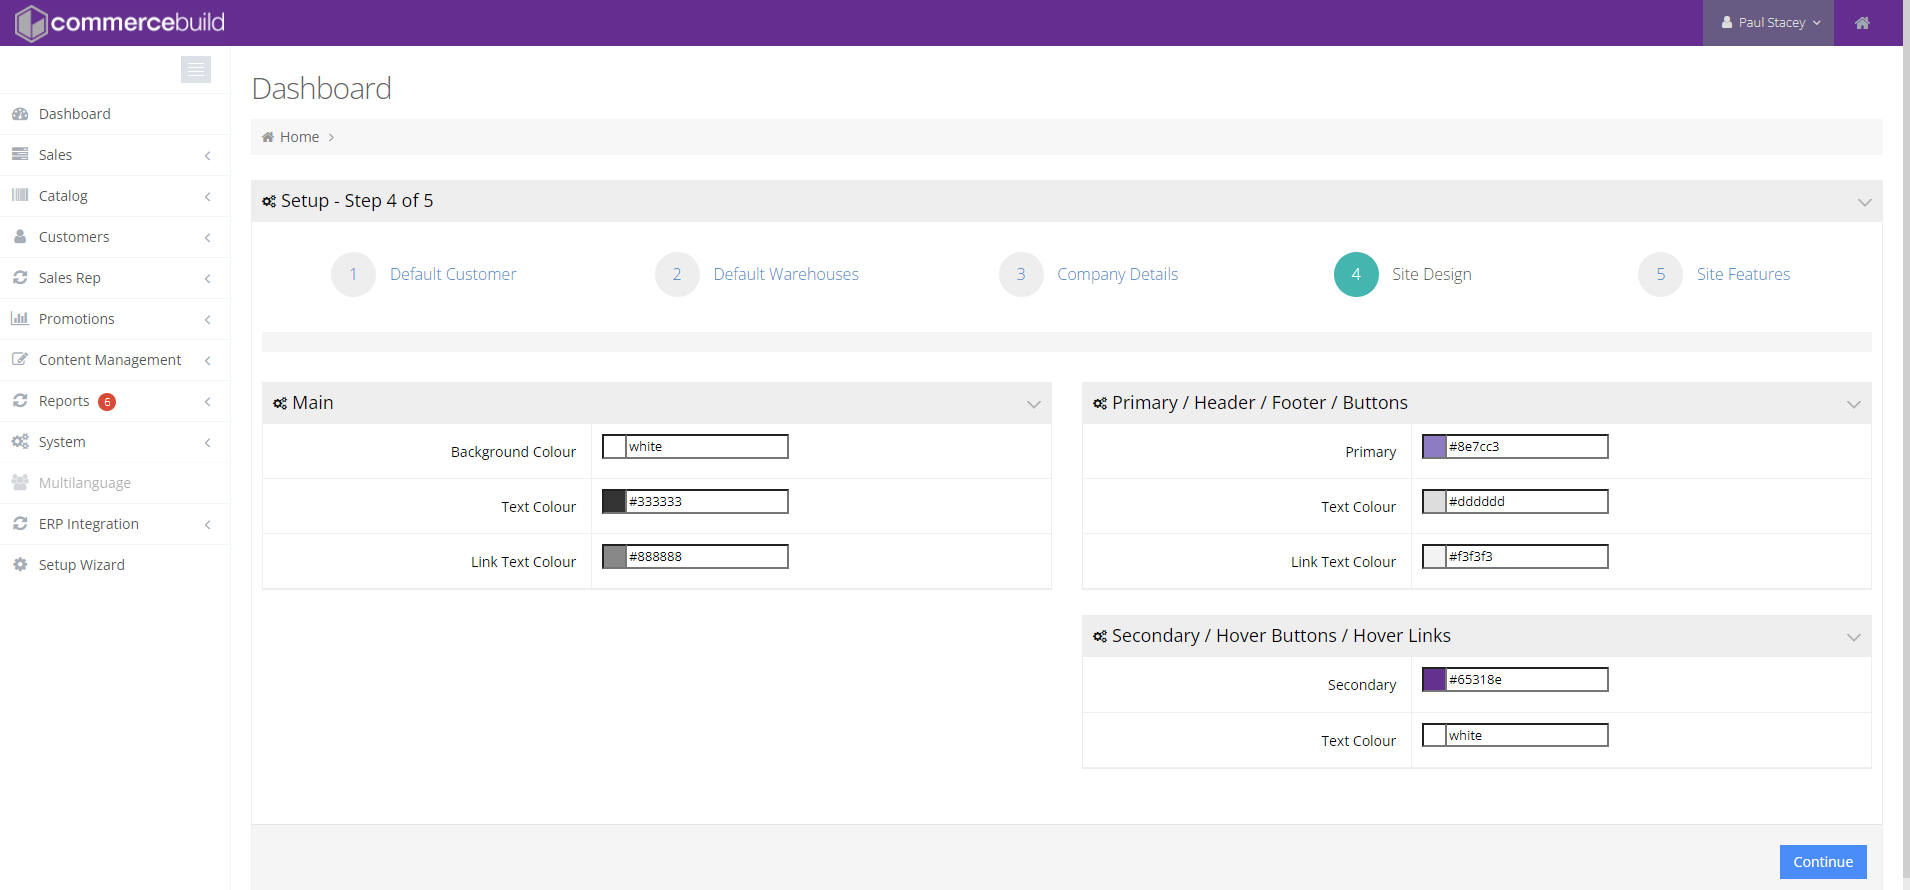
- After selecting the theme, click the “Continue” button – this screen allows you to set default colors for the theme.
Tip: it’s much easier to work with the defaults as shown below and make your own changes later. The only change to make on this screen is to select the “Primary” value as shown below.
- Wizard Step 5: Site Features – this is the last step of the wizard. You can keep all of the default settings for now
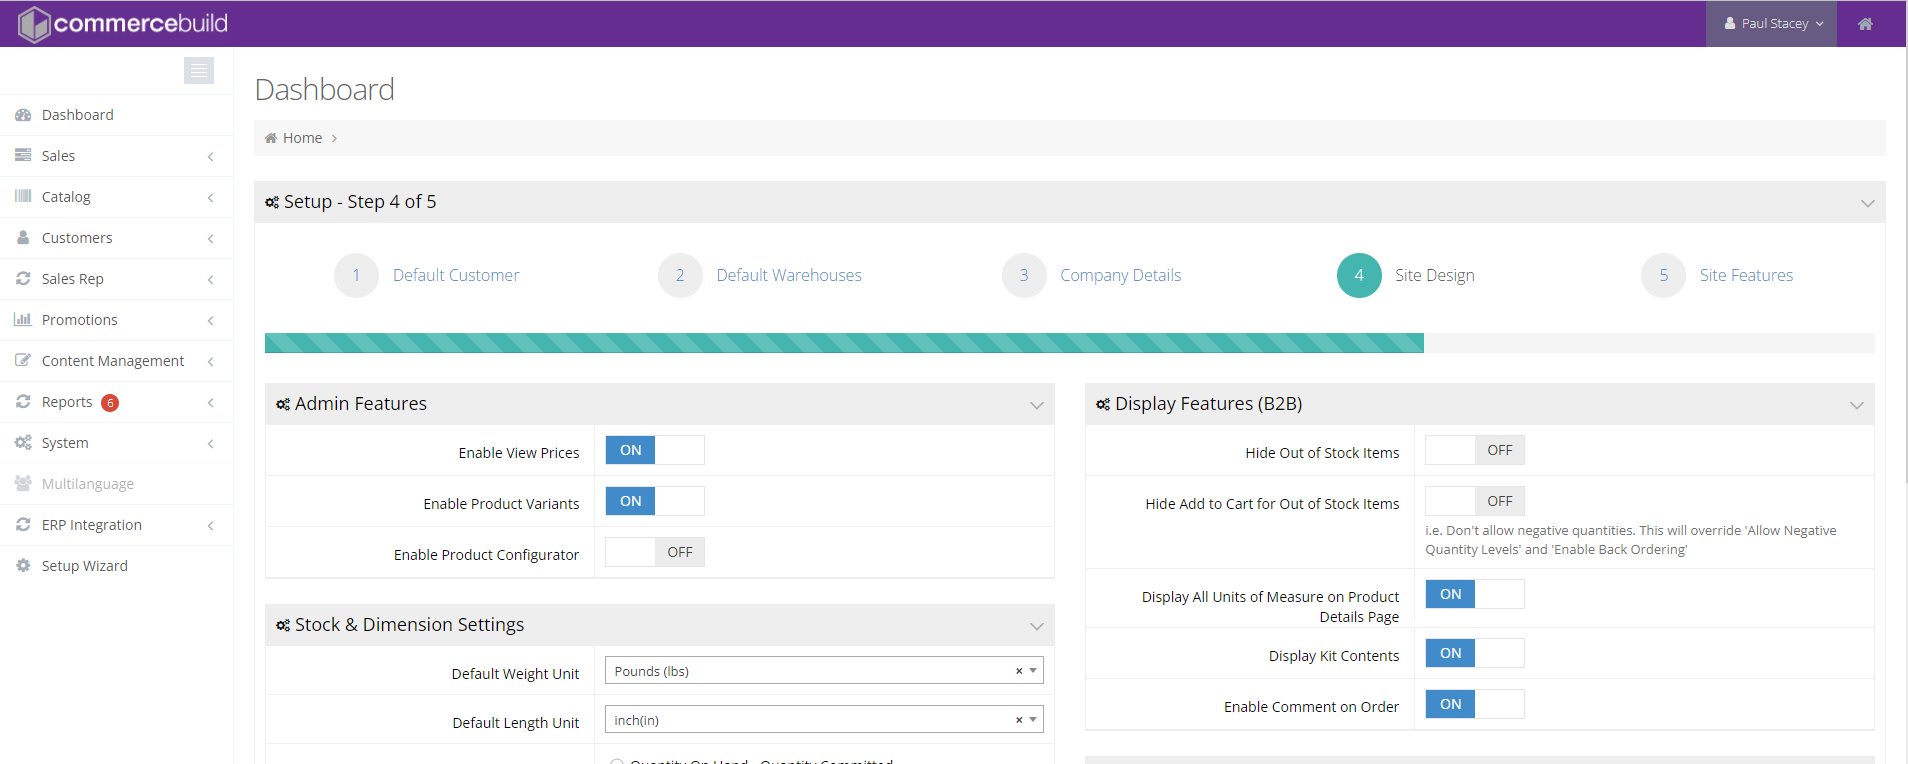
- After completing the Site Wizard, the last tasks involve minor configuration of the payment and shipping settings.

- Payment settings – can be ignored for now and revisited later if a Credit Card gateway is required
- Shipping settings – click on the “Shipping” link to be directed to Admin Tools>>System>>Shipping Setup>>Carriers
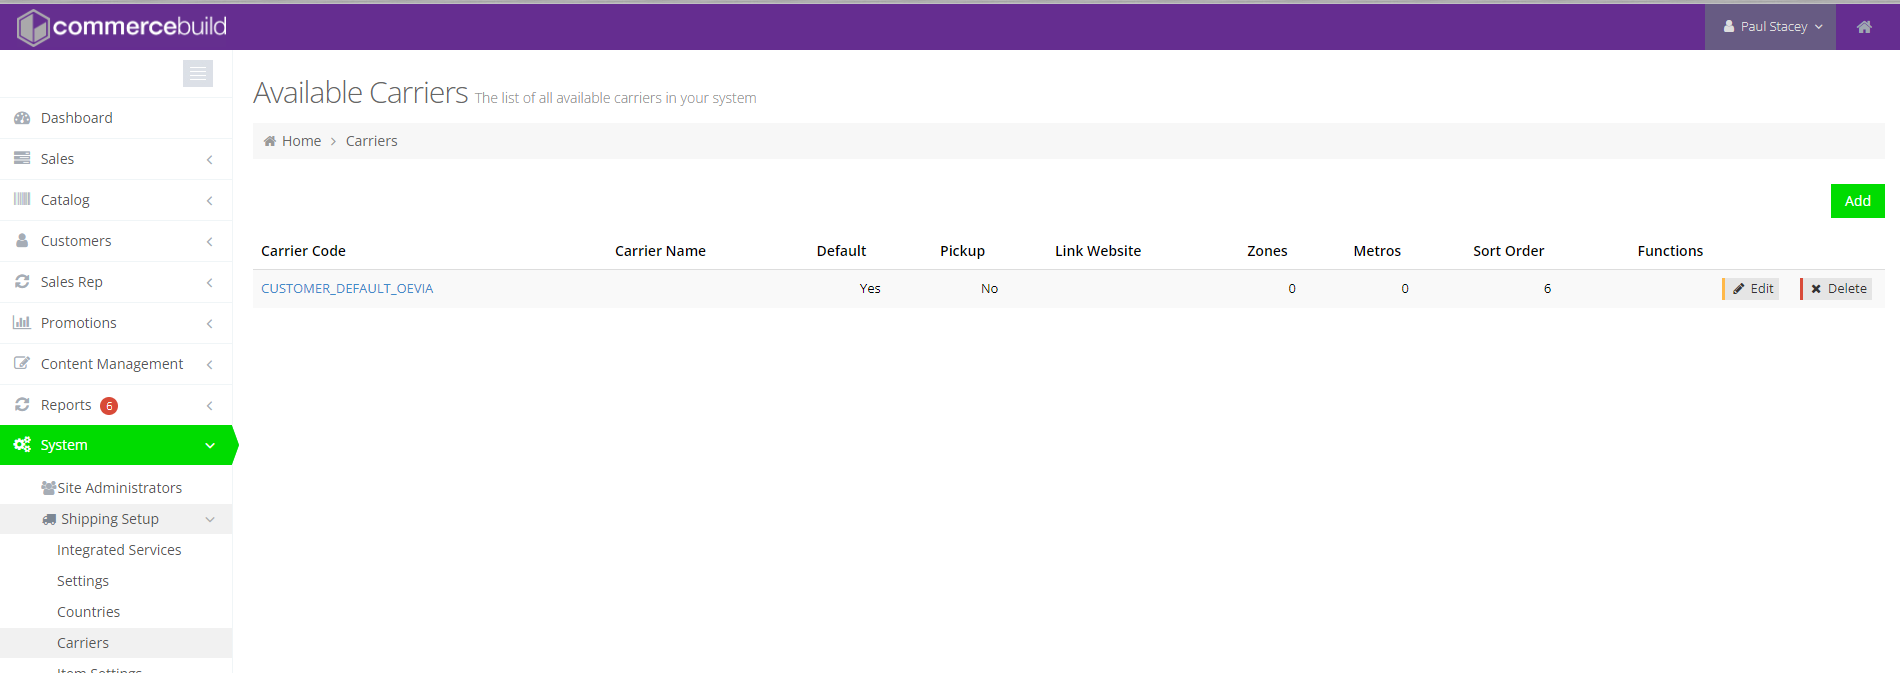
- Click on the “CUSTOMER”DEFAULT_OEVIA” carrier to edit the details and make the changes suggested below:
TIP: if you’re not able to select values similar to those below, there will be some minor setup required in Business Central. Reach out to our team to assist with this step.
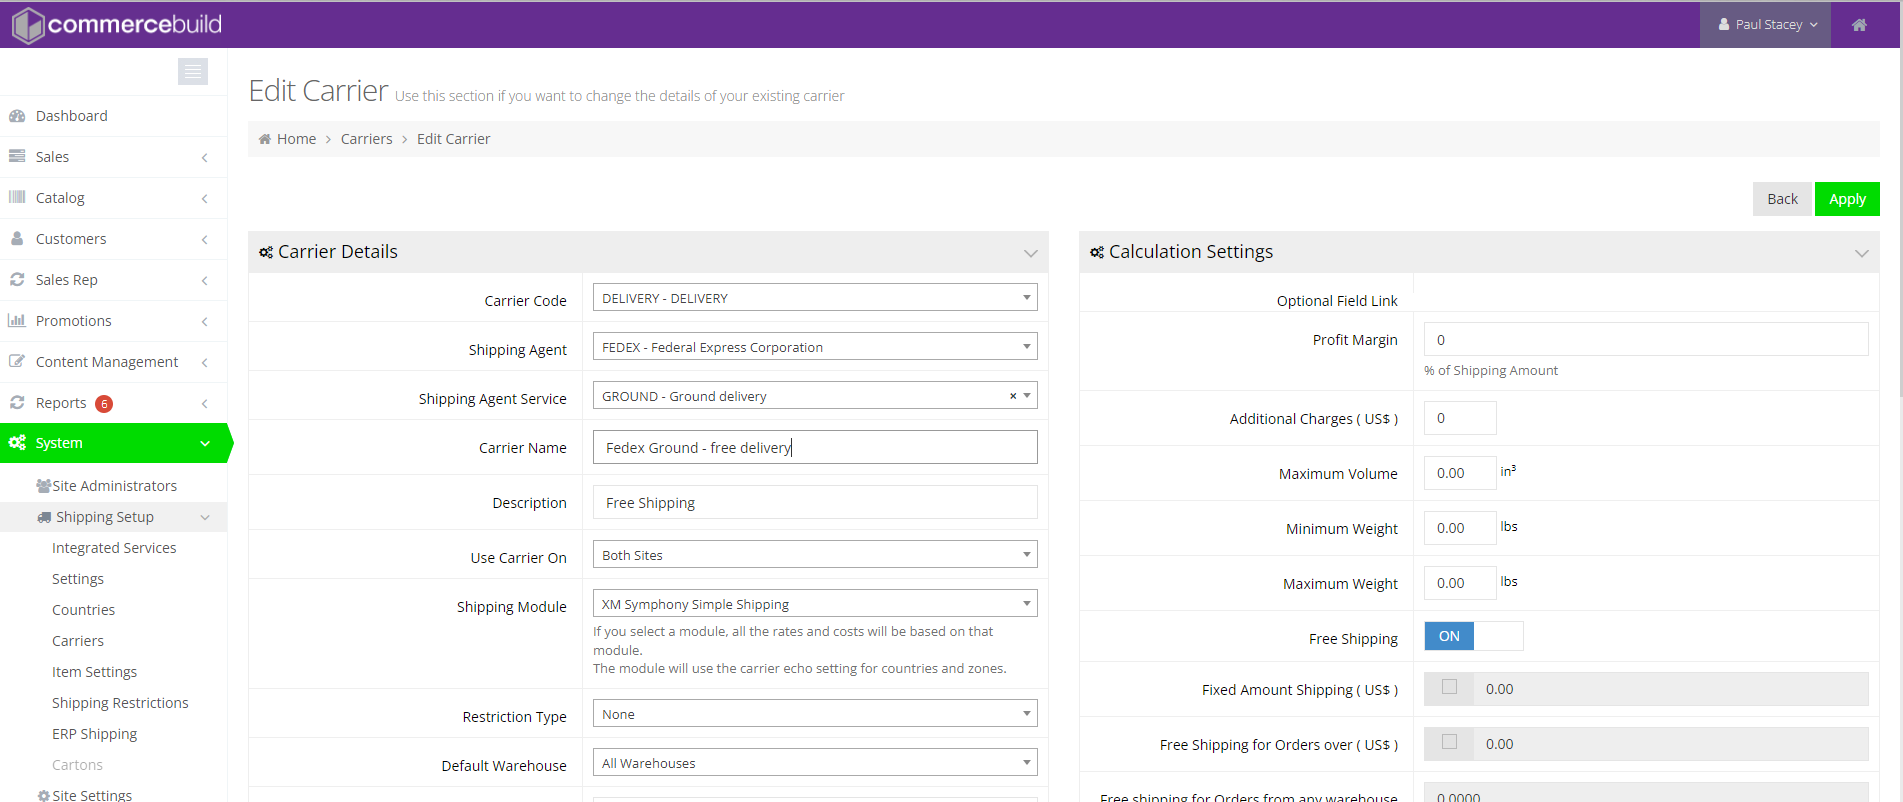
Now that the Store Wizard has been completed, please check out the “Building a Customer Portal” or “Building a Webstore” sections below.
Building a Customer Portal?
In your Customer Portal, you will see the current status of Sales Orders, Shipments and Sales Invoices, you can download PDF copies of your invoices, and make payments for open invoices.
For a Customer Portal, there’s nothing more to be done but start exploring.
Building a Webstore?
In a webstore, you will be able to see your products, prices, availability, and you can place webstore orders that post through to Business Central. To build out your webstore, you will need to assign one or more items to a category, optionally add some images, and reindex your site.
You can skip these steps if you only want a Customer Portal.
Add Items to a Category
Items that exist in your Business Central environment have already synched to your new webstore, and now they just need to be assigned to a category. By doing this, you will make those categorized items available to the webstore user to add to the cart and checkout.
Note : it is possible to auto-assign items to categories. This topic can be discussed with our consultants during the full implementation
Steps:
- Login to the webstore and access the webstore Admin Tools using the cog icon in the site header, or by adding “/admin” to the URL of your webstore

- From the menu on the left, navigate to Catalog>>Categories
You can use the category tree provided, or add categories of your own using the “Create” button
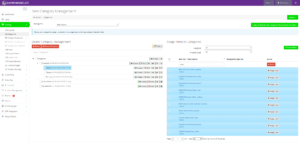
- Click on one of the categories, then select item(s) from the list displayed on the right, and click “Assign Item”. In this example, the “Chairs” category is selected on the left, the search term “chair” has returned 10 items on the right and all 10 have been selected with the checkbox. By clicking the green “Assign Batch” button, all 10 chairs will be added to the “Chairs” category
Refer to this helpdesk page for more information on assigning items to categories
Add Images to Items (Optional)
Items can have up to 12 images assigned to them in your new webstore. They will behave perfectly well without any images and so you may wish to skip this step, at least for now. If you do wish to upload images for your items, you can do that en masse if your image name is the same as your item code, or one by one if not.
Note: If your Business Central items already have item images, these images will be loaded into your webstore automatically
This article explains how to manually upload images.
Reindex Your Site
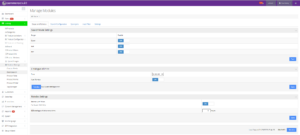
Elastic Search is at the heart of your webstore’s search and navigation capabilities. Most activities you perform in the Admin Tools automatically reindex the changes you’ve made, but you can always do a full site reindex, and after setting up a site for the first time, this is a necessary step. To reindex your site, navigate to Catalog>>Product Settings>>Elastic Search. On the “Scope and Reindex” tab, scroll to the bottom of the page and then click the “Reindex” button. Wait a few seconds and the reindex will complete :
Refer to this helpdesk page for more information on Elastic Search and Reindexing.
Start Your Engines – it’s Time to Test
To access the Customer Portal and Webstore front end from the Admin Tools, click the “Home” icon in the top-right of the header ![]() .
.
Alternatively, open a new browser tab and use the URL of your new webstore.
From this point on, you are viewing the webstore data (orders, shipments, invoices, payments, prices, documents, and products) for the customer account that is displayed in the top-left of the header. In this case, customer 4000 – Alpine Ski House:

At any time, you can switch to a difference customer account by clicking the “Switch Customer” link in the header. When you do that, the webstore automatically updates its data to display orders, shipments, invoices, payments, prices, documents, and products for your newly selected customer account. This is a great benefit to Sales and Customer Service Reps.
Webstore Home Page
The webstore has a set of default pages, including a Home Page, a header, and a footer, to make your first view of the site easy to navigate:
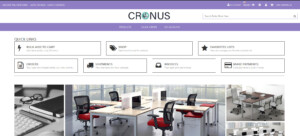
From the Home Page, click in the “Orders” box to navigate to the list of Open Sales Orders – this is the default page for the Customer Portal.
What can I do in the Customer Portal?
You’re now exploring Customer Portal pages for open sales orders, shipments and invoices. One important note is that the Customer Portal displays every sales transaction for the customer, no matter whether the transaction originated in the webstore, was hand-entered into Business Central, or received electronically via EDI or PunchOut.
As you navigate through the Customer Portal pages, each page will automatically refresh with the most up to date data from Business Central. So, any changes to open sales orders, shipments or invoices and payments made in Business Central since these pages were last visited are immediately reflected to the webstore user.
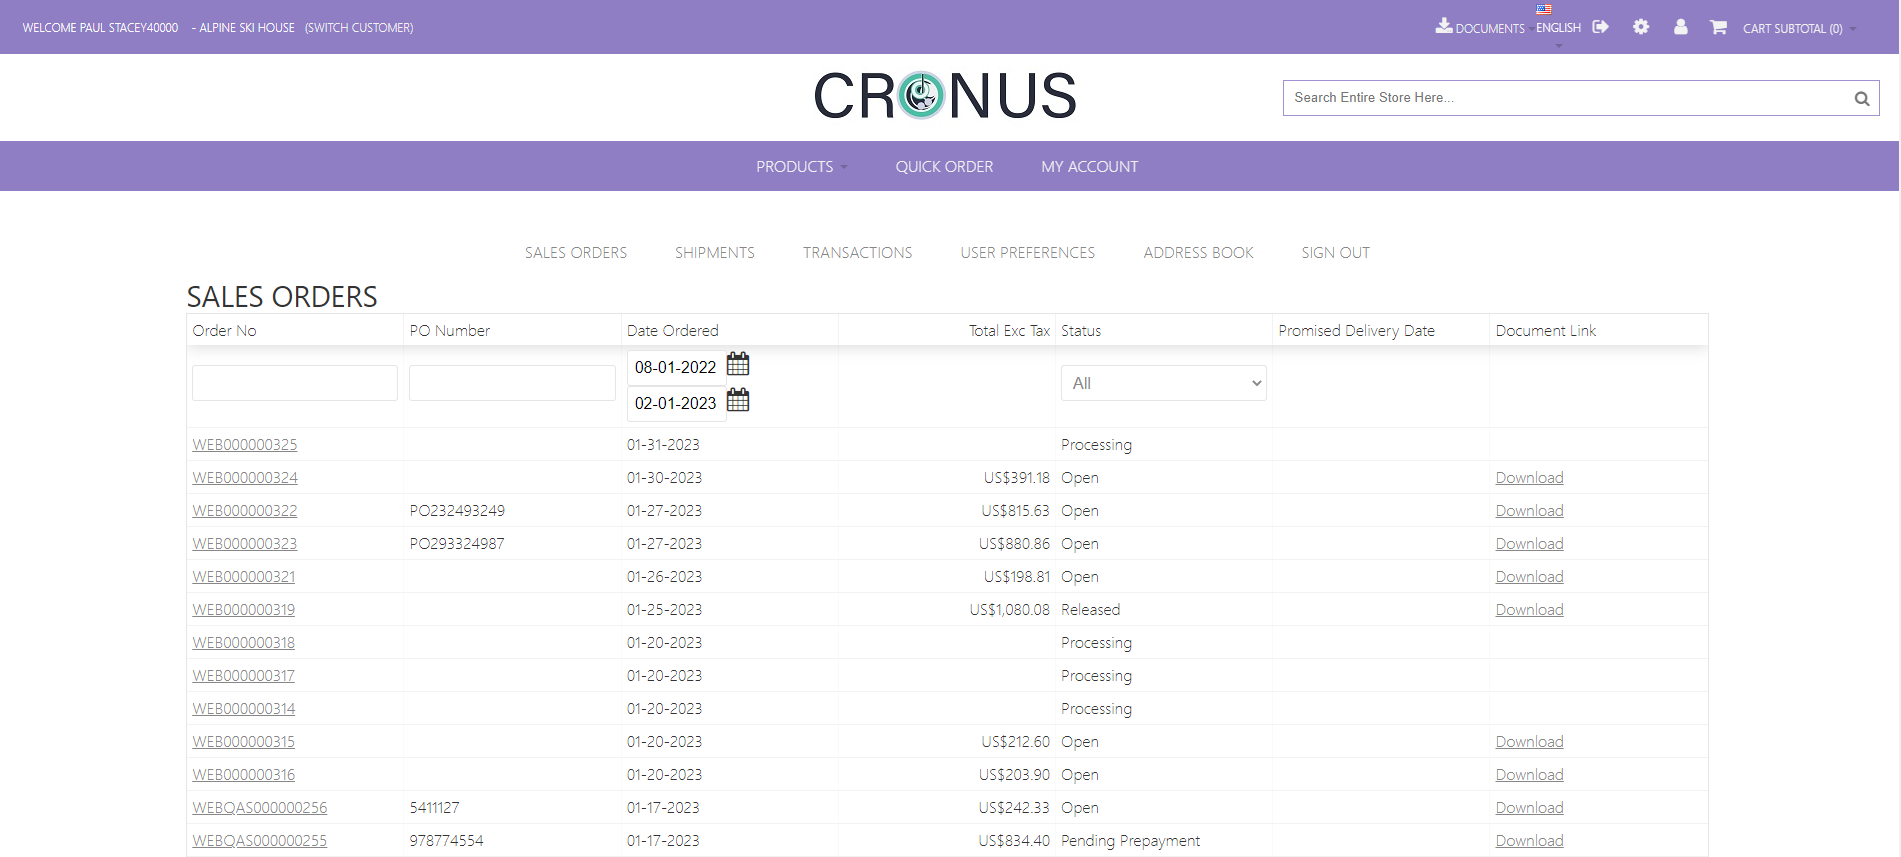
List of open sales orders
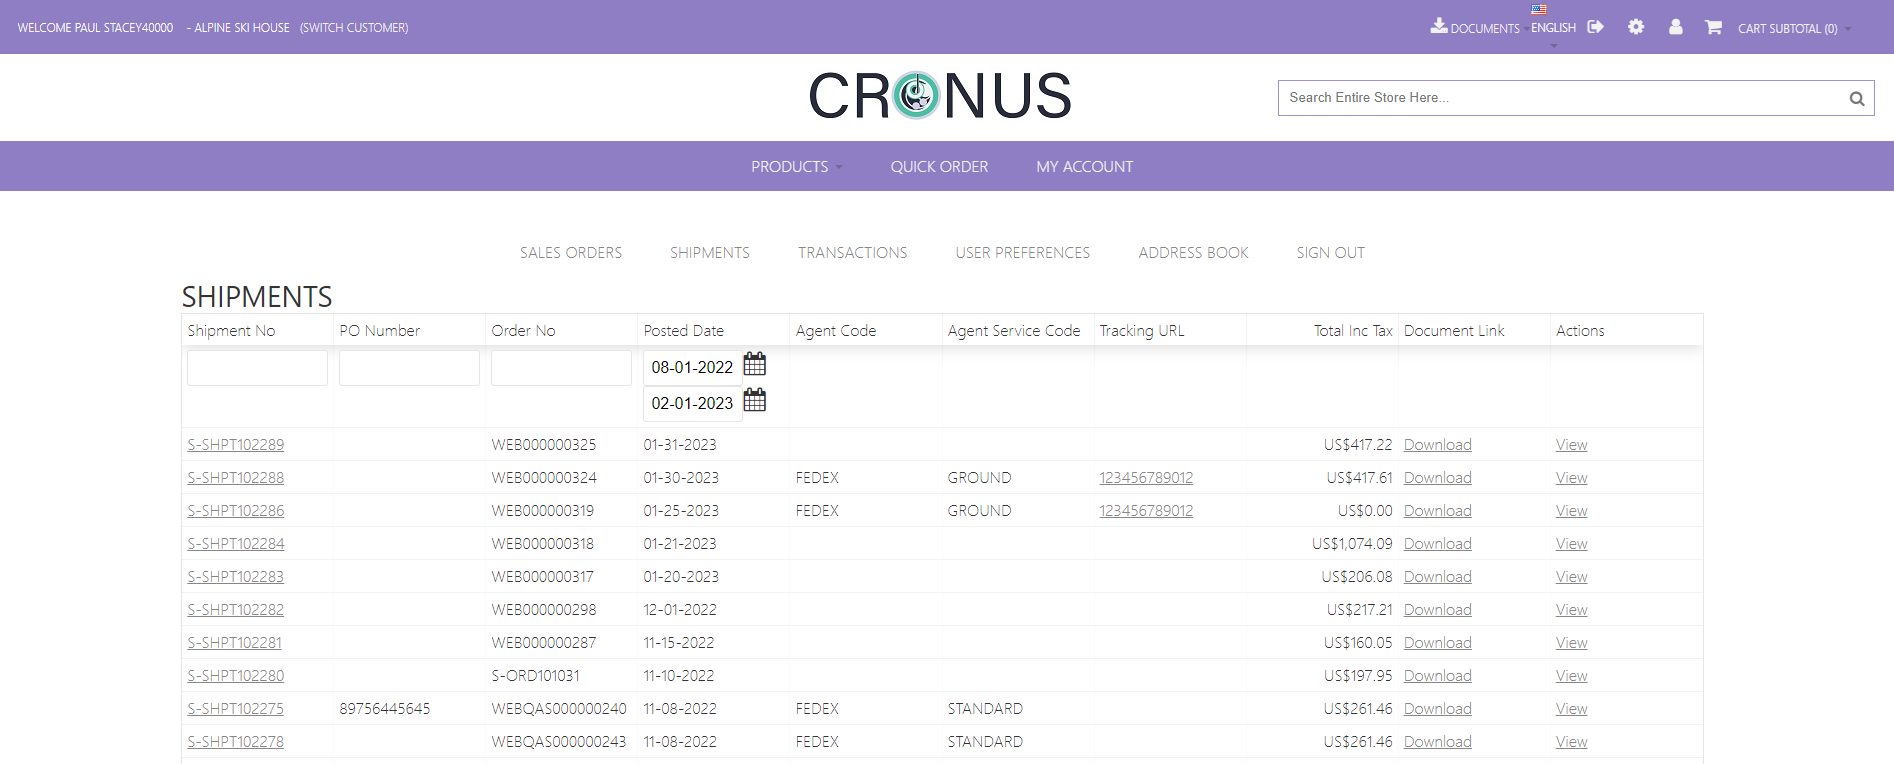
List of shipments
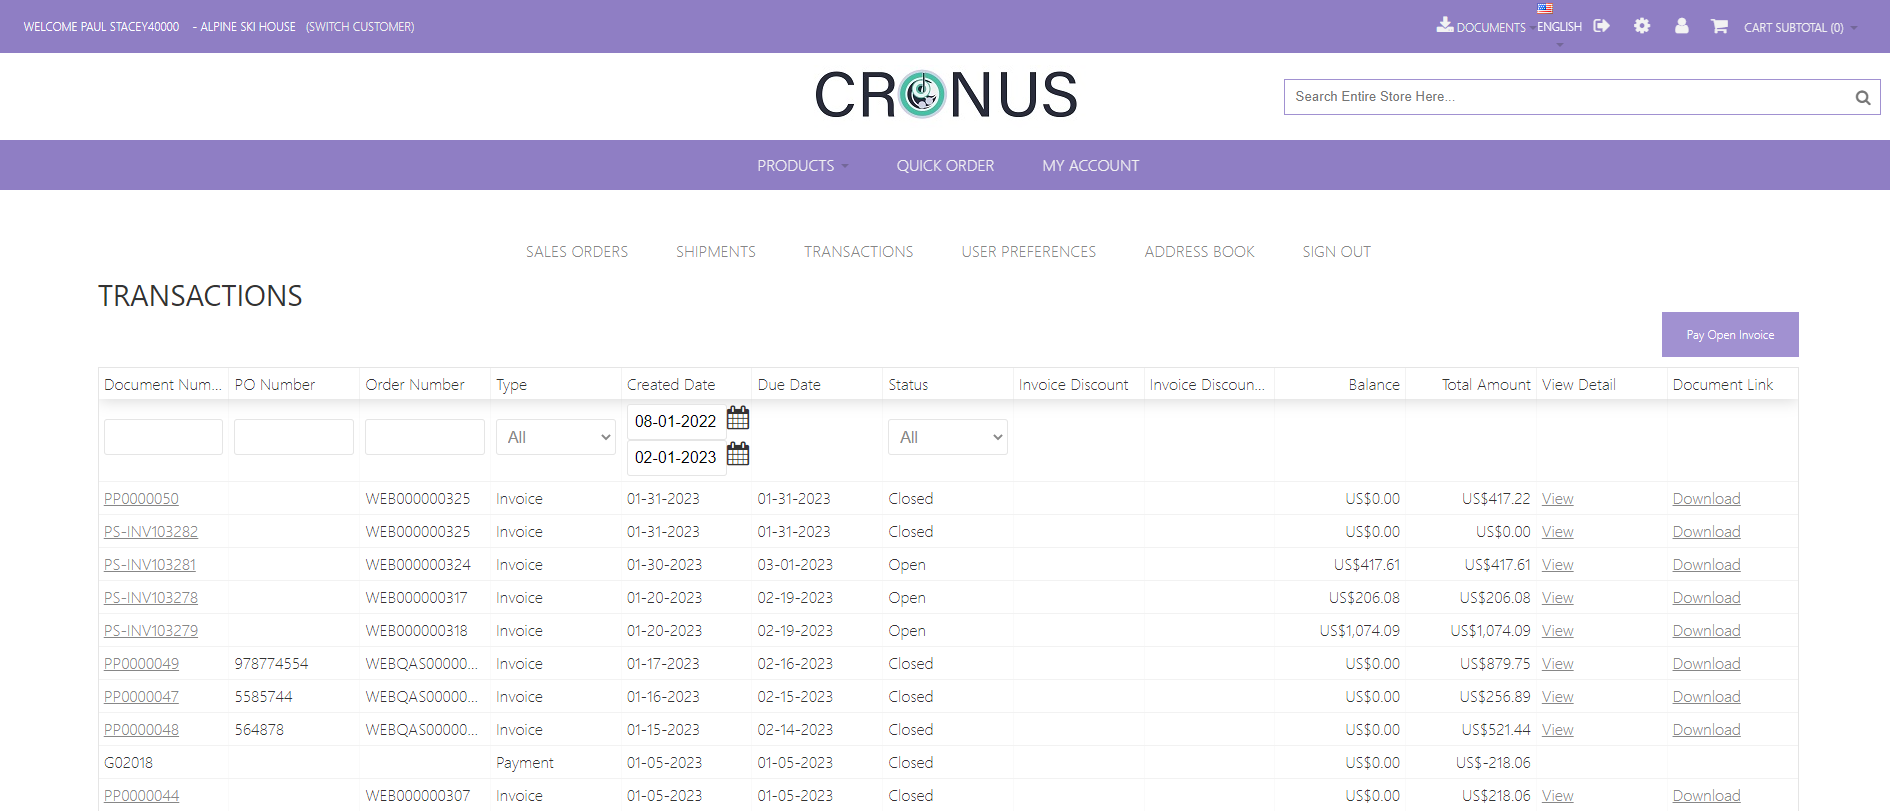
List of open invoices and payments
Various other options can be made available from the Customer Portal pages including carrier tracking links, downloadable sales-related documents, downloadable customer-related documents, and paying open invoices.
Placing a Web Order
With one or more items added to a category, you’re now ready to place your first order in the “front end” of the webstore.
From the webstore Front End:
- navigate through the site to locate your item(s)
- click an item – note that the price should be displayed. The price comes directly from Business Central, and reflects the same price the webstore customer would pay for the item if you placed a sales order in Business Central.
- add the item to the cart
- click the cart icon to view your cart
- begin the checkout process, progressing through each of the checkout steps :
- billing address is synched from Business Central and is the billing address of the customer account you’re logged in to the webstore as
- shipping addresses are synched from Business Central, or may (optionally) be created in the webstore
- one shipping method will display in this initial webstore setup, but many options exist as you work with us on your full implementation
- numerous payment methods are available for your store – On Account will allow you to place the order without providing any payment details. If you choose to use a credit card, the payment gateway is initially set to VersaPay with a test account. You can use the following test credit card:
Card#: 4111 1111 1111 1111
Expiry date: any month/year in the future
CVV: 123 - the order review step allows you to enter a Purchase Order number, and some order level comments
- click the “Place Order” button to submit your order to the webstore order queue, and on to Business Central
- Make a note of the webstore order number presented on the Order Confirmation screen
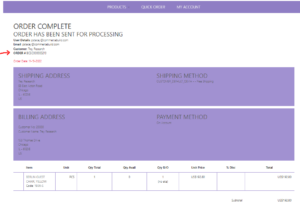
Now, navigate back to Business Central and check Sales>>Open Orders to find the webstore order.
Paying Open Invoices
Navigate back to the Home page by clicking the site logo, and then click the “Make Payments” . Alternatively, click on the My Account menu in the navigation bar, click “Transactions” and then click the “Pay Open Invoice” button. The Pay Open Invoices screen is displayed and lists all invoices for the customer account that have a balance owing:
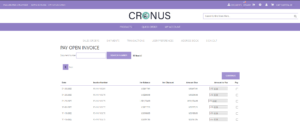
From this screen, select one or more invoices to pay and note that you may pay any amount up to the Amount Due for each invoice. After making your selections, click the “Continue” button to enter your credit card payment details.
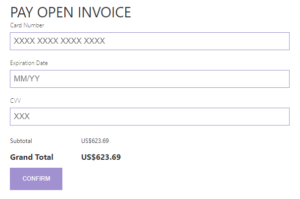
For testing purposes, use the following test Visa credit card details:
Card Number: 4111111111111111 (“4” and 15 “1s”)
Expiry Date: any month/year in the future e.g. 12/29
CVV: any 3-digit code e.g. 123
When you click “Confirm”, the credit card gateway will confirm that payment was made, a confirmation screen is displayed to the user, and a payment entry is made in the Business Central Customer Ledger.
Q&A
We’re here to help! Please reach out to us with your questions as you evaluate your new commercebuild webstore. We pride ourselves in our ERP knowledge as much as our eCommerce expertise, and welcome the opportunity to discuss your requirements, questions, and concerns in detail.
Your commercebuild trial site is available to you for 14 days following the successful completion of the site preparation. During that time, you can reach out to commercebuild for assistance and to answer your questions.
Our expertise is in the implementation and support of ERP-connected eCommerce Webstores and Customer Portals. We think you will quickly see the power that bringing your Business Central based business online will deliver to your customers.
